By CJ Mitchell, Community Access Manager
Jon Young’s work is eye-catching! When you walk into the exhibition The Other Side of Quicksand, your sight is enticed by the shiny and plush sculptural forms. Who doesn’t love shiny objects? You want to touch, but oh no, no! That is part of the excitement that his artwork creates. Yet it also invites us to slow down and remember familiar signs or indicators that are found all around. These signs prompt ways of thinking about how information is seen and absorbed. Symbols help to take in a message quickly or even process a good amount of data. Young refers to the symbols in his work as waymarks—the signs used to navigate through life. In this art activity we will be thinking about the aesthetic uses of signs and symbols to create our own upholstered sculptures.
Ages: Grades 4–12+ (9 years–Adult)
Time It Takes: 90 minutes +
What We Are Going To Do:
- Symbol Design
- Upholstery
- Sculpture
You’ll Need:
- Polyfil
- Lame fabric (two different colors)
- Scissors/Boxcutter
- Cardboard (4 pieces of 5 x 5 squares, 4 pieces approx. ¾ inch by 5 ¼ inch)
- Cutting Pad/Soft surface to cut on
- Iron on adhesive
- Staple gun
- Paper
- Glue
- White Chalk/Colored Pencil/White Tailoring Pencil
- Fabric pens (optional)
- Towel or Iron board
- Iron
Before We Start:
Let’s look at images of Jon Young’s Set up Camp (Under Powerlines), 2022; Desert Fruit, 2022; and End of a Road (Green Wings), 2022. These artworks consist of large sculptural pieces made from vibrantly colored fabric. Young creates these works using the Italian quilting method called trapunto and upholstery. Trapunto comes from the Italian word for “quilted,” and is a technique of stuffing that involves two layers of stitching to get a raised or embossed effect. These works are especially alluring because of the combination of these techniques along with the use of iridescent fabric, which changes its appearance as you look at it from different angles. While looking at images of these artworks, think about these questions below:
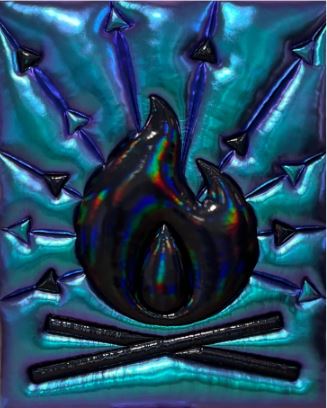
Iridescent fabric, wood, batting, 60 x 48 x 4 inches. Courtesy the artist.
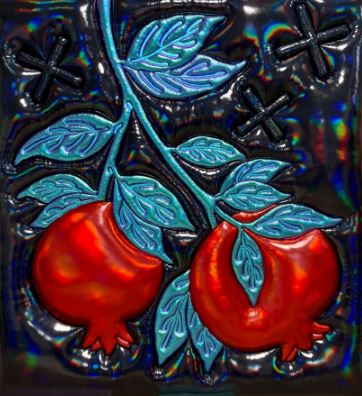
60 x 55 x 4 inches. Courtesy the artist.
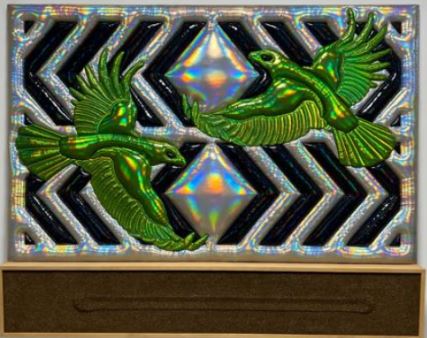
sand from Vedauwoo Wyoming, 61 x 76 1/2 x 8 inches. Courtesy the artist.
Think About
/ Are there specific symbols or waymarks that you are drawn to in Young’s work?
/ What thoughts, feelings, and ideas are represented to you in the waymarks Young uses?
/ Could you simplify those thoughts and ideas into one or two words?
/ Why do you think Young chose these particular symbols or waymarks?
Art Activity
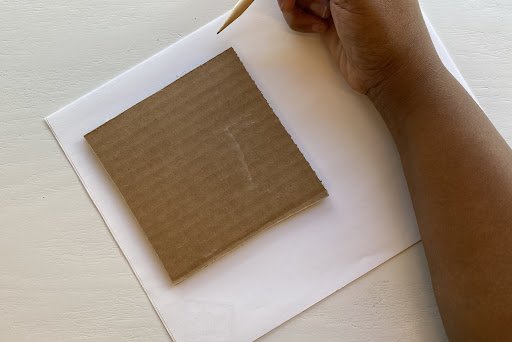
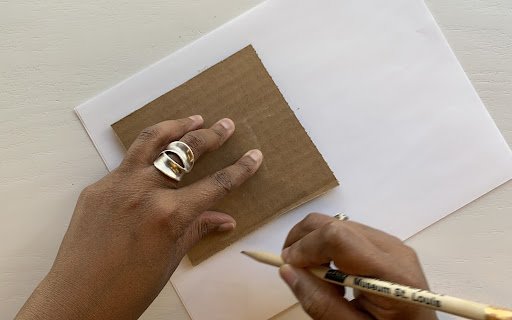
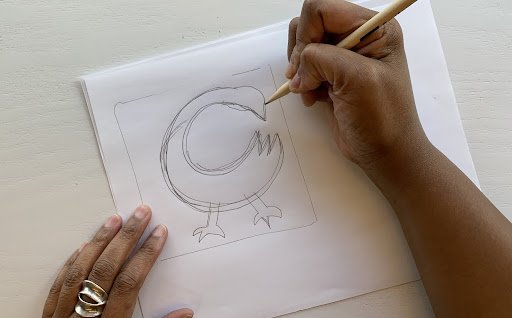
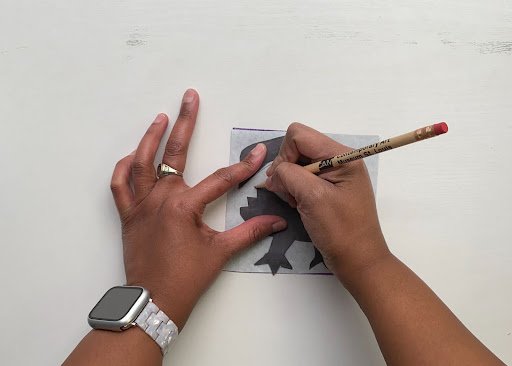
1. Decide on a symbol or waymark. Your symbol can be something that resonates personally with you or a new design. Draw it using pencil and paper. When drawing, remember to keep in mind the size and that it should be easy to cut out. For this example, I used the Sankofa symbol.
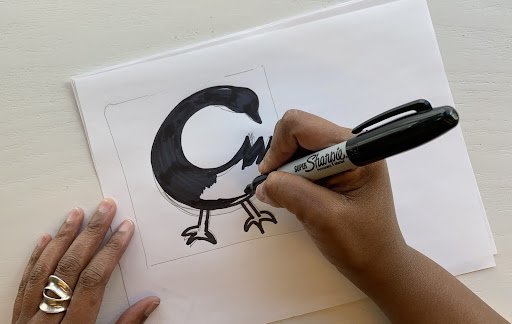
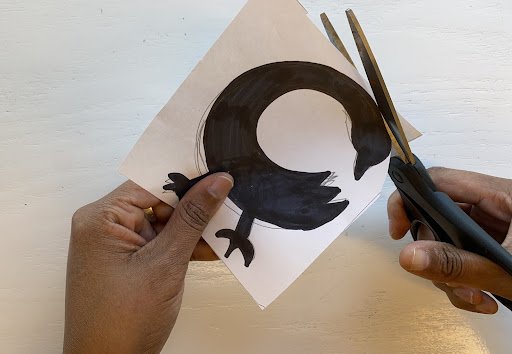
2. Once your symbol is drawn, a sharpie can be used to fill it in. Then cut it out to use as a pattern for the fabric.
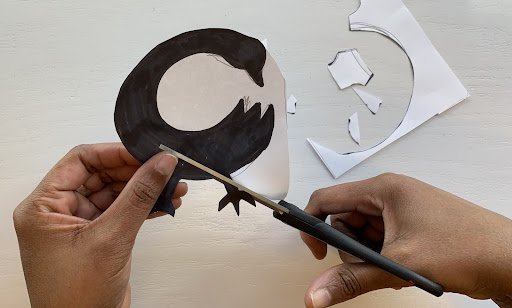
3. Cut a square piece of fabric and a square piece of adhesive, both pieces should be the same size as the cardboard. Take your pattern for your symbol and trace the symbol on the paper side of the adhesive. Remember to draw your symbol in the reverse direction, so that it will appear on the right side of the fabric when cutting out later.
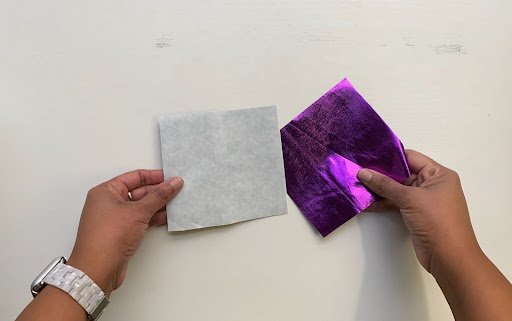
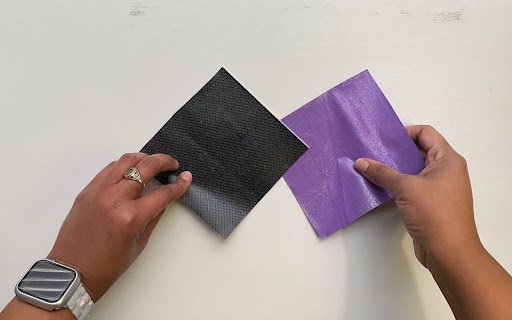

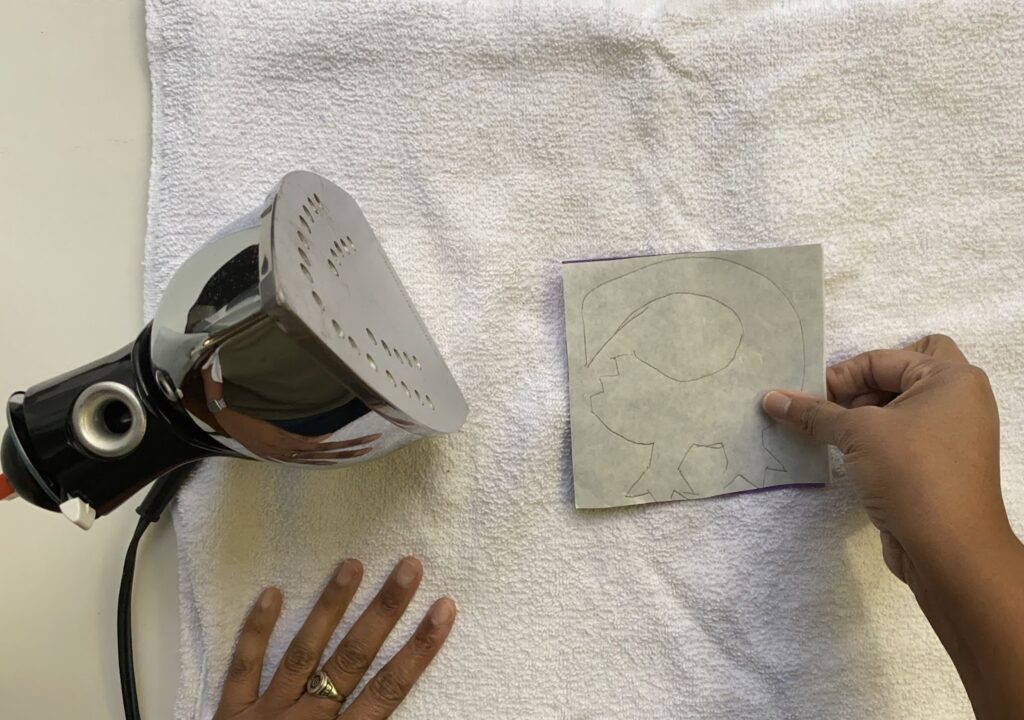
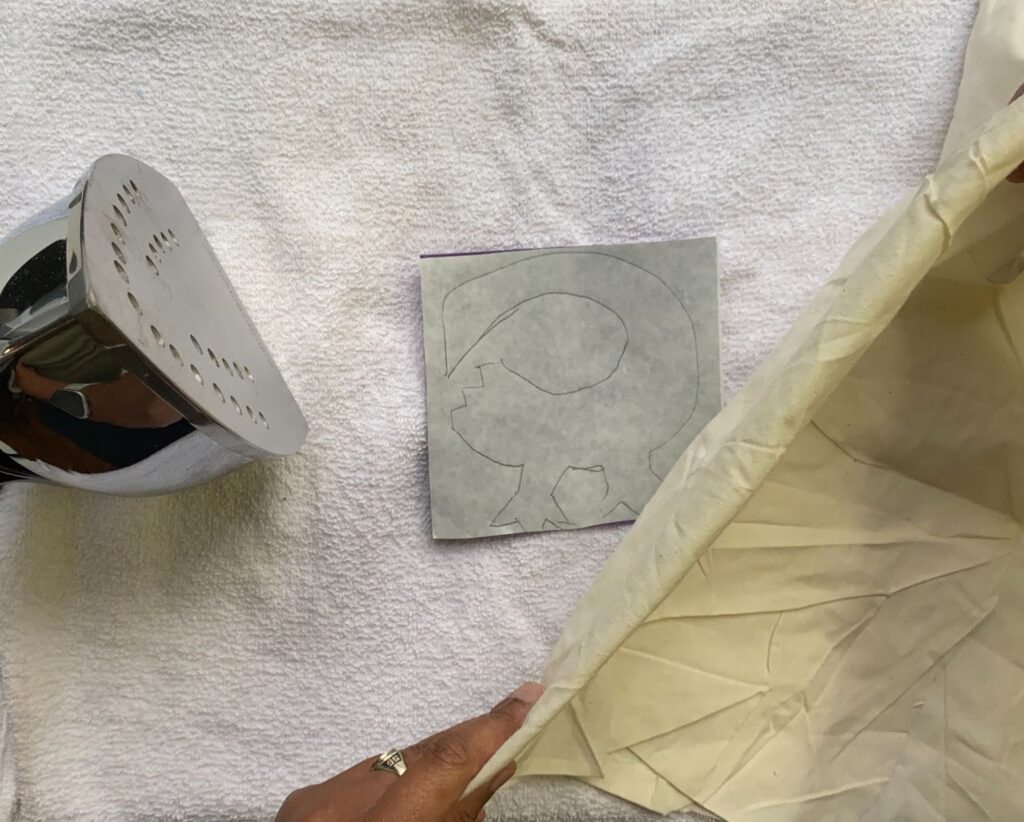
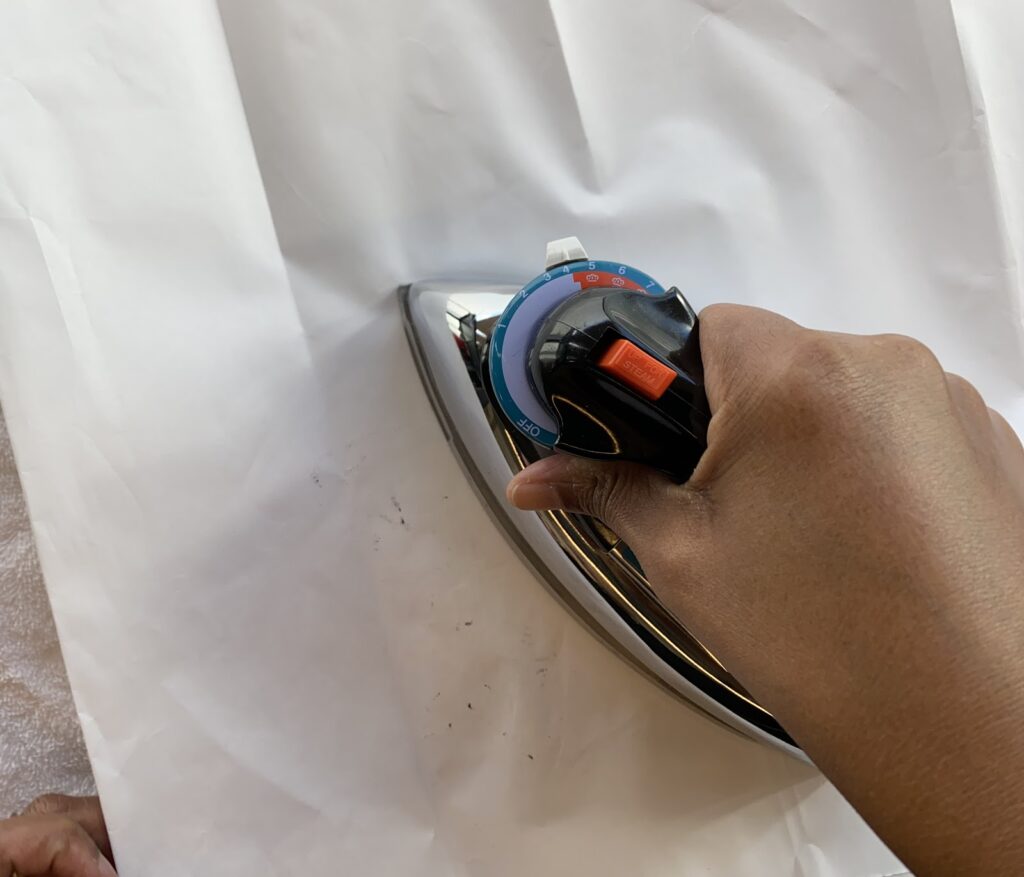
4. Turn the iron on and get it warmed up. Place the two pieces of fabric on top of each other. With the shiny fabric side of the square facing down, place the adhesive side on the back of the fabric. The paper side of the adhesive will be on top (the outline of the symbol should be visible). Please remember to follow the adhesive directions according to the packaging instructions as you iron. Have a soft surface to iron on like a towel. Also, to protect the iron, place a thin piece of fabric or non-burning paper between the iron and the symbol.
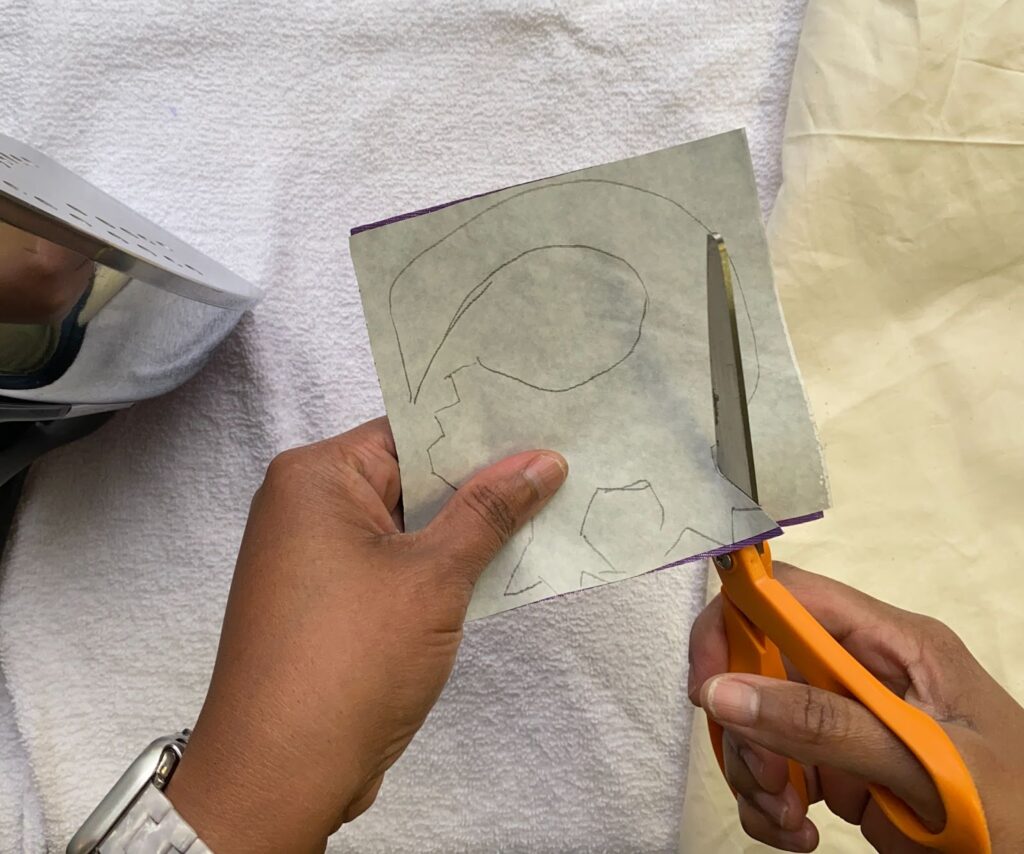
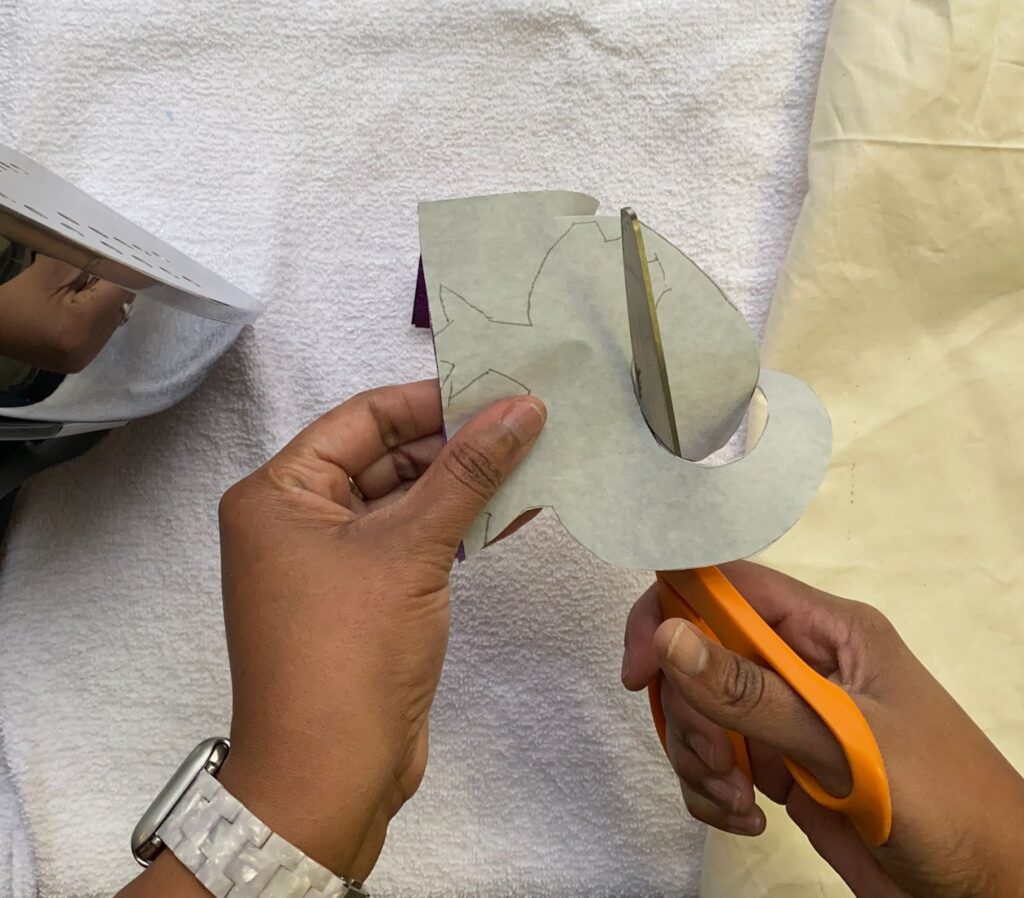
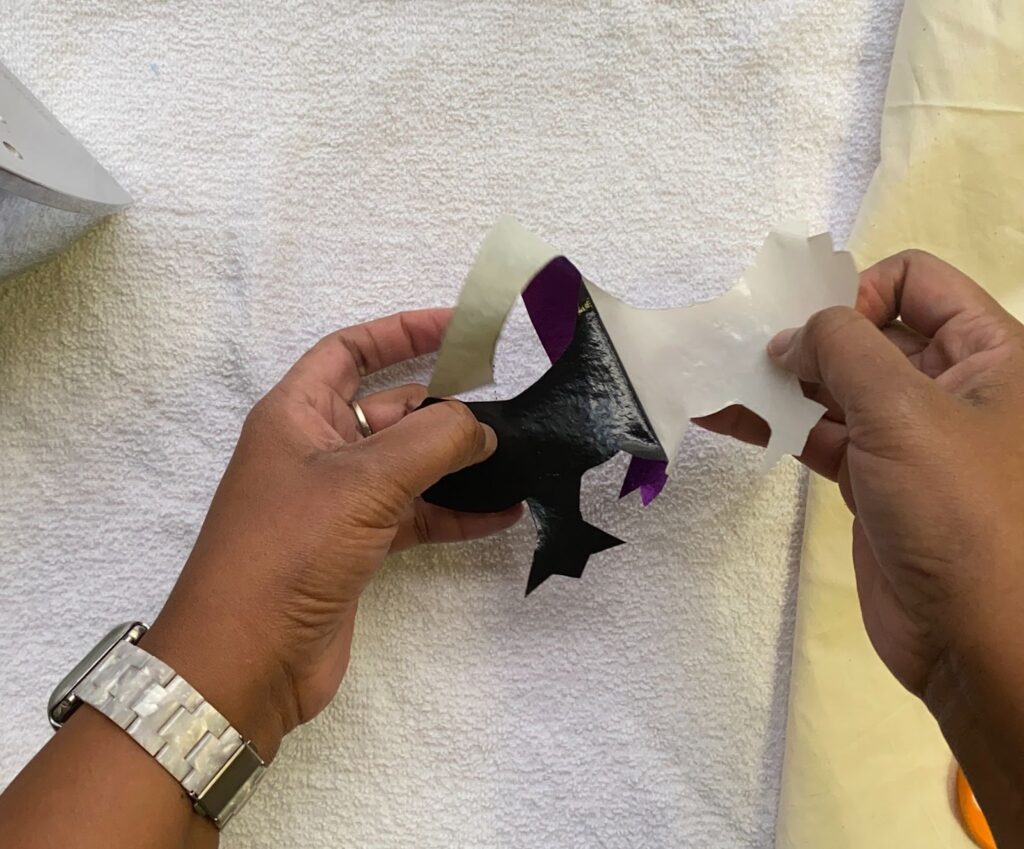
5. Let the symbol cool to the touch after you iron. The two pieces should now be one. Take scissors and cut out the outline of your symbol. Then remove the paper backing. Now the adhesive should be attached to the back side of the symbol.
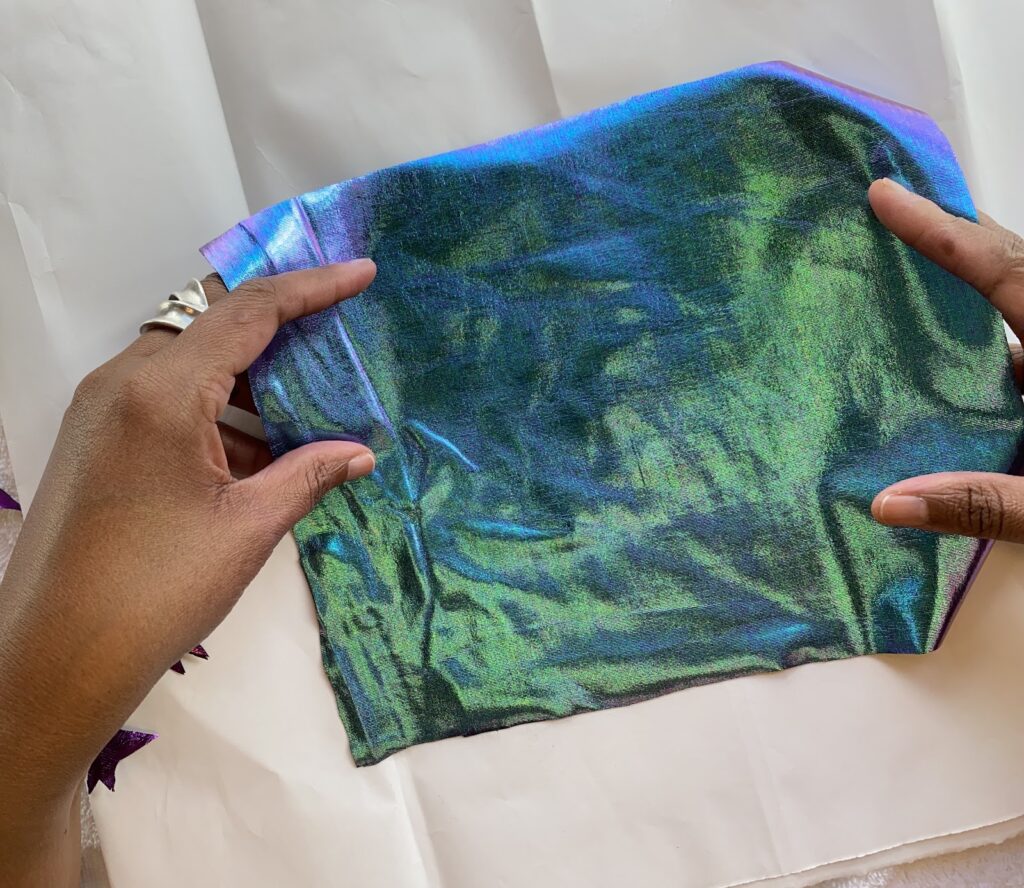
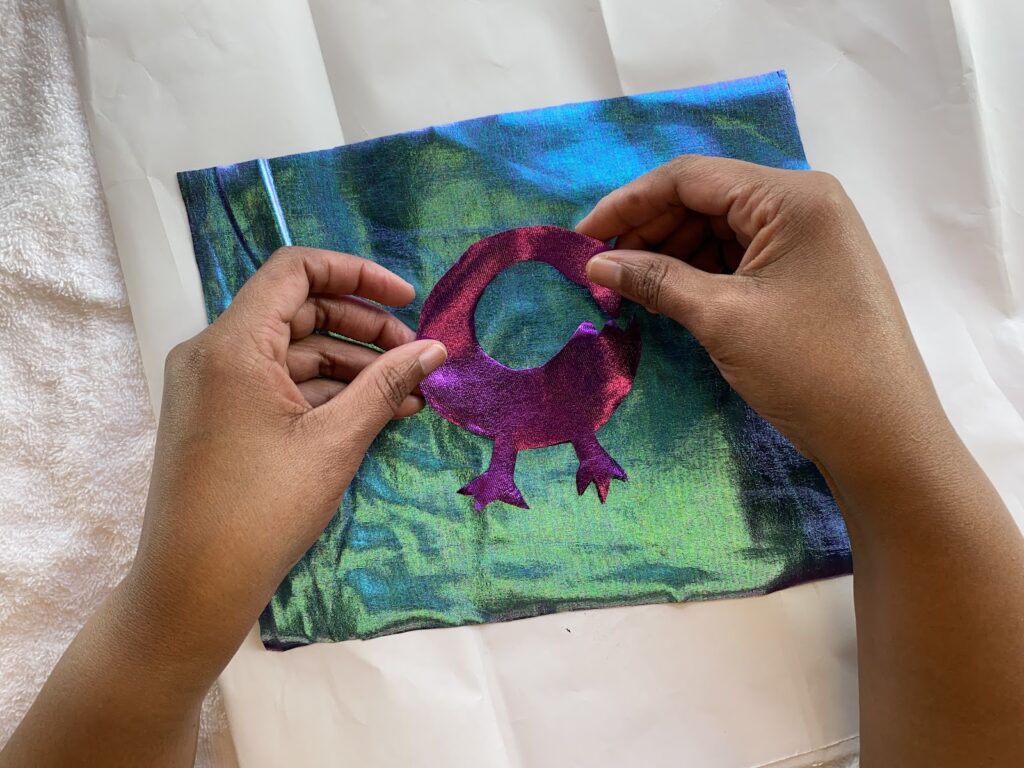
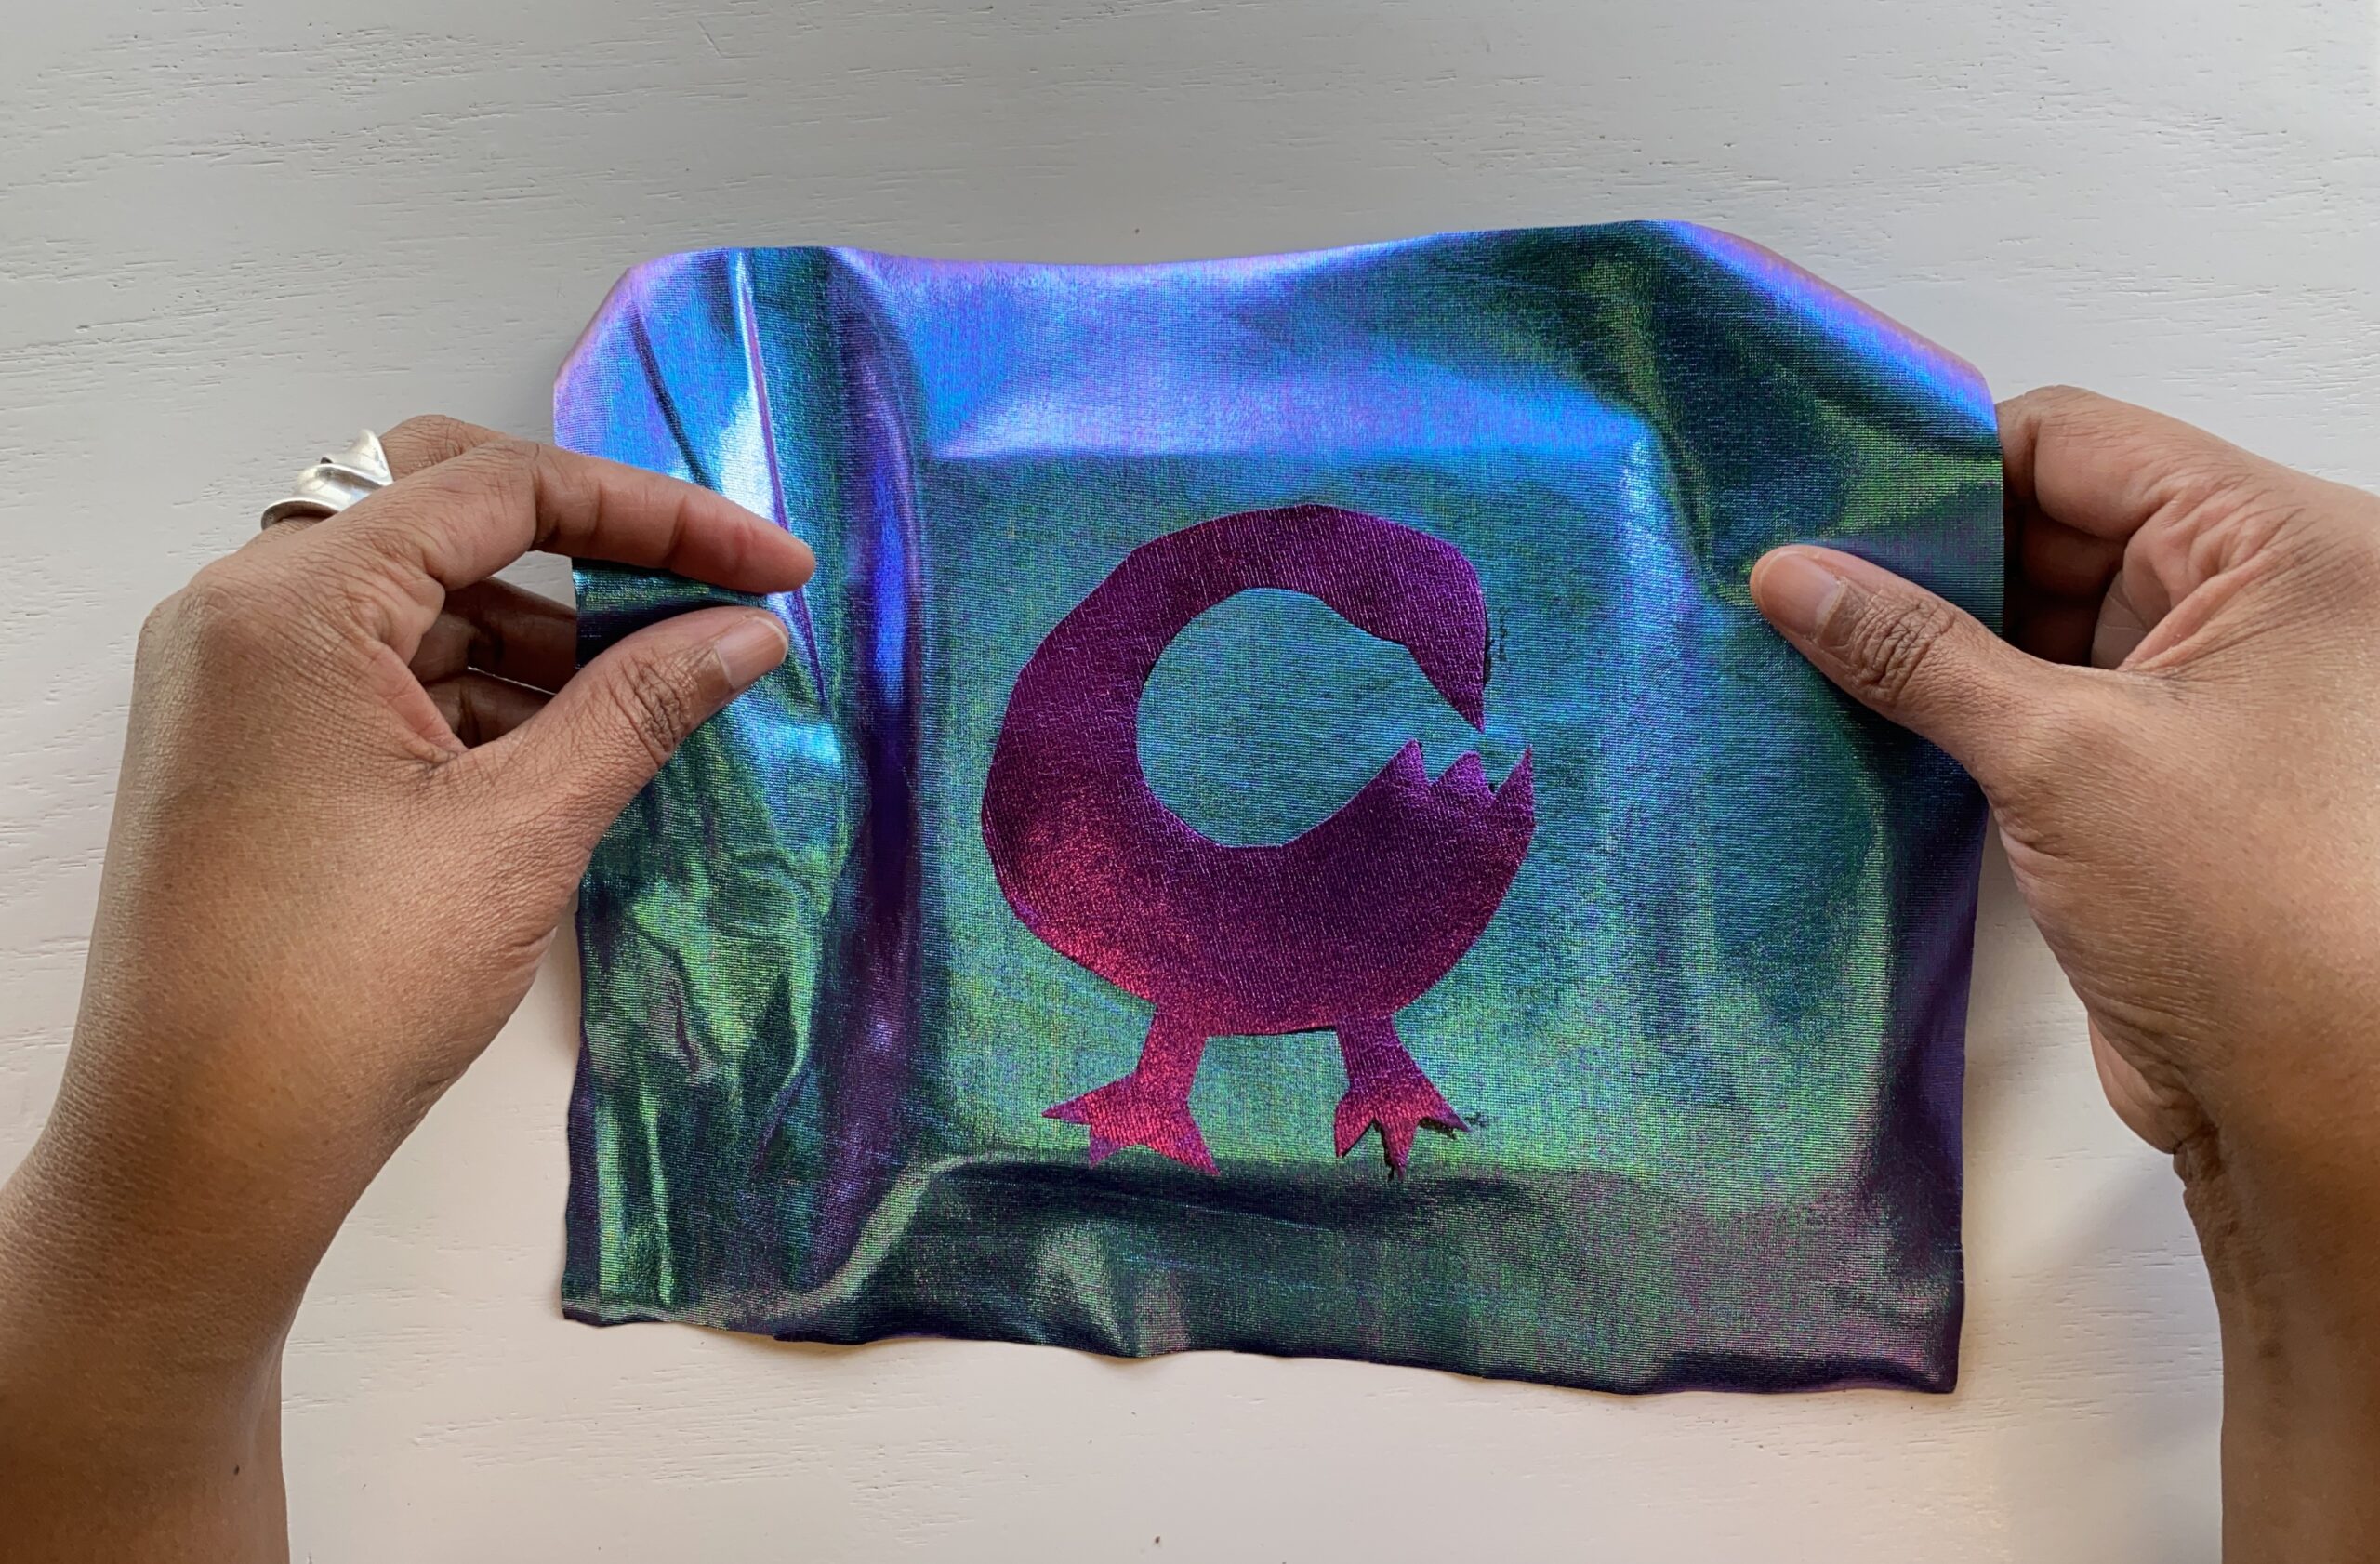
6. Get your second piece of fabric and lay it flat, shiny side up. Take your symbol and place it directly in the middle of the fabric (adhesive side down). Adjust its placement so that the symbol is presented correctly. Then take a thin piece of fabric/towel or paper and place on top. Take the warm iron and run it over both pieces. This step attaches the symbol to the larger piece of fabric.
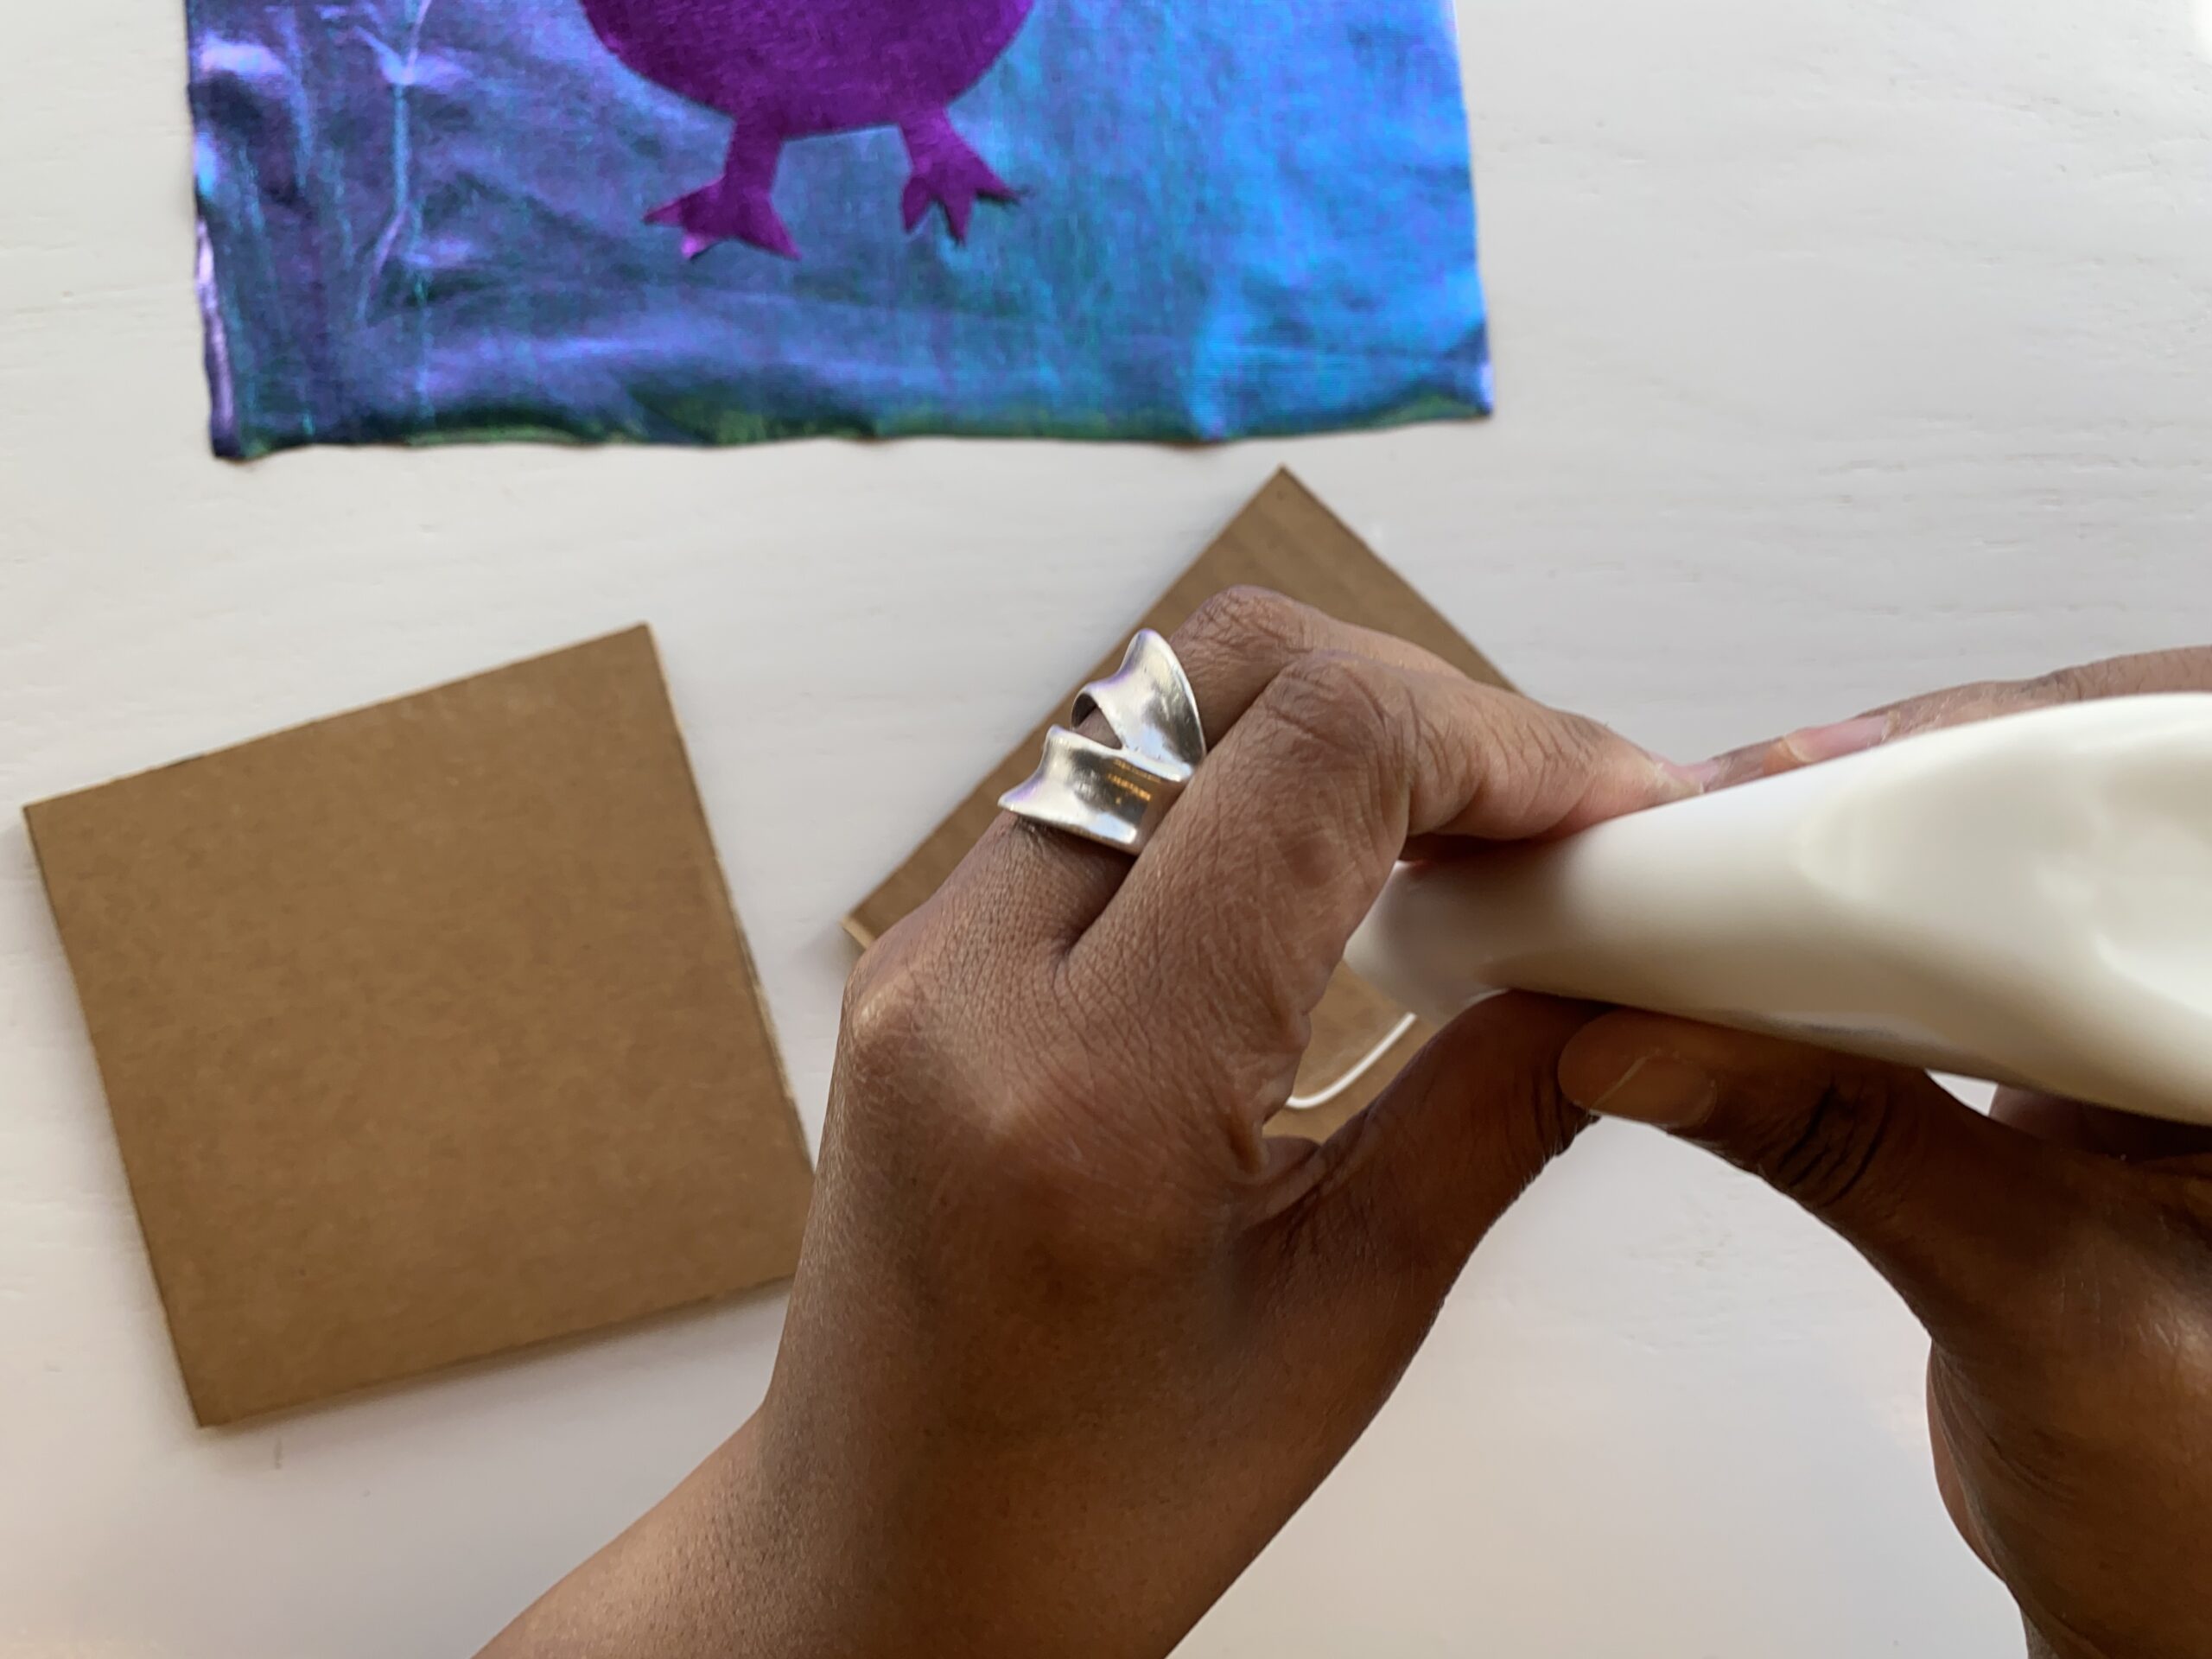
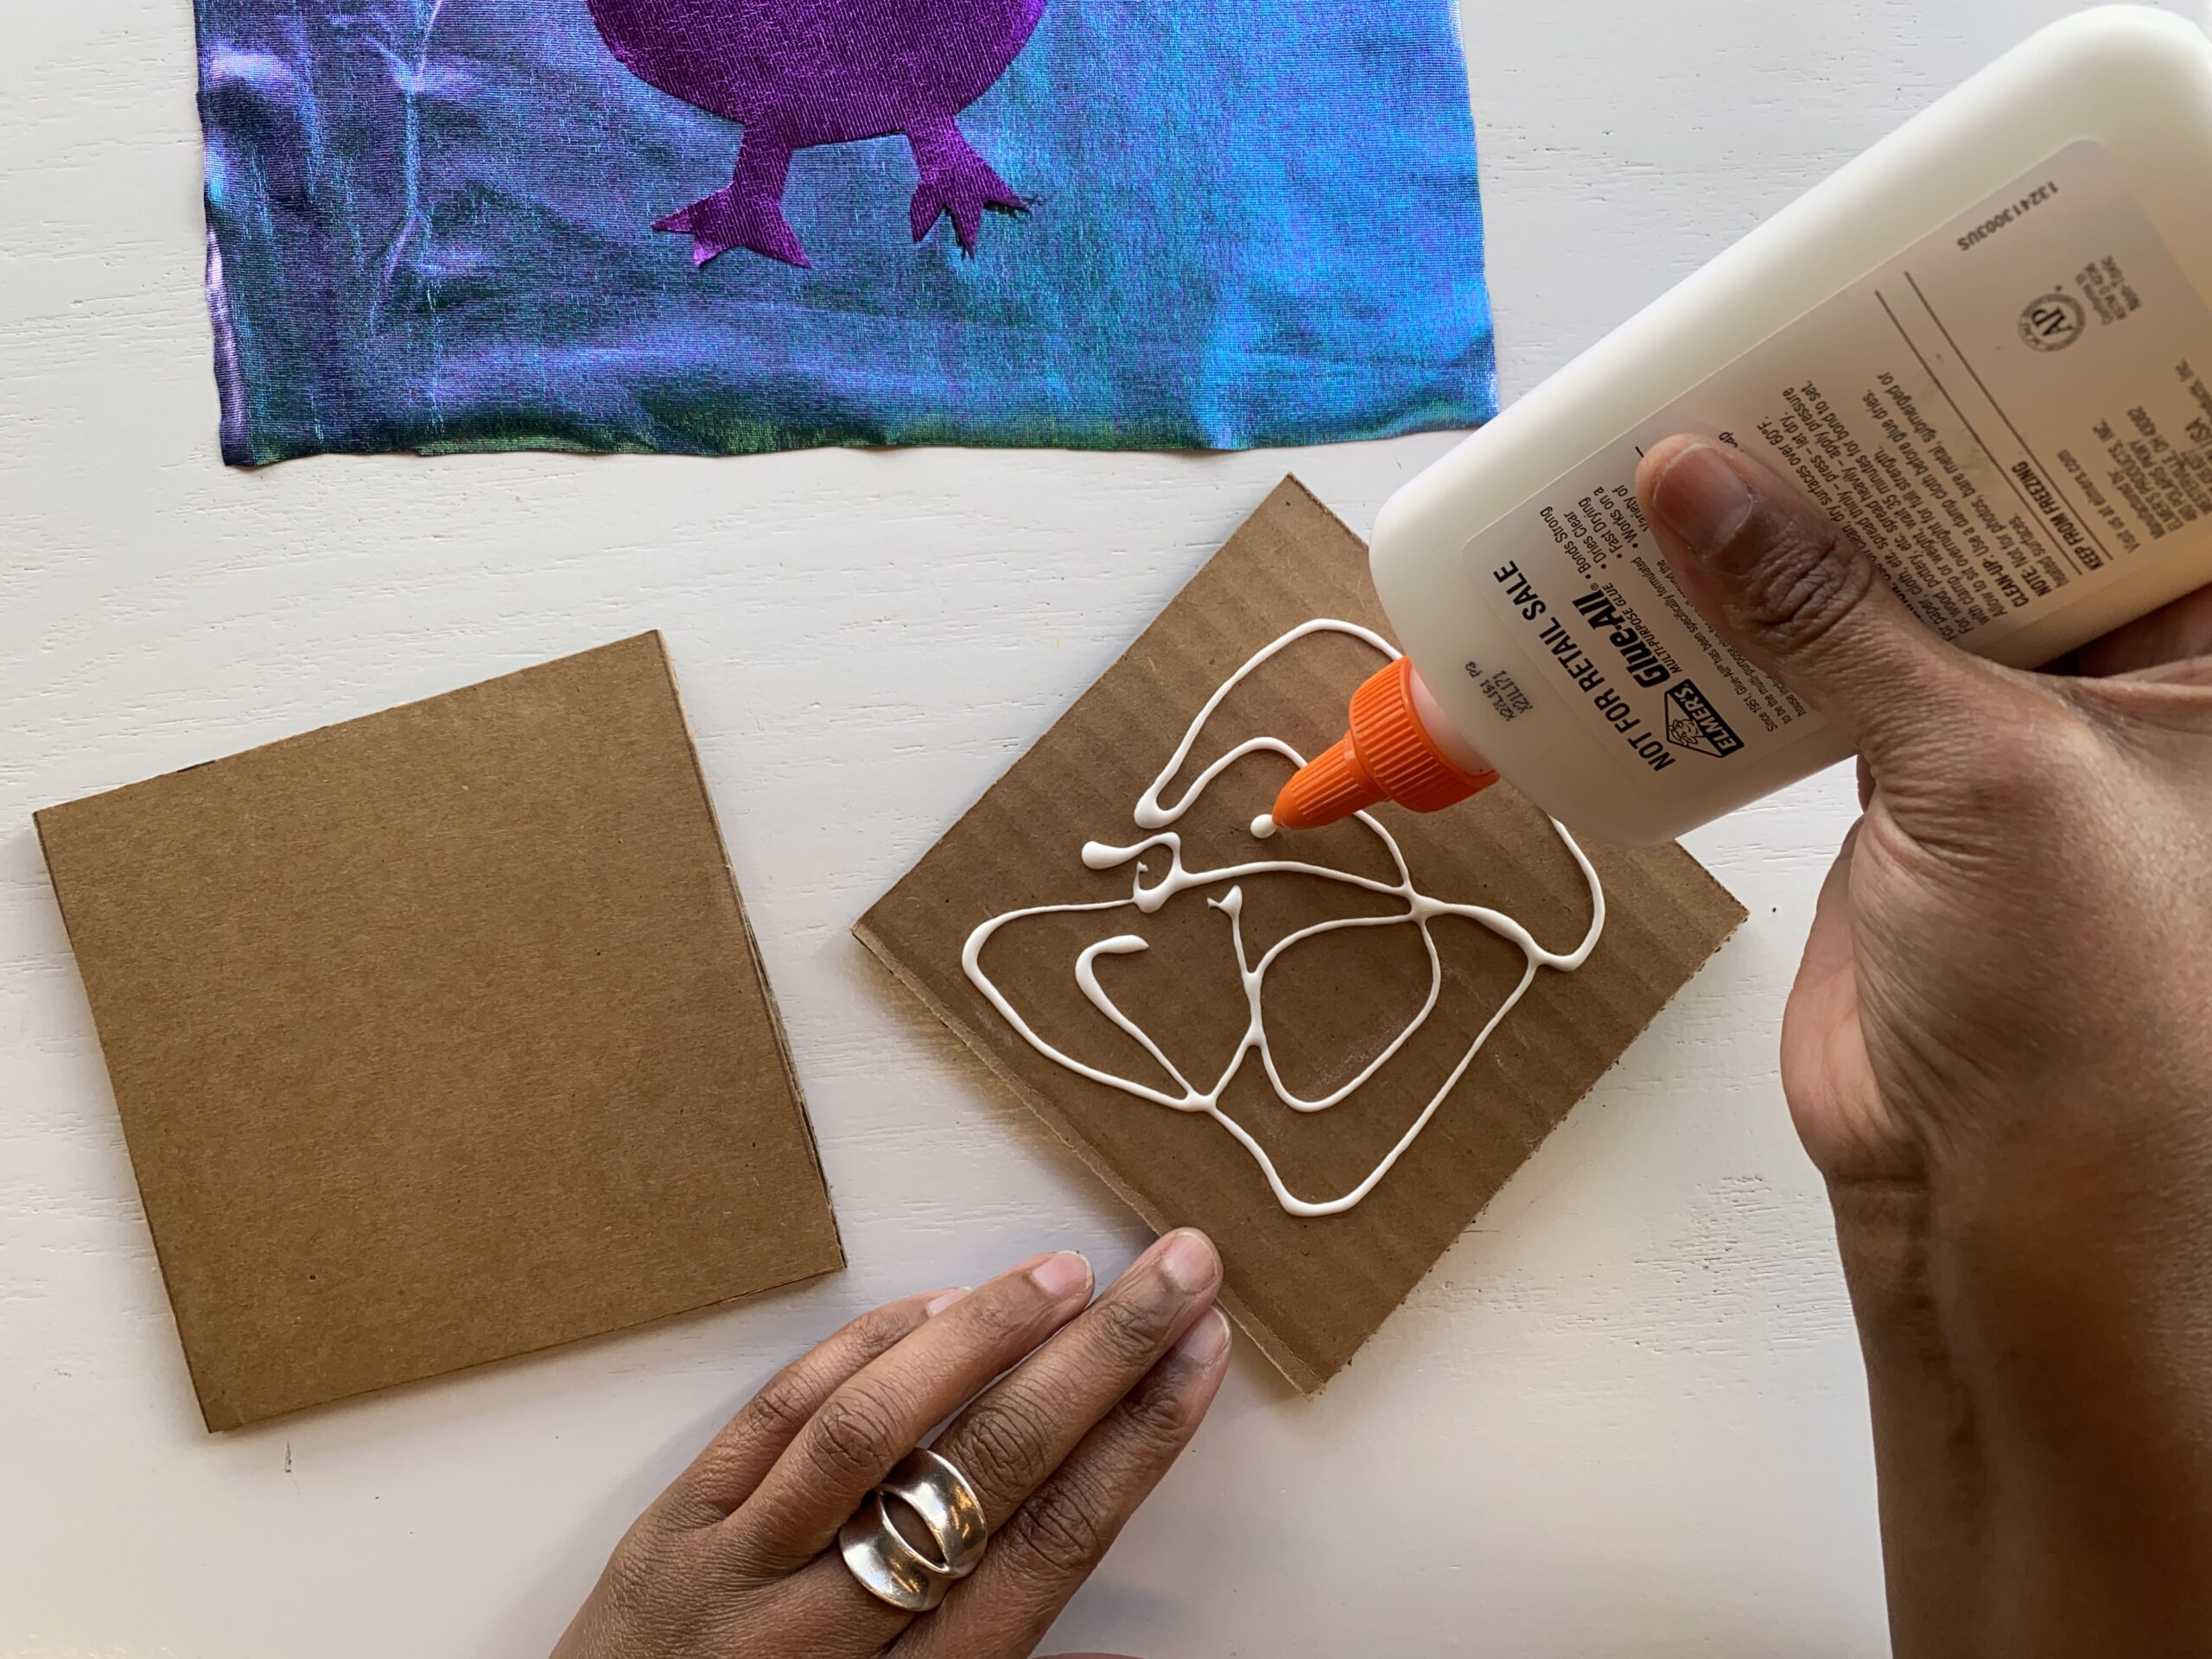
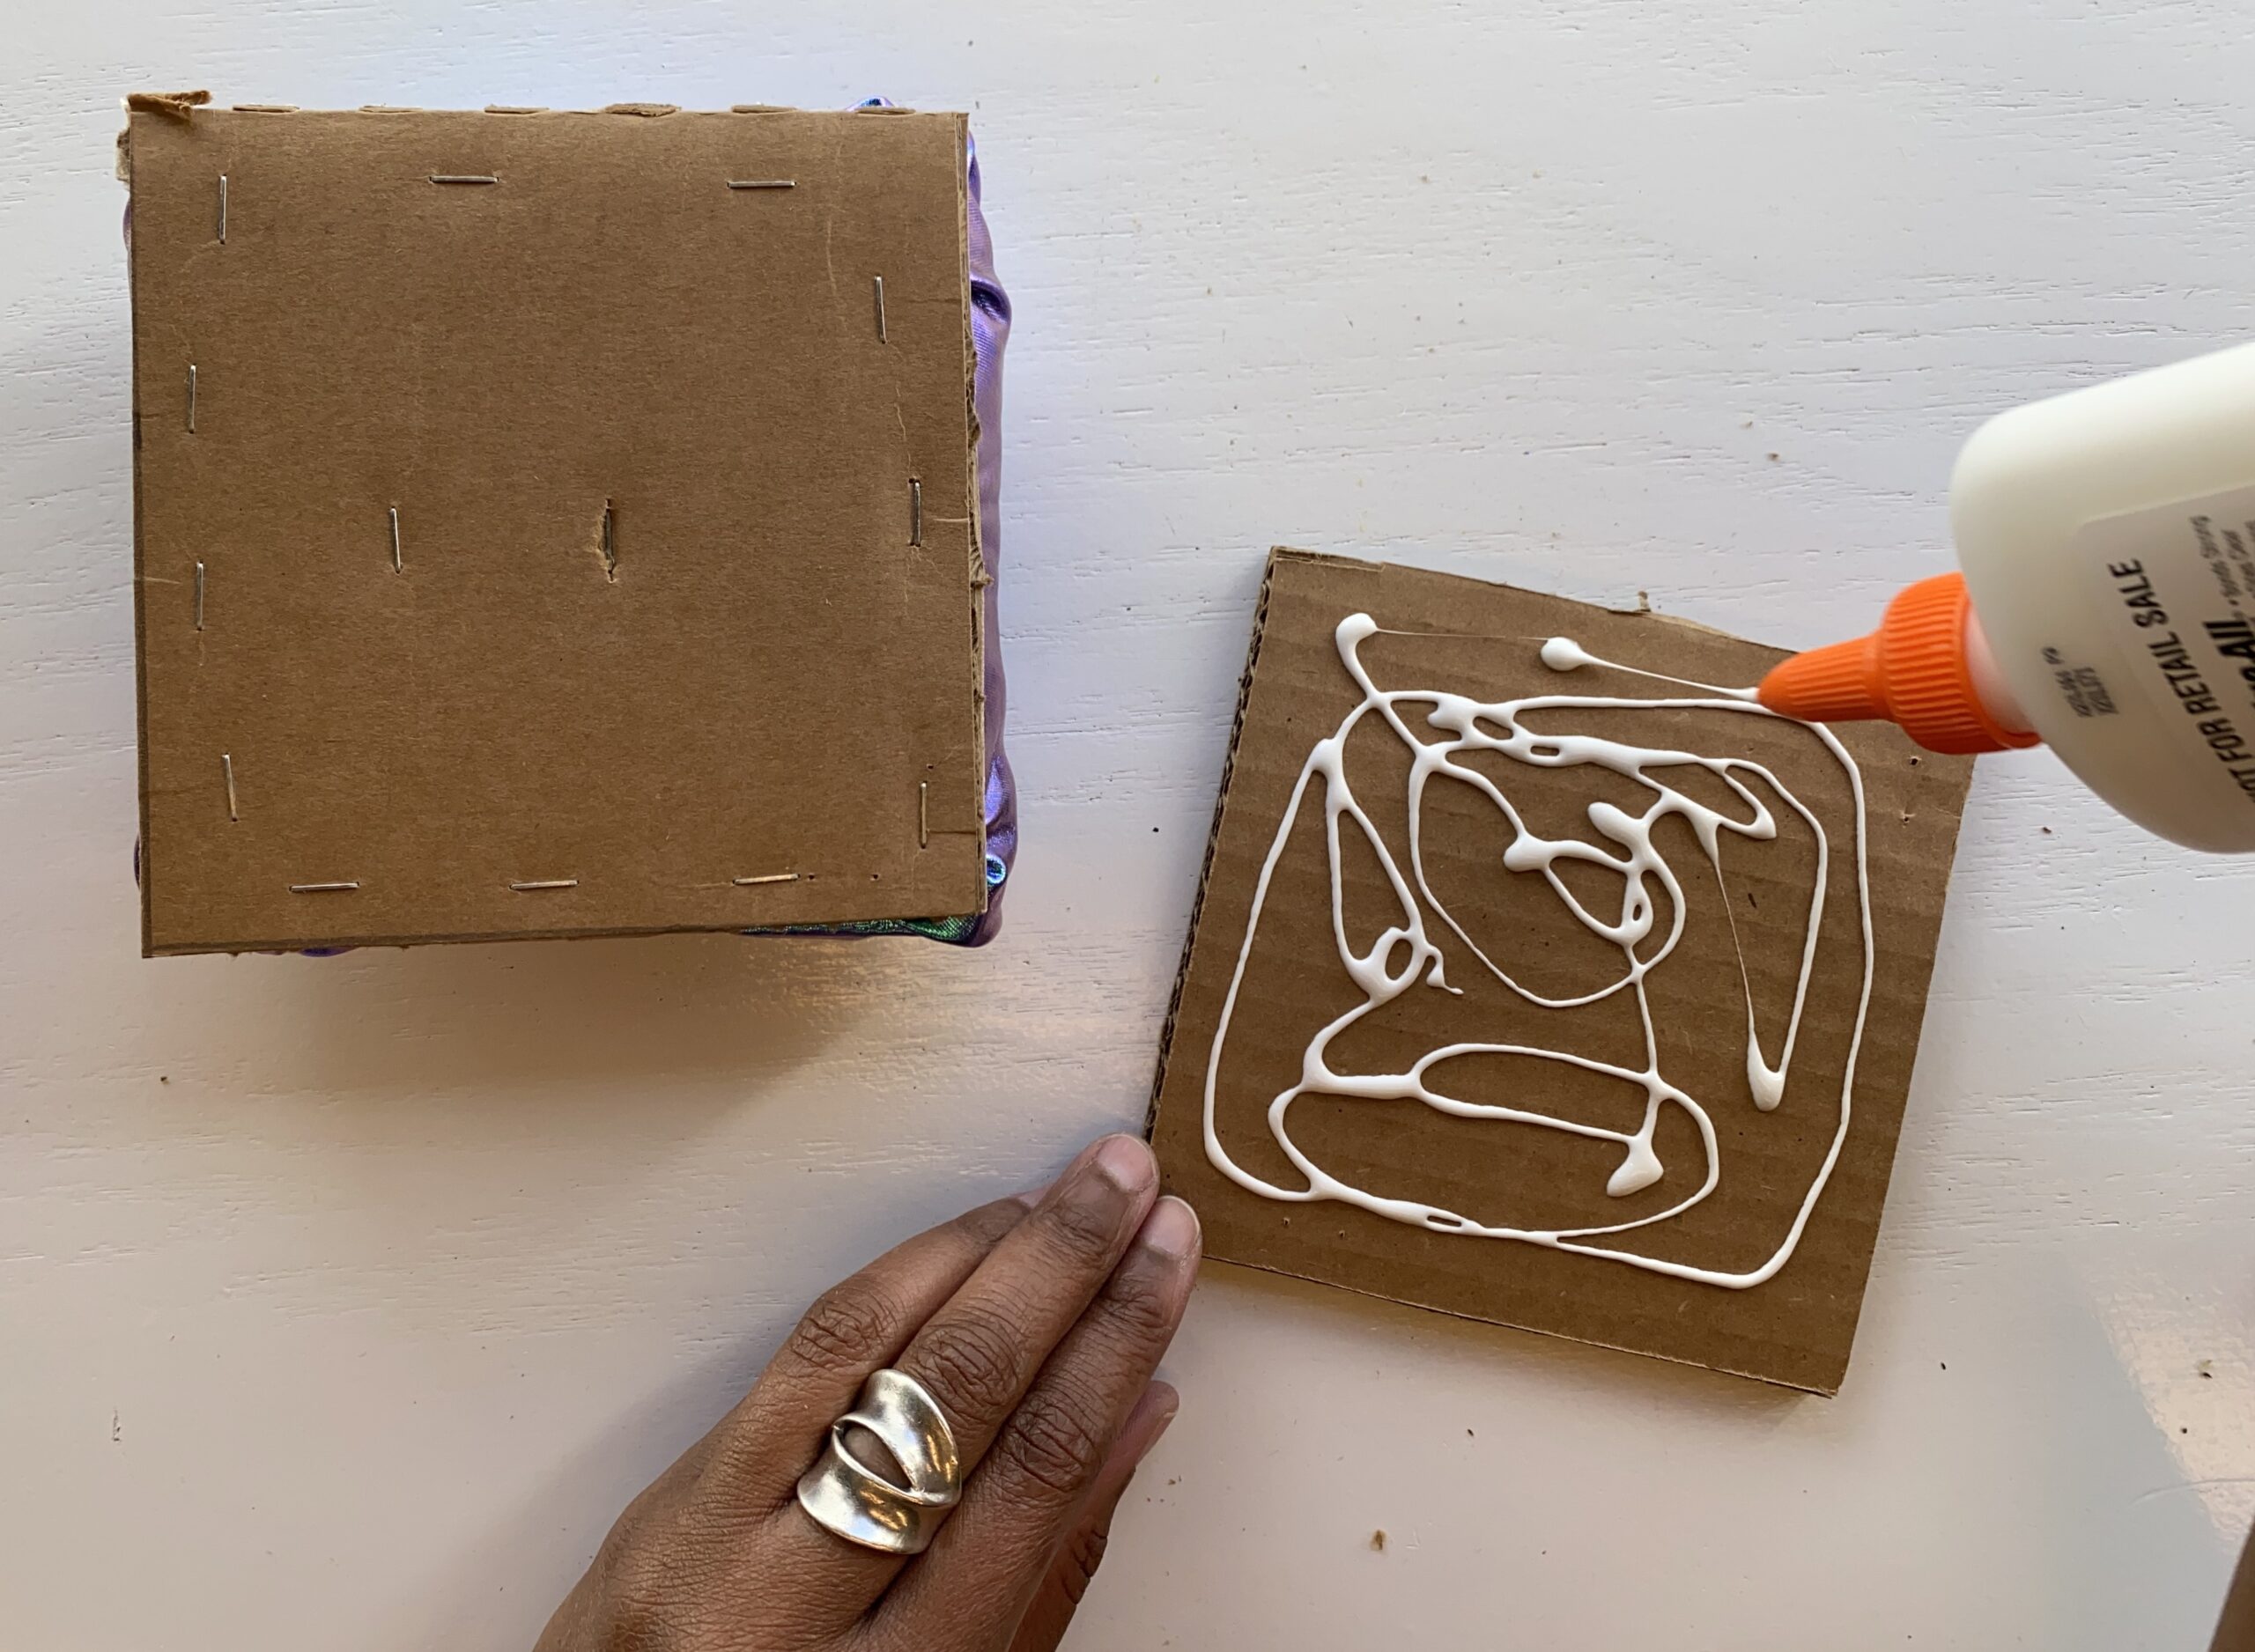
7. Set aside the fabric and collect your cardboard squares and glue. Take the glue and apply a good amount to one side of one of the 5 x 5 cardboard squares. Take the second cardboard square and attach it to the first. Having two layers will help make your frame more sturdy.

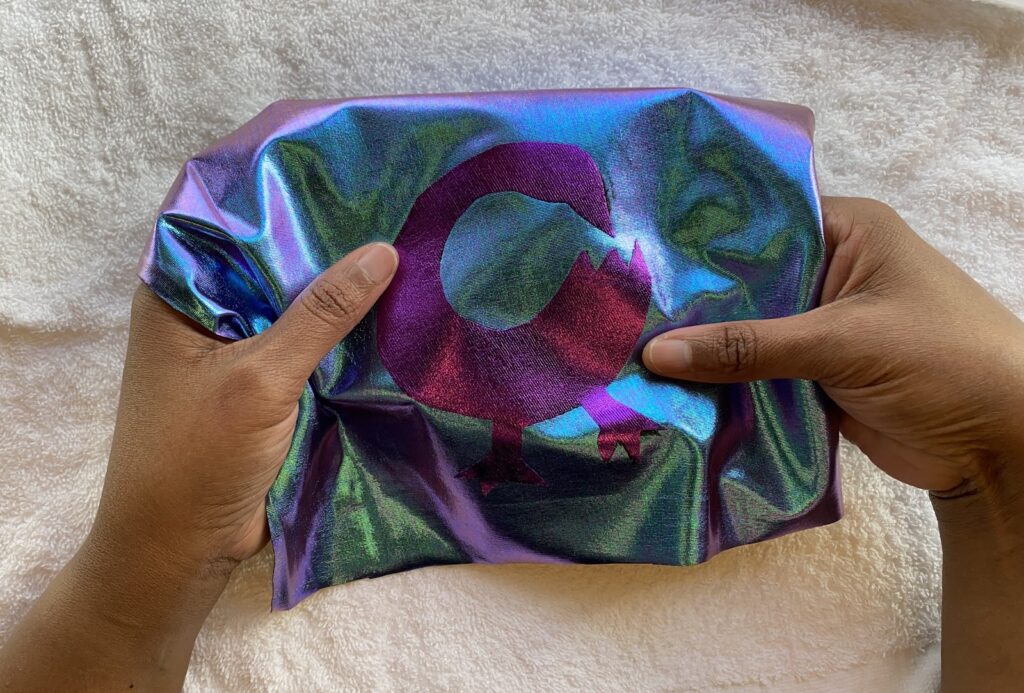
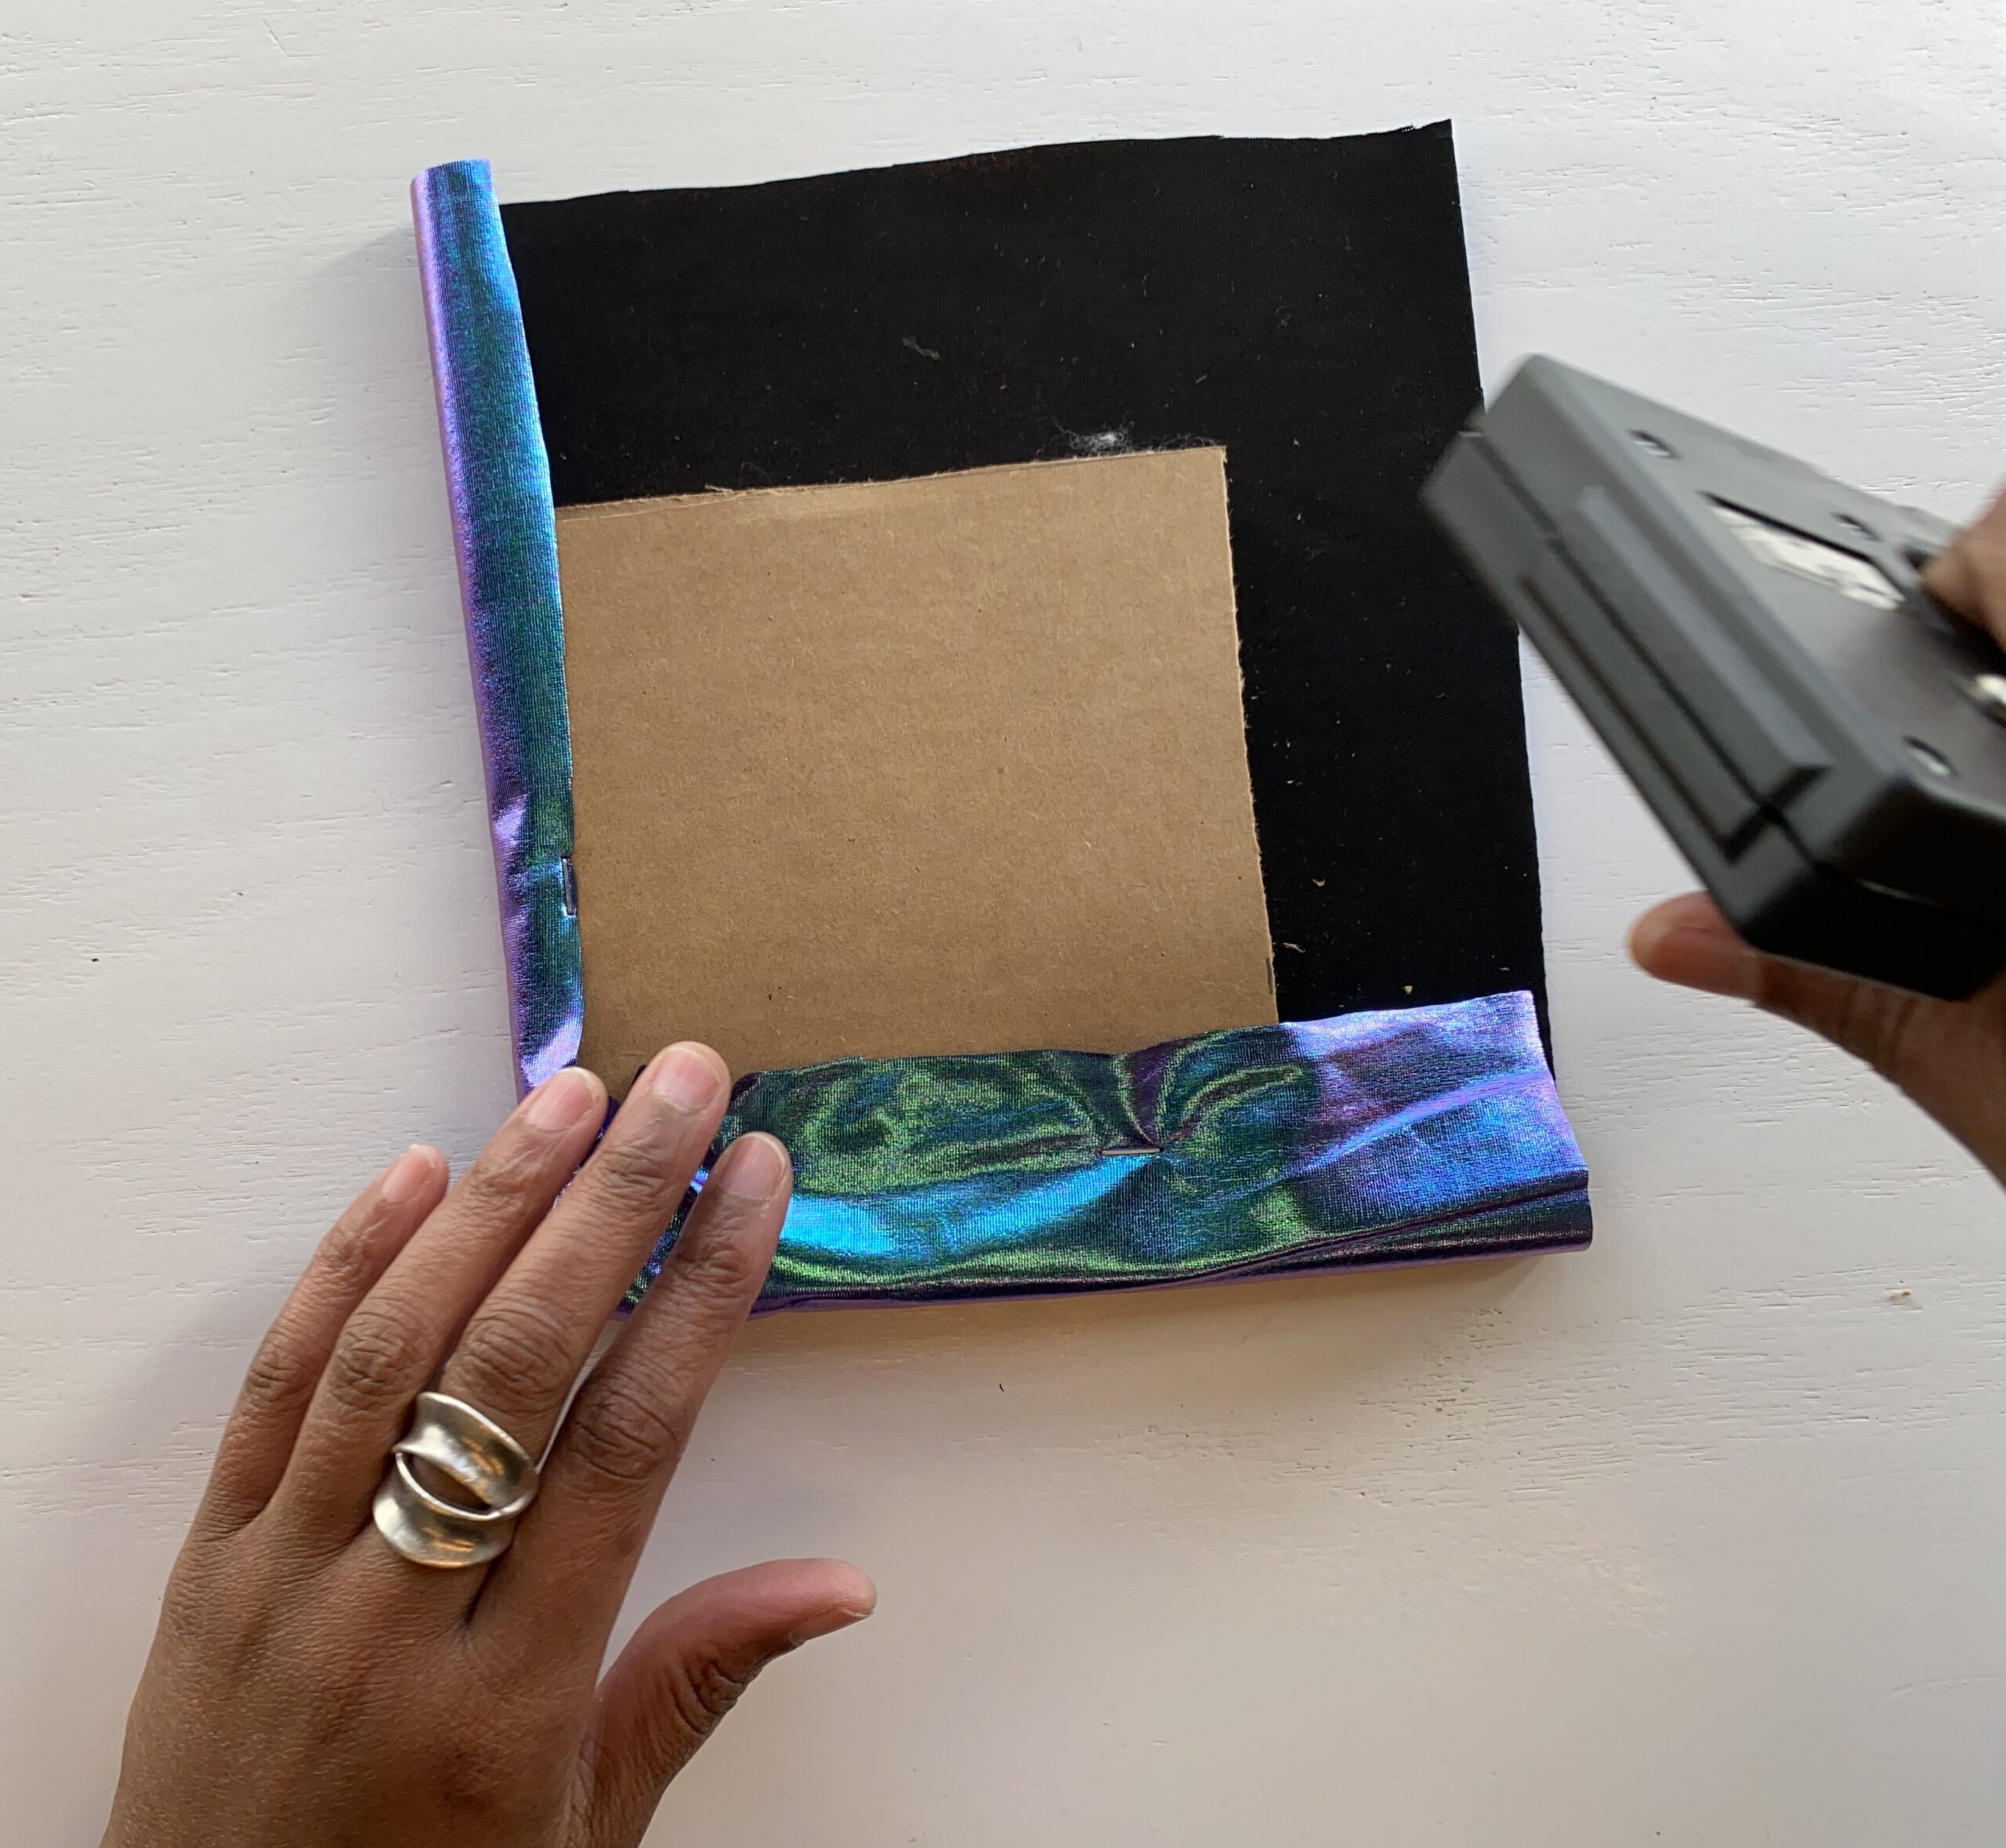
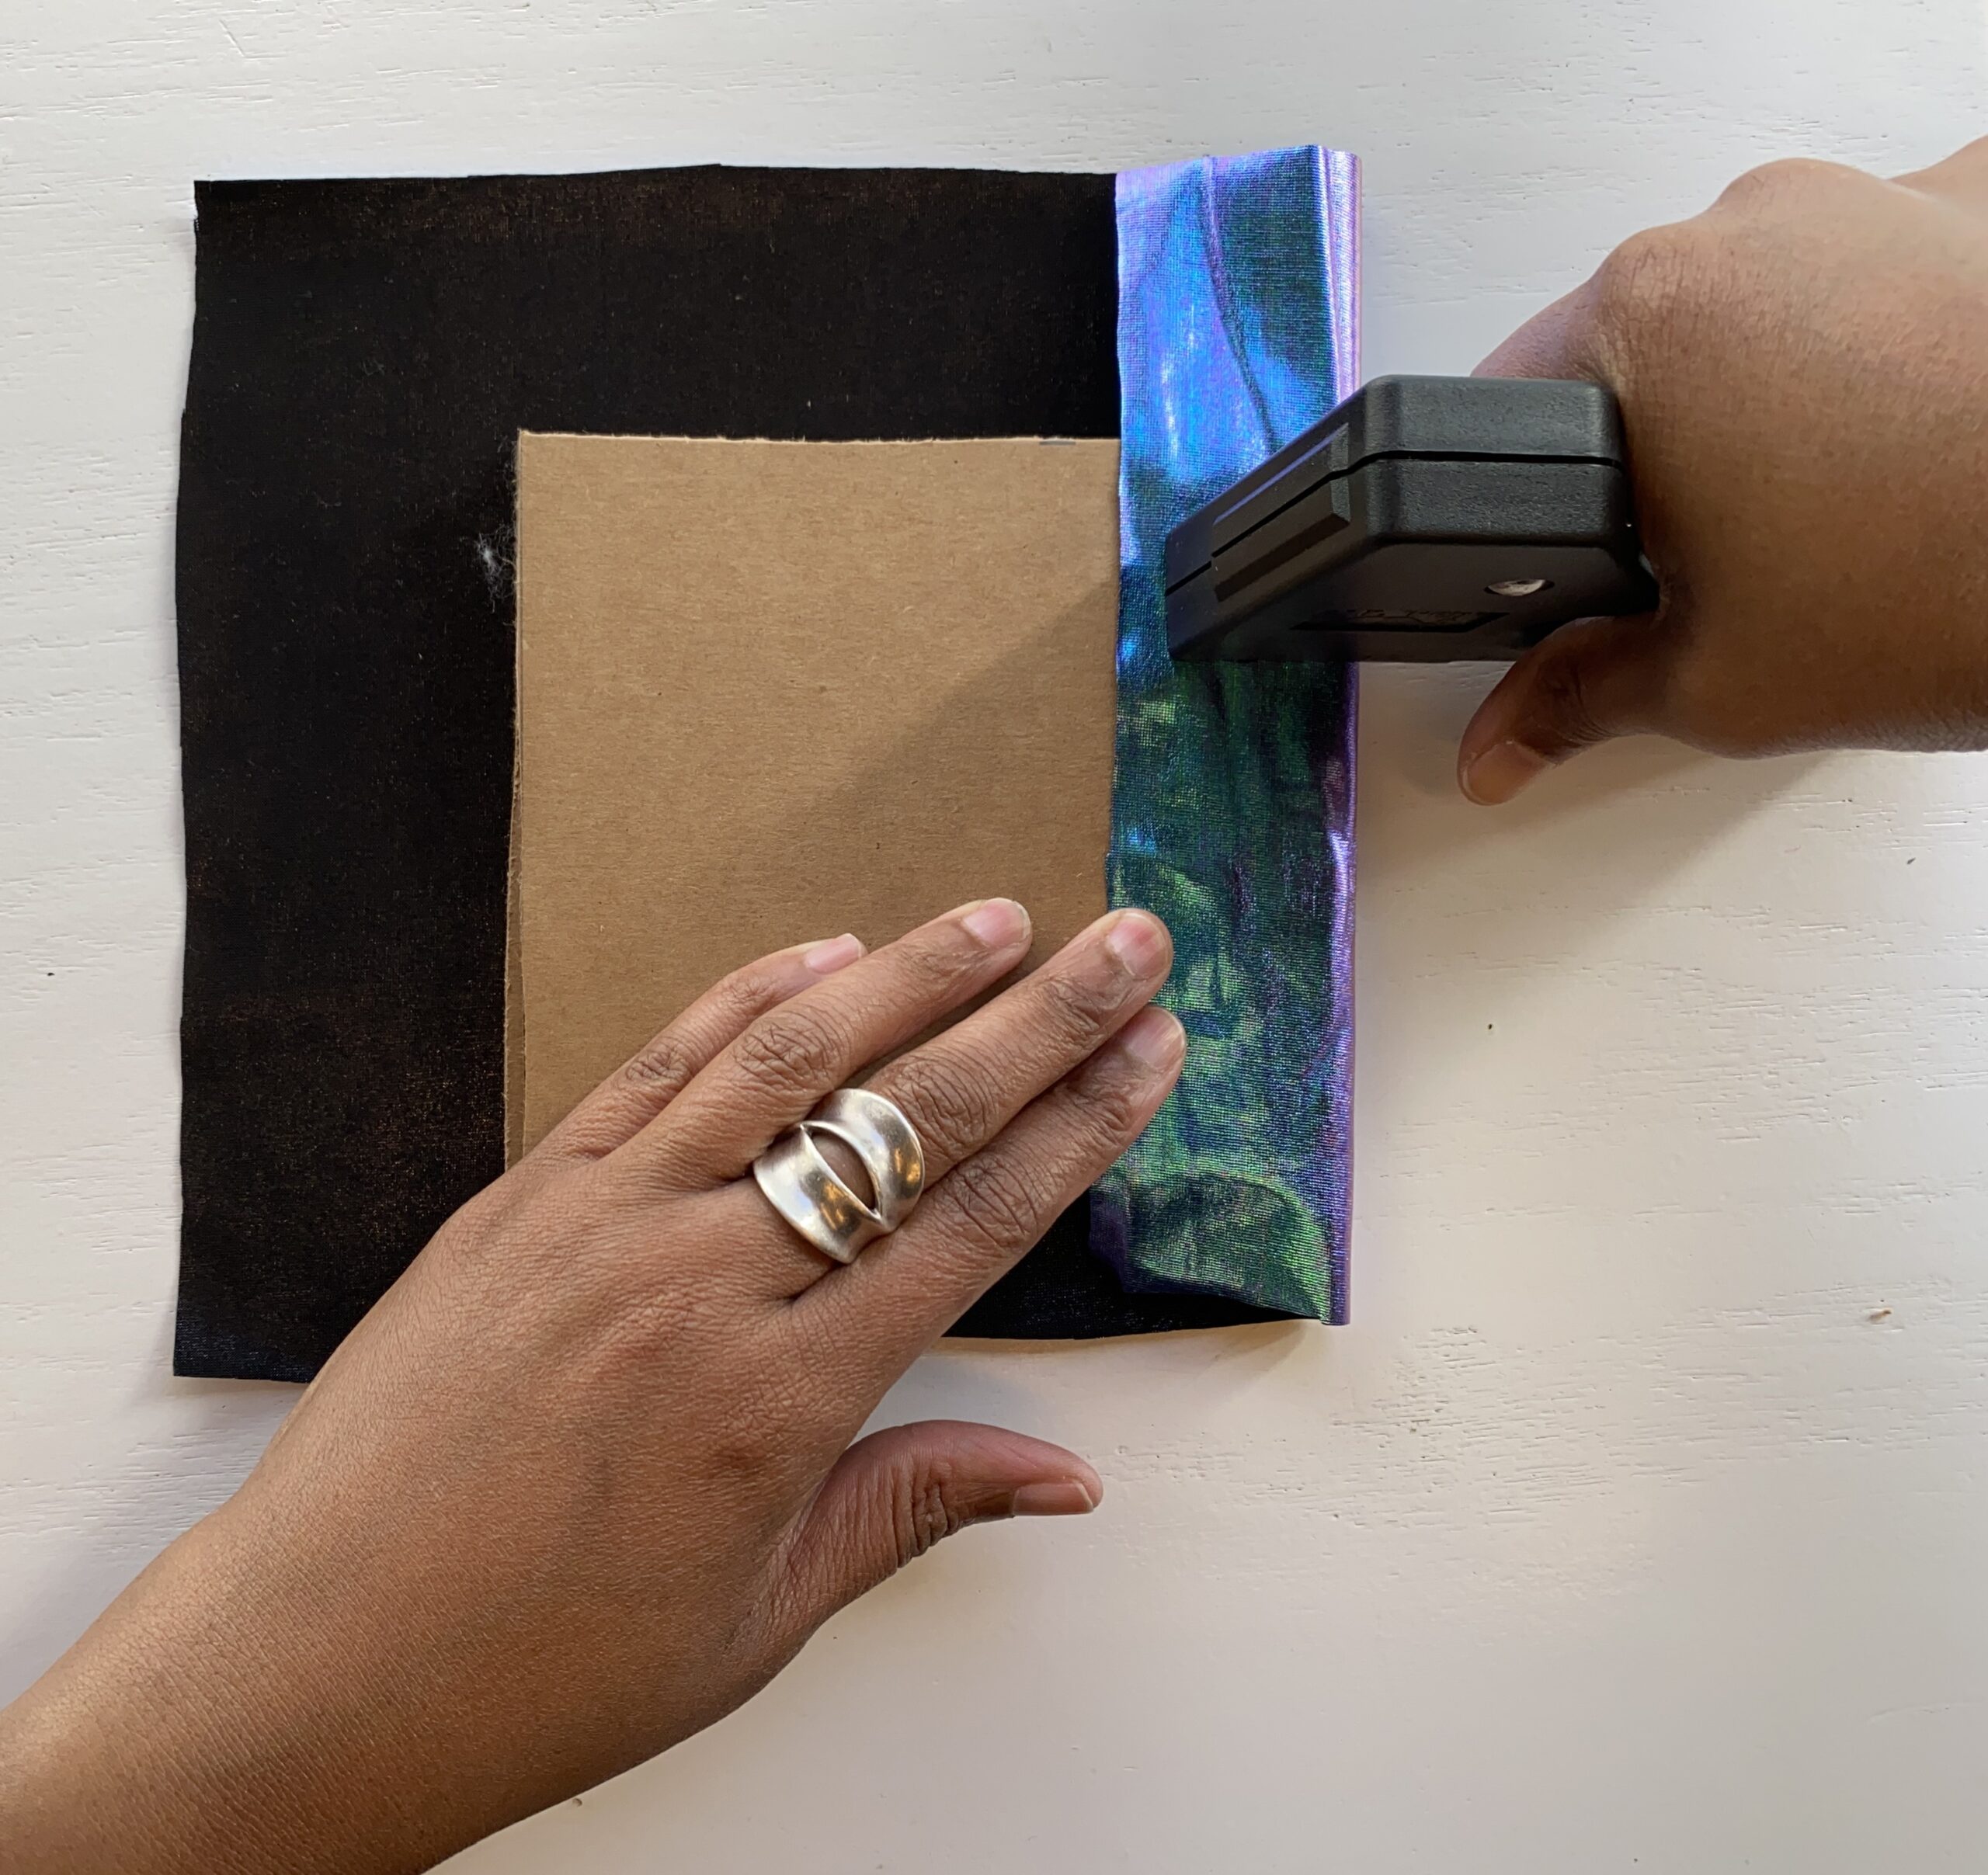
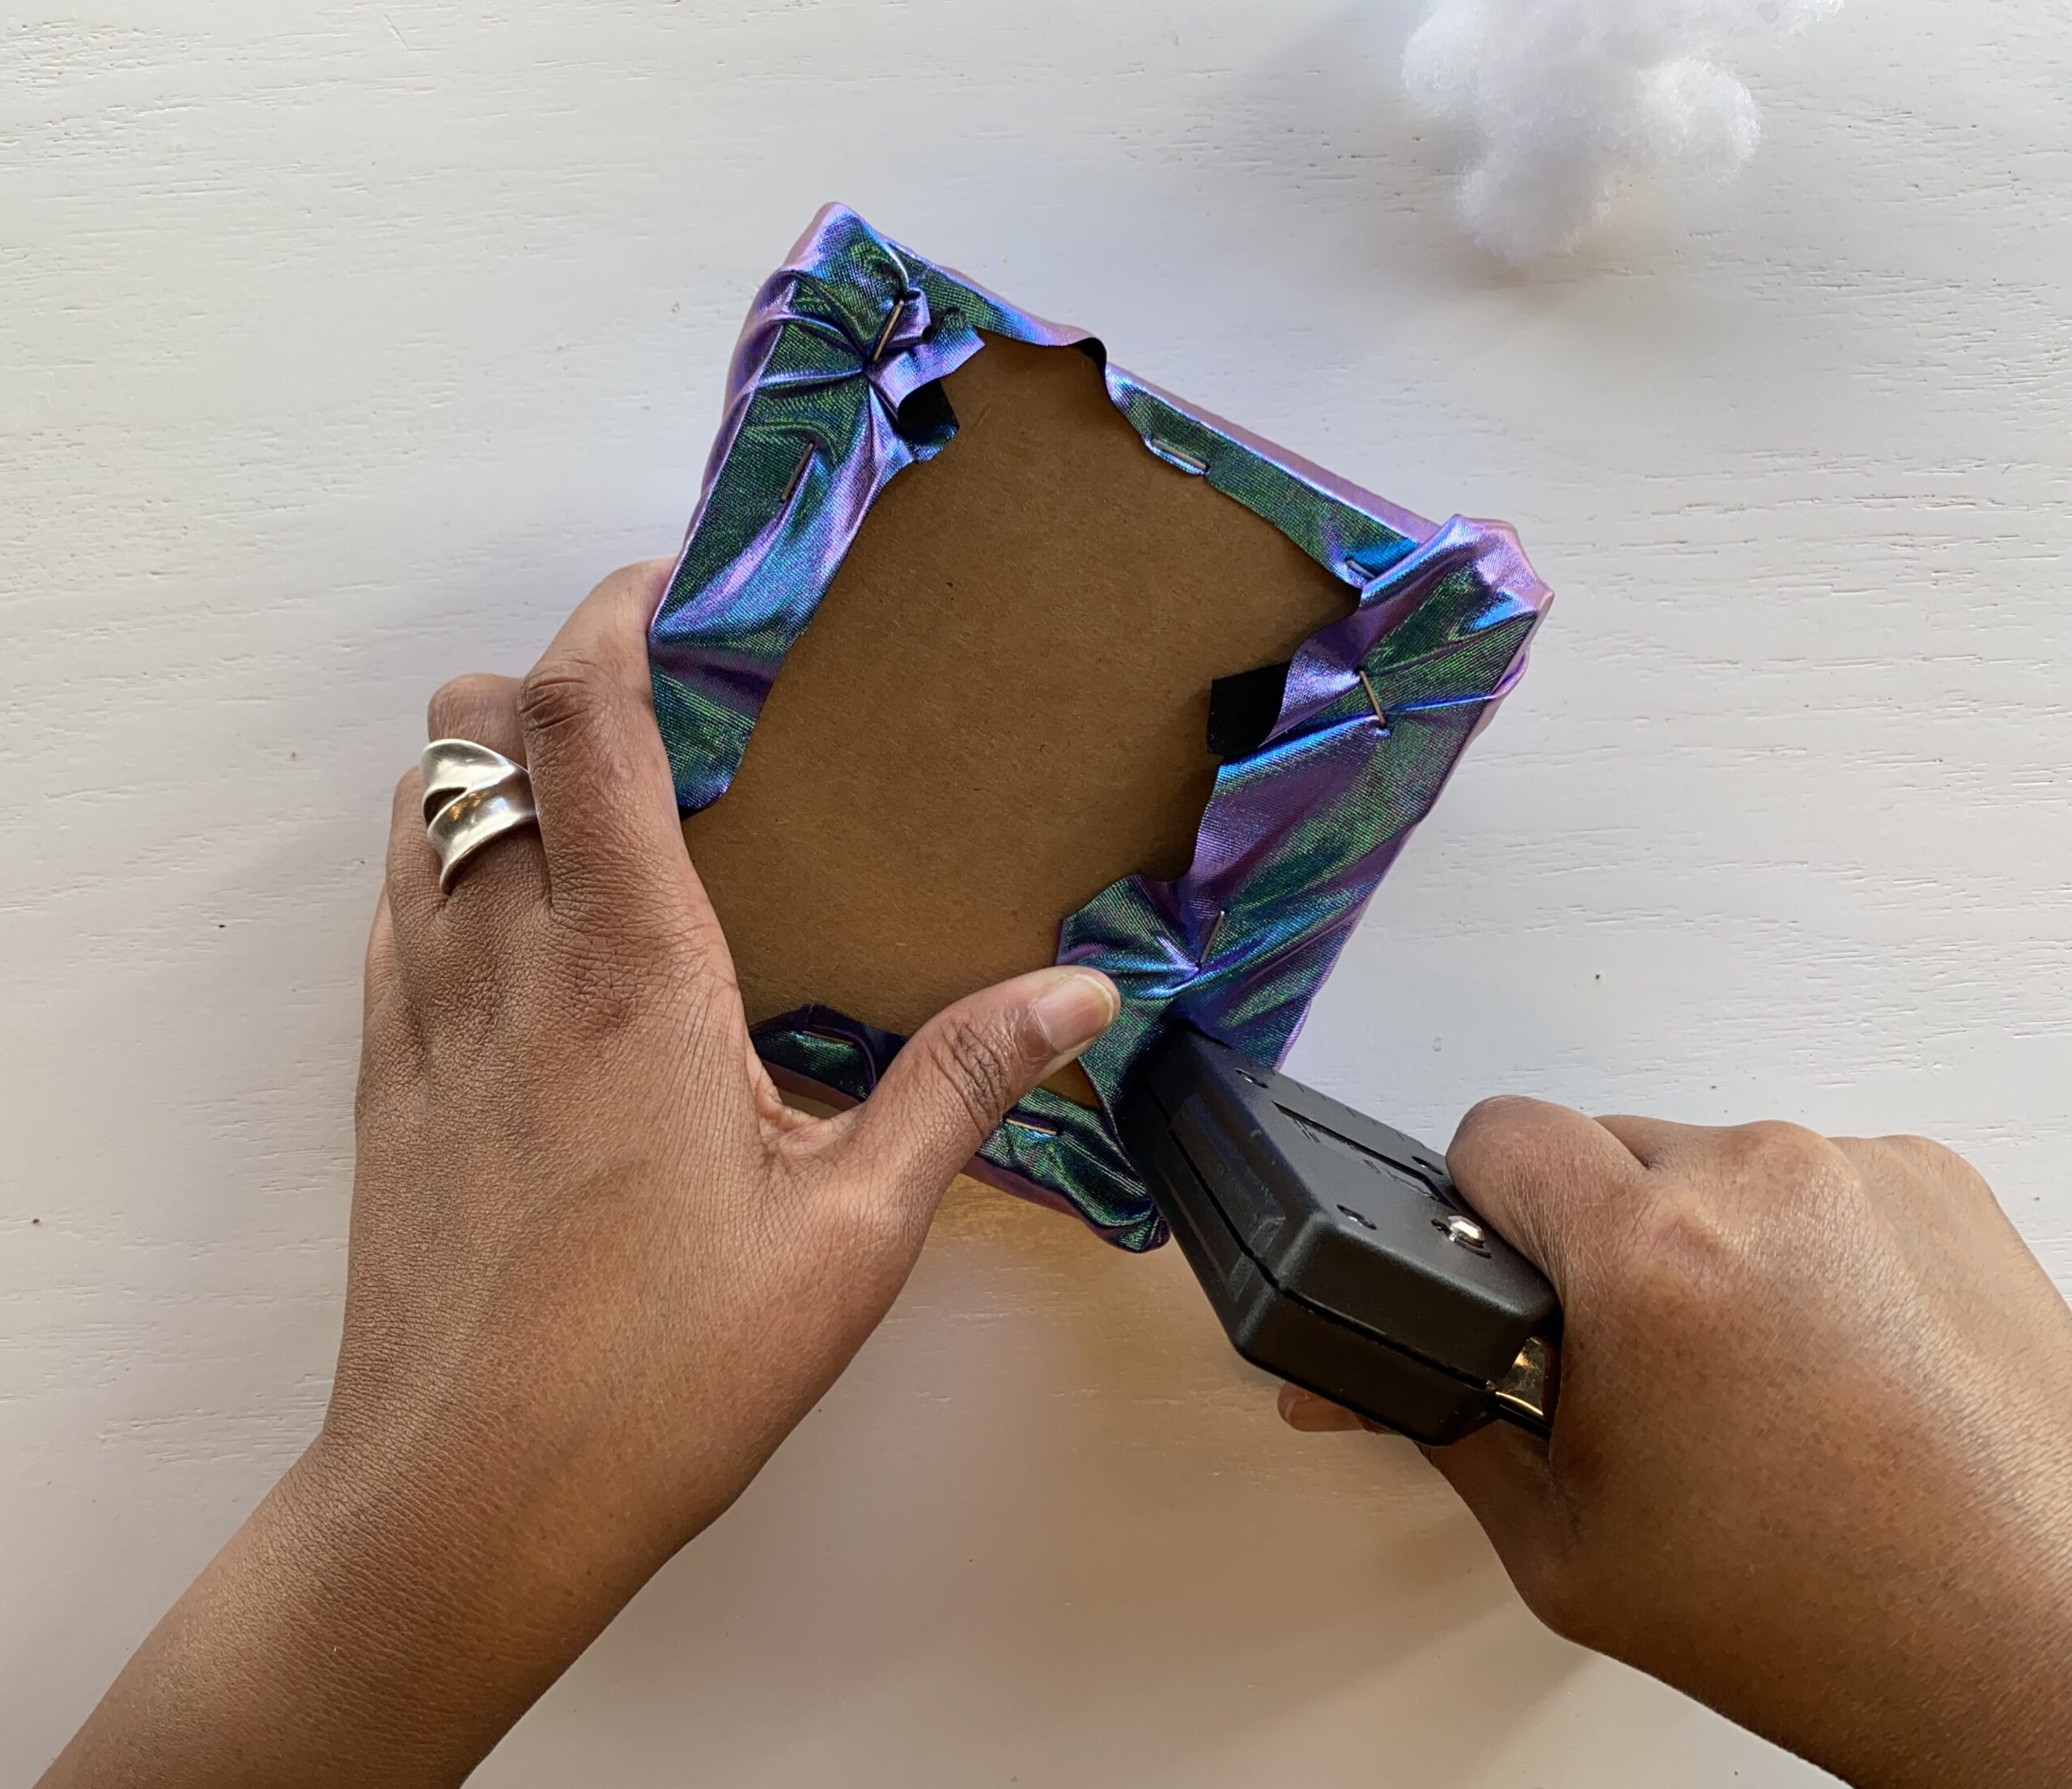
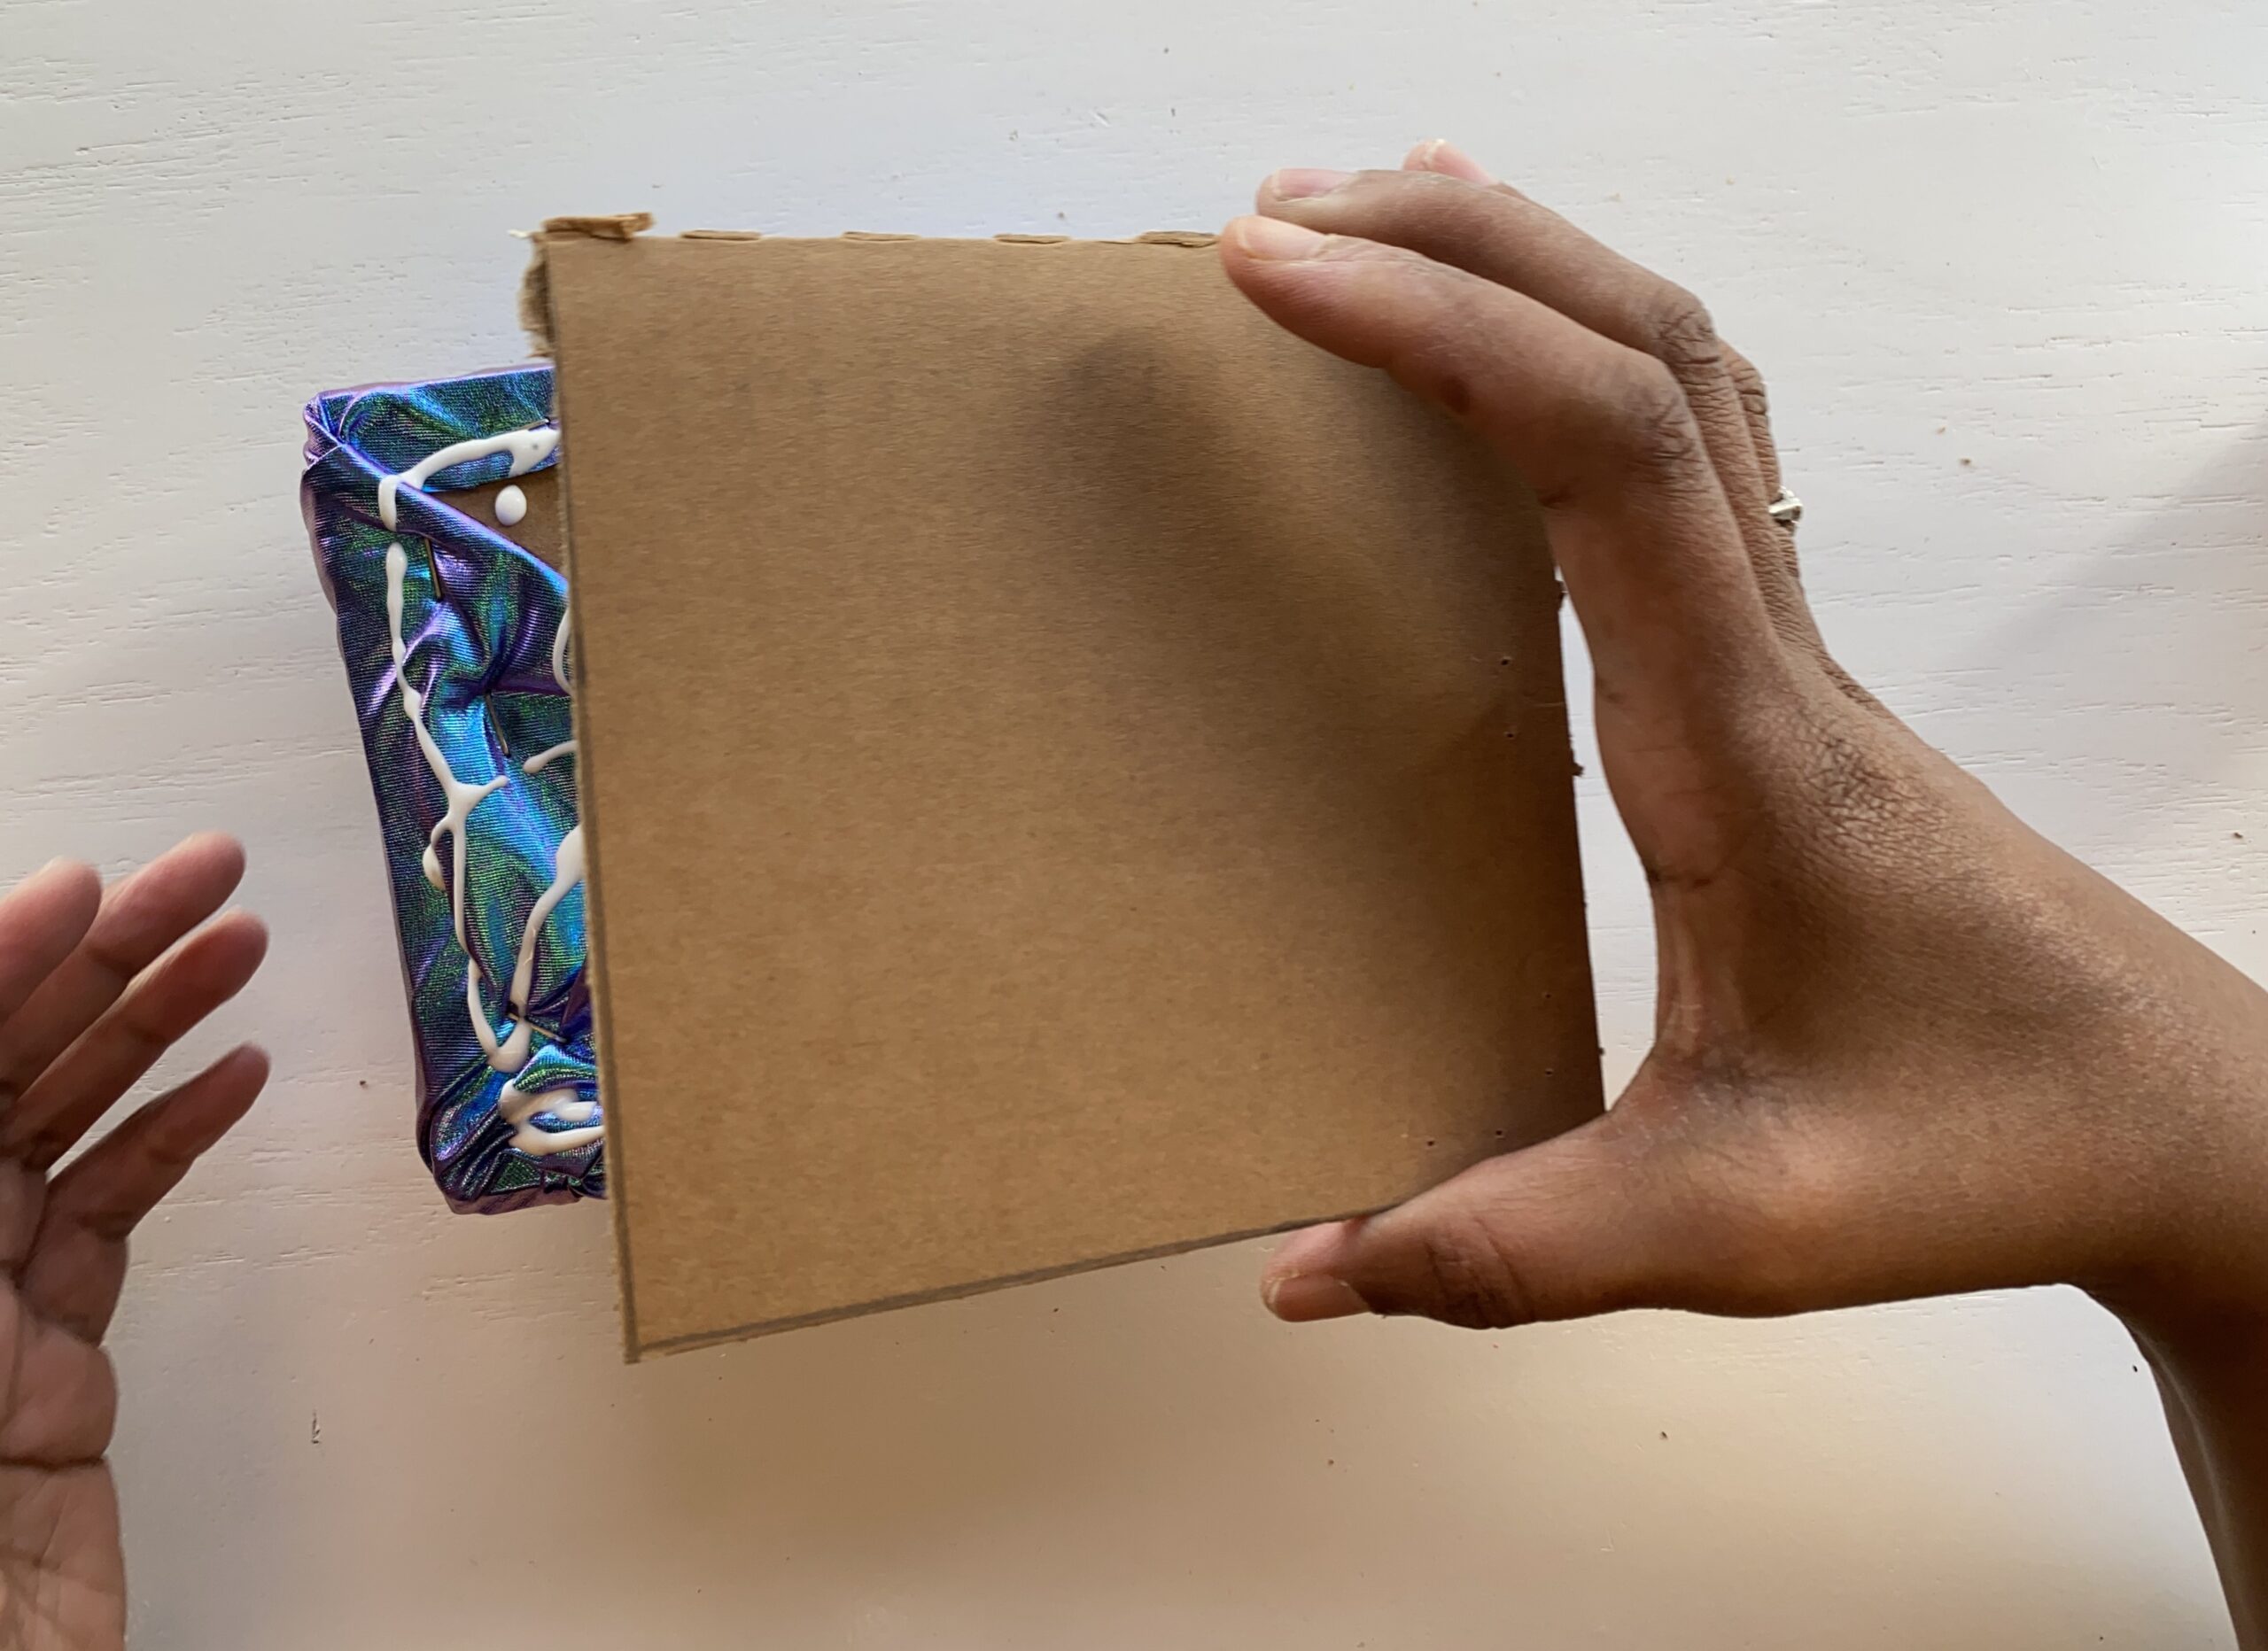
8. Take the fabric and place your symbol strategically in the middle and on top of the cardboard squares. Now flip it over and keep in mind you want your symbol to be in the center but remember to leave a little space and bring the edges of the fabric around the bottom piece of the cardboard. Then take the staple gun and begin stapling one side. At this point, flip it over and make sure your symbol is still in the middle with a little extra around the side. Then staple an adjacent side to the one you just stapled. Check on the front one more time, making sure the symbol is in the middle but with room. Then staple on the back one more side. A little space between the fabric on the front and the staples in the back is important when stuffing with the polyfil in the next step.
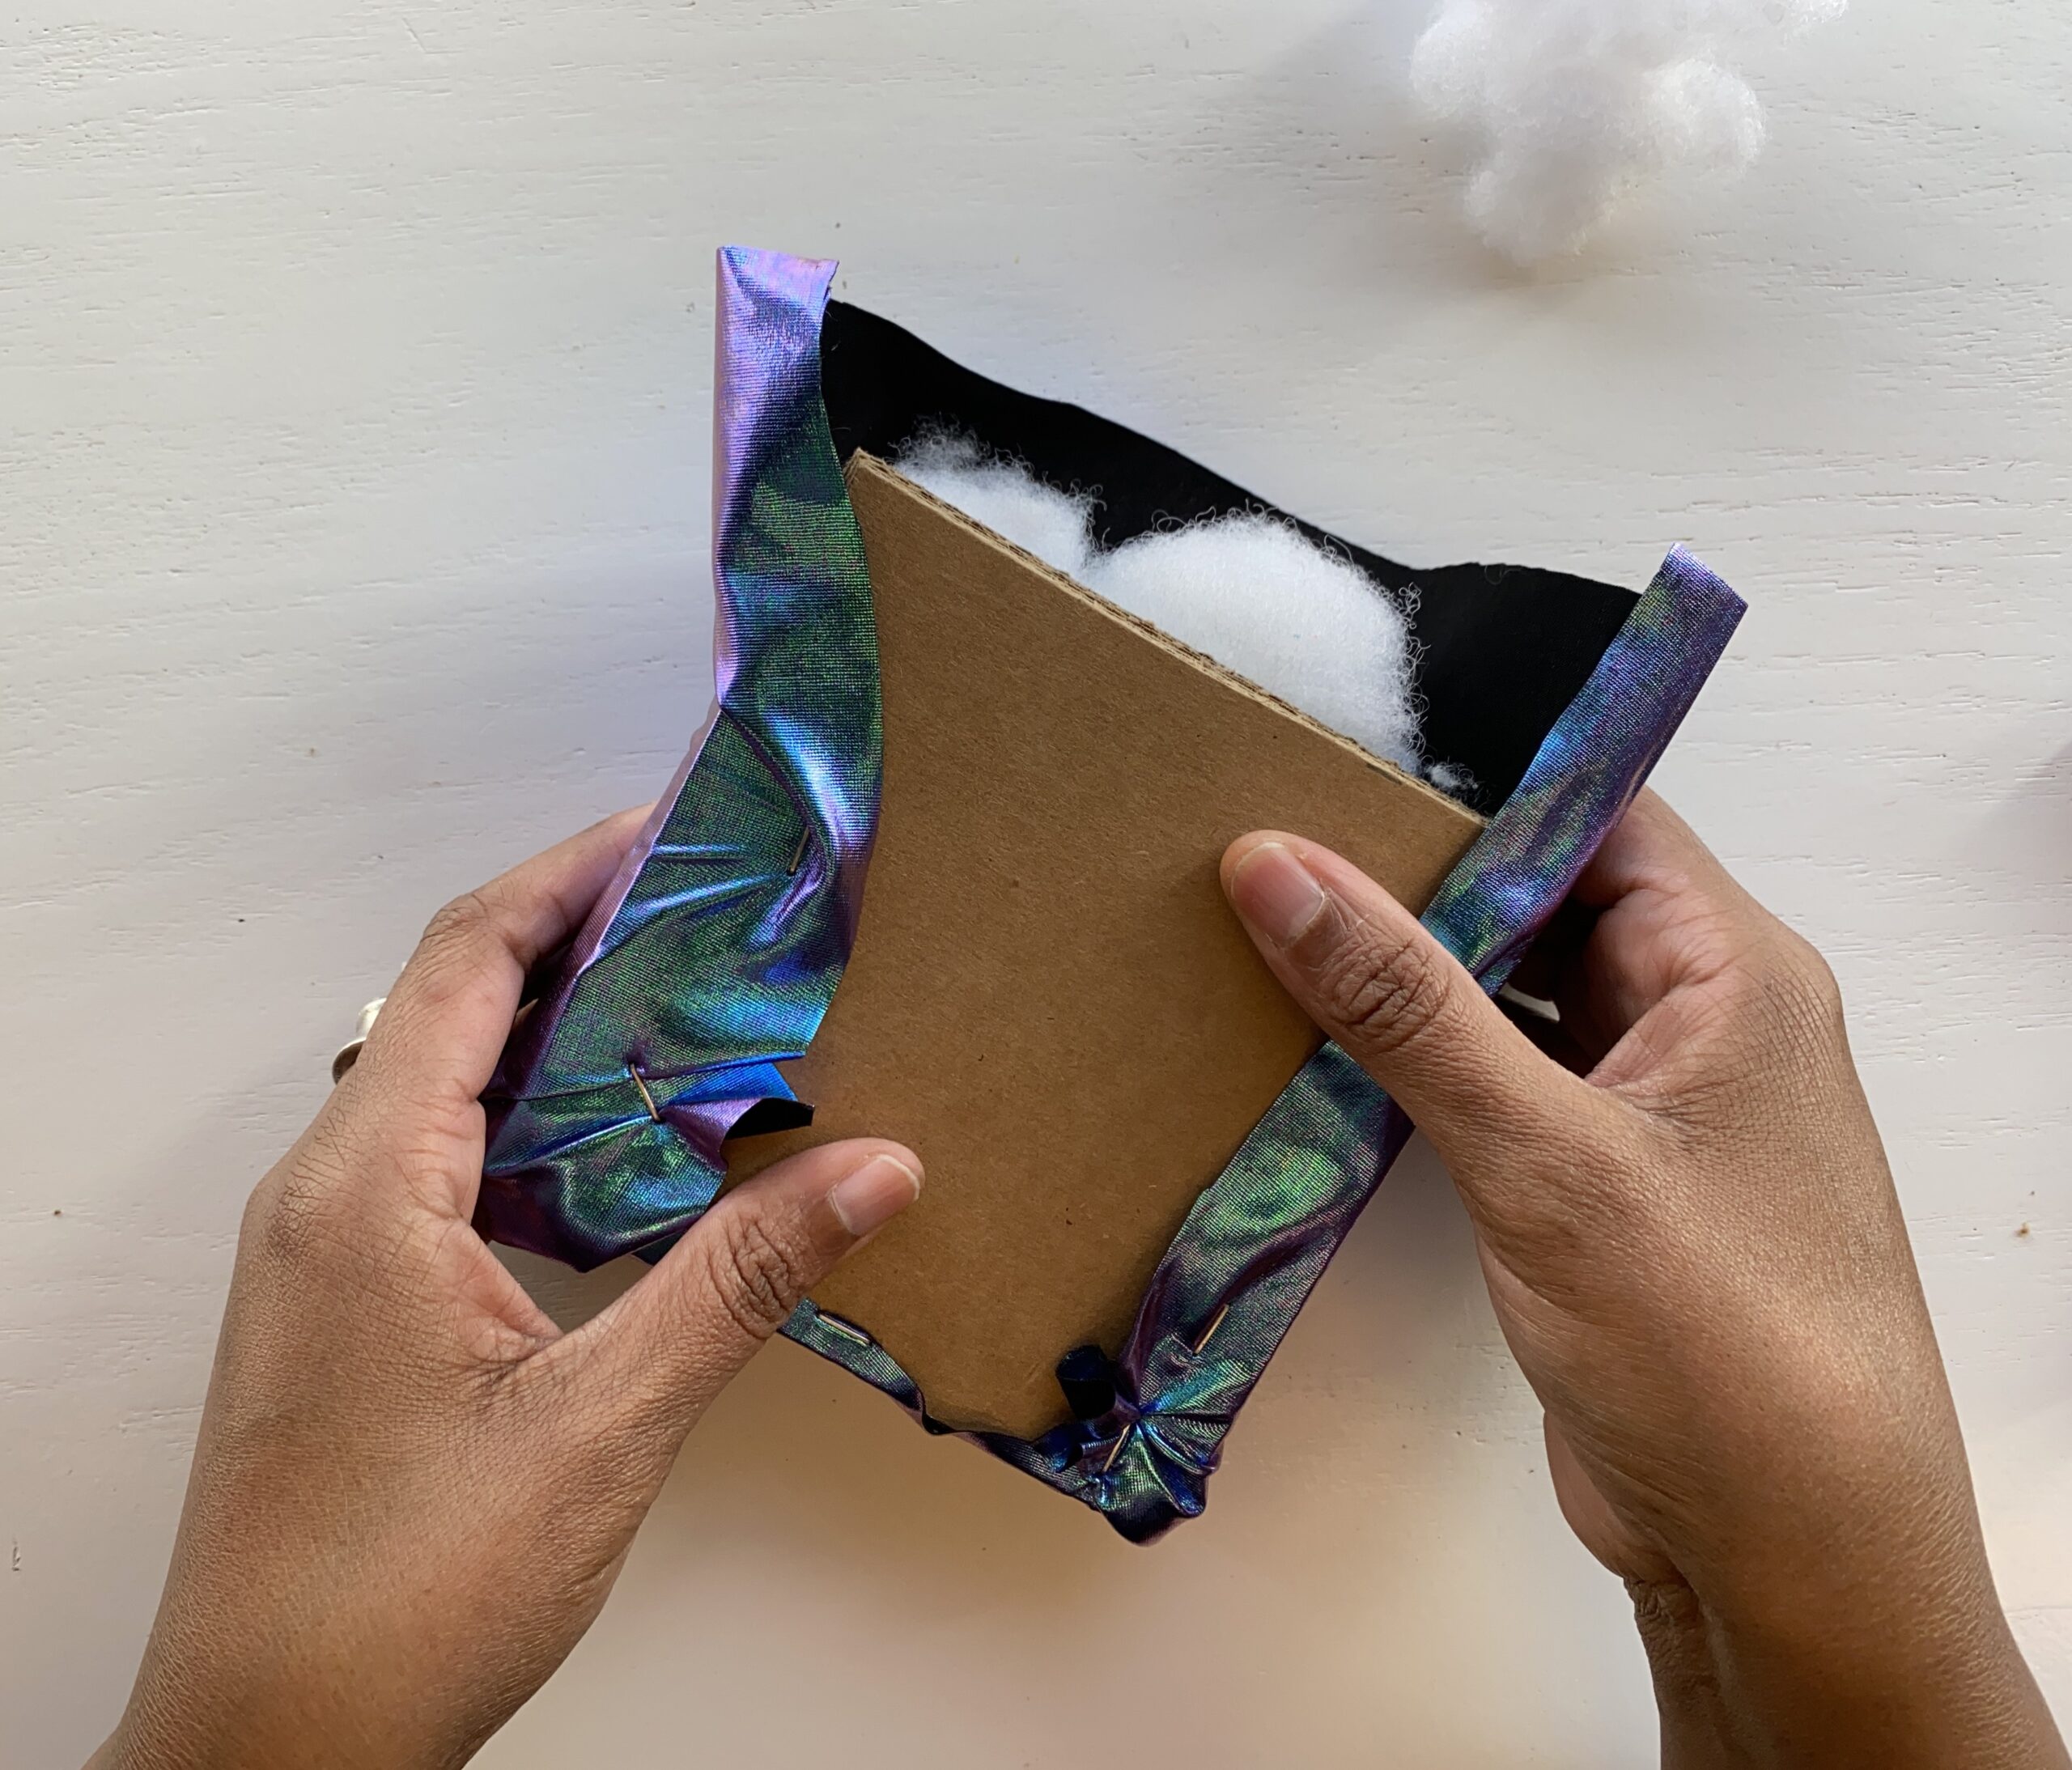
9. Take the polyfil and begin to stuff between the fabric and the top of the cardboard. Keep adding until it feels full.
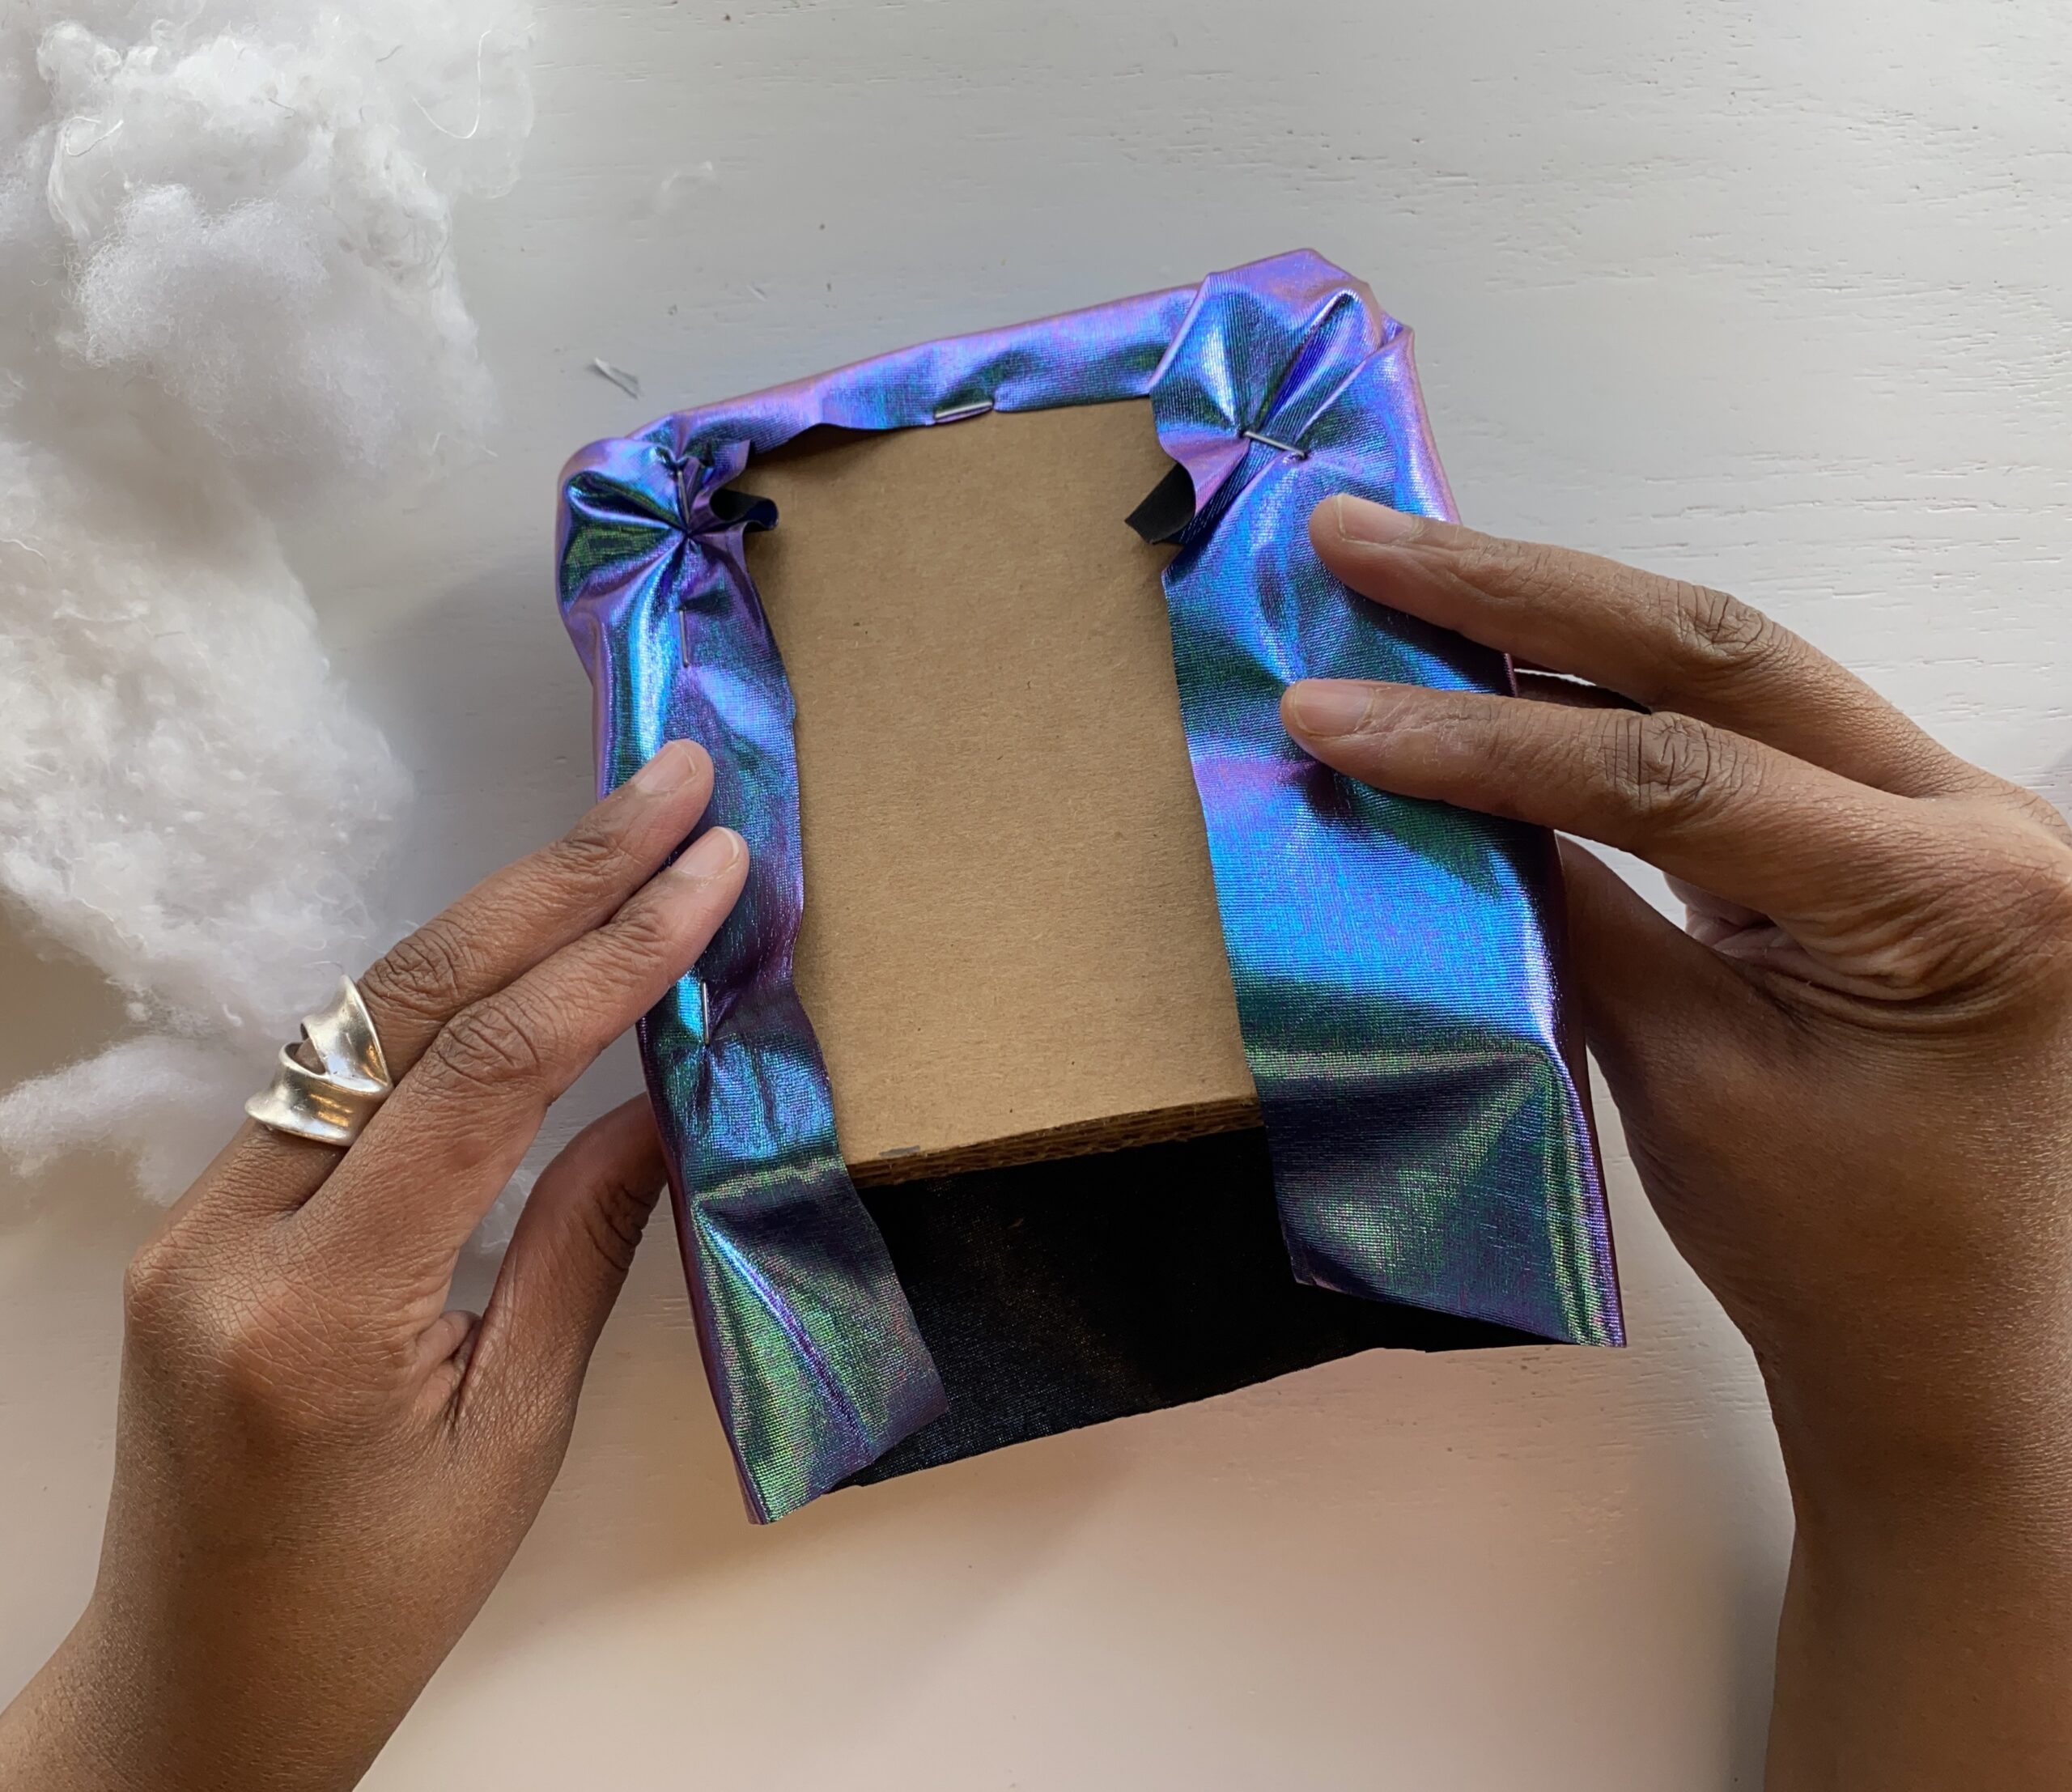
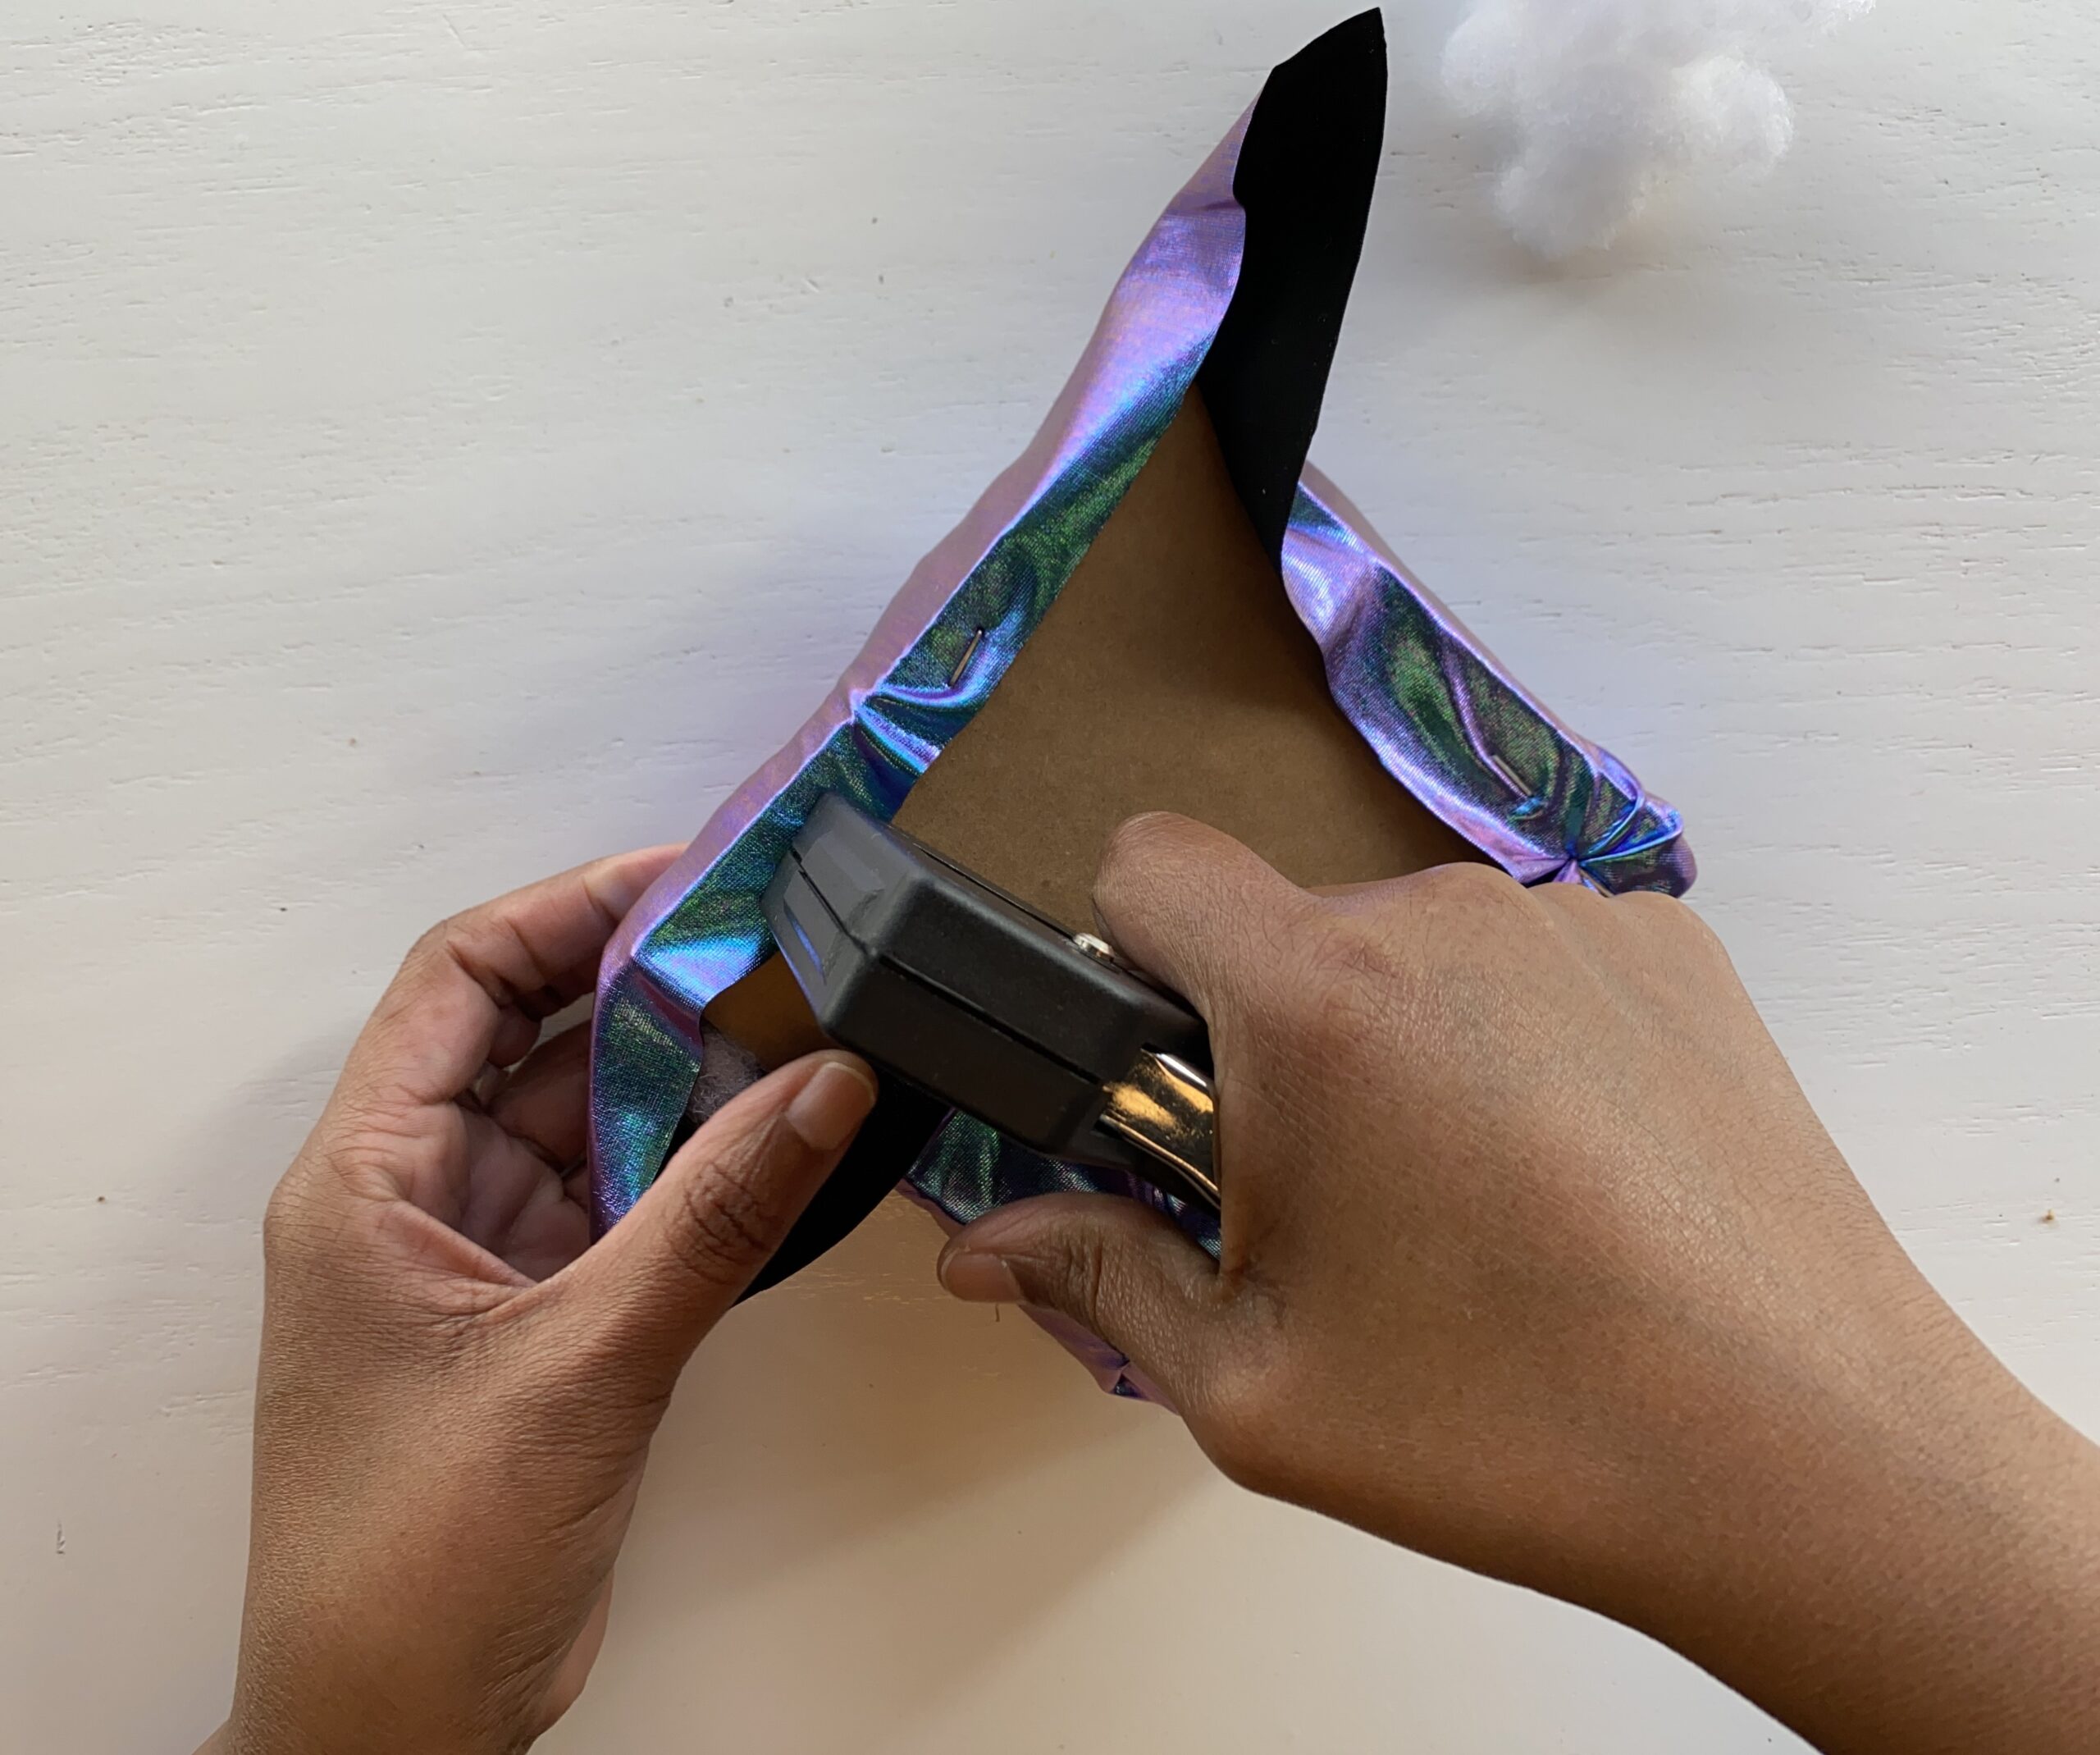
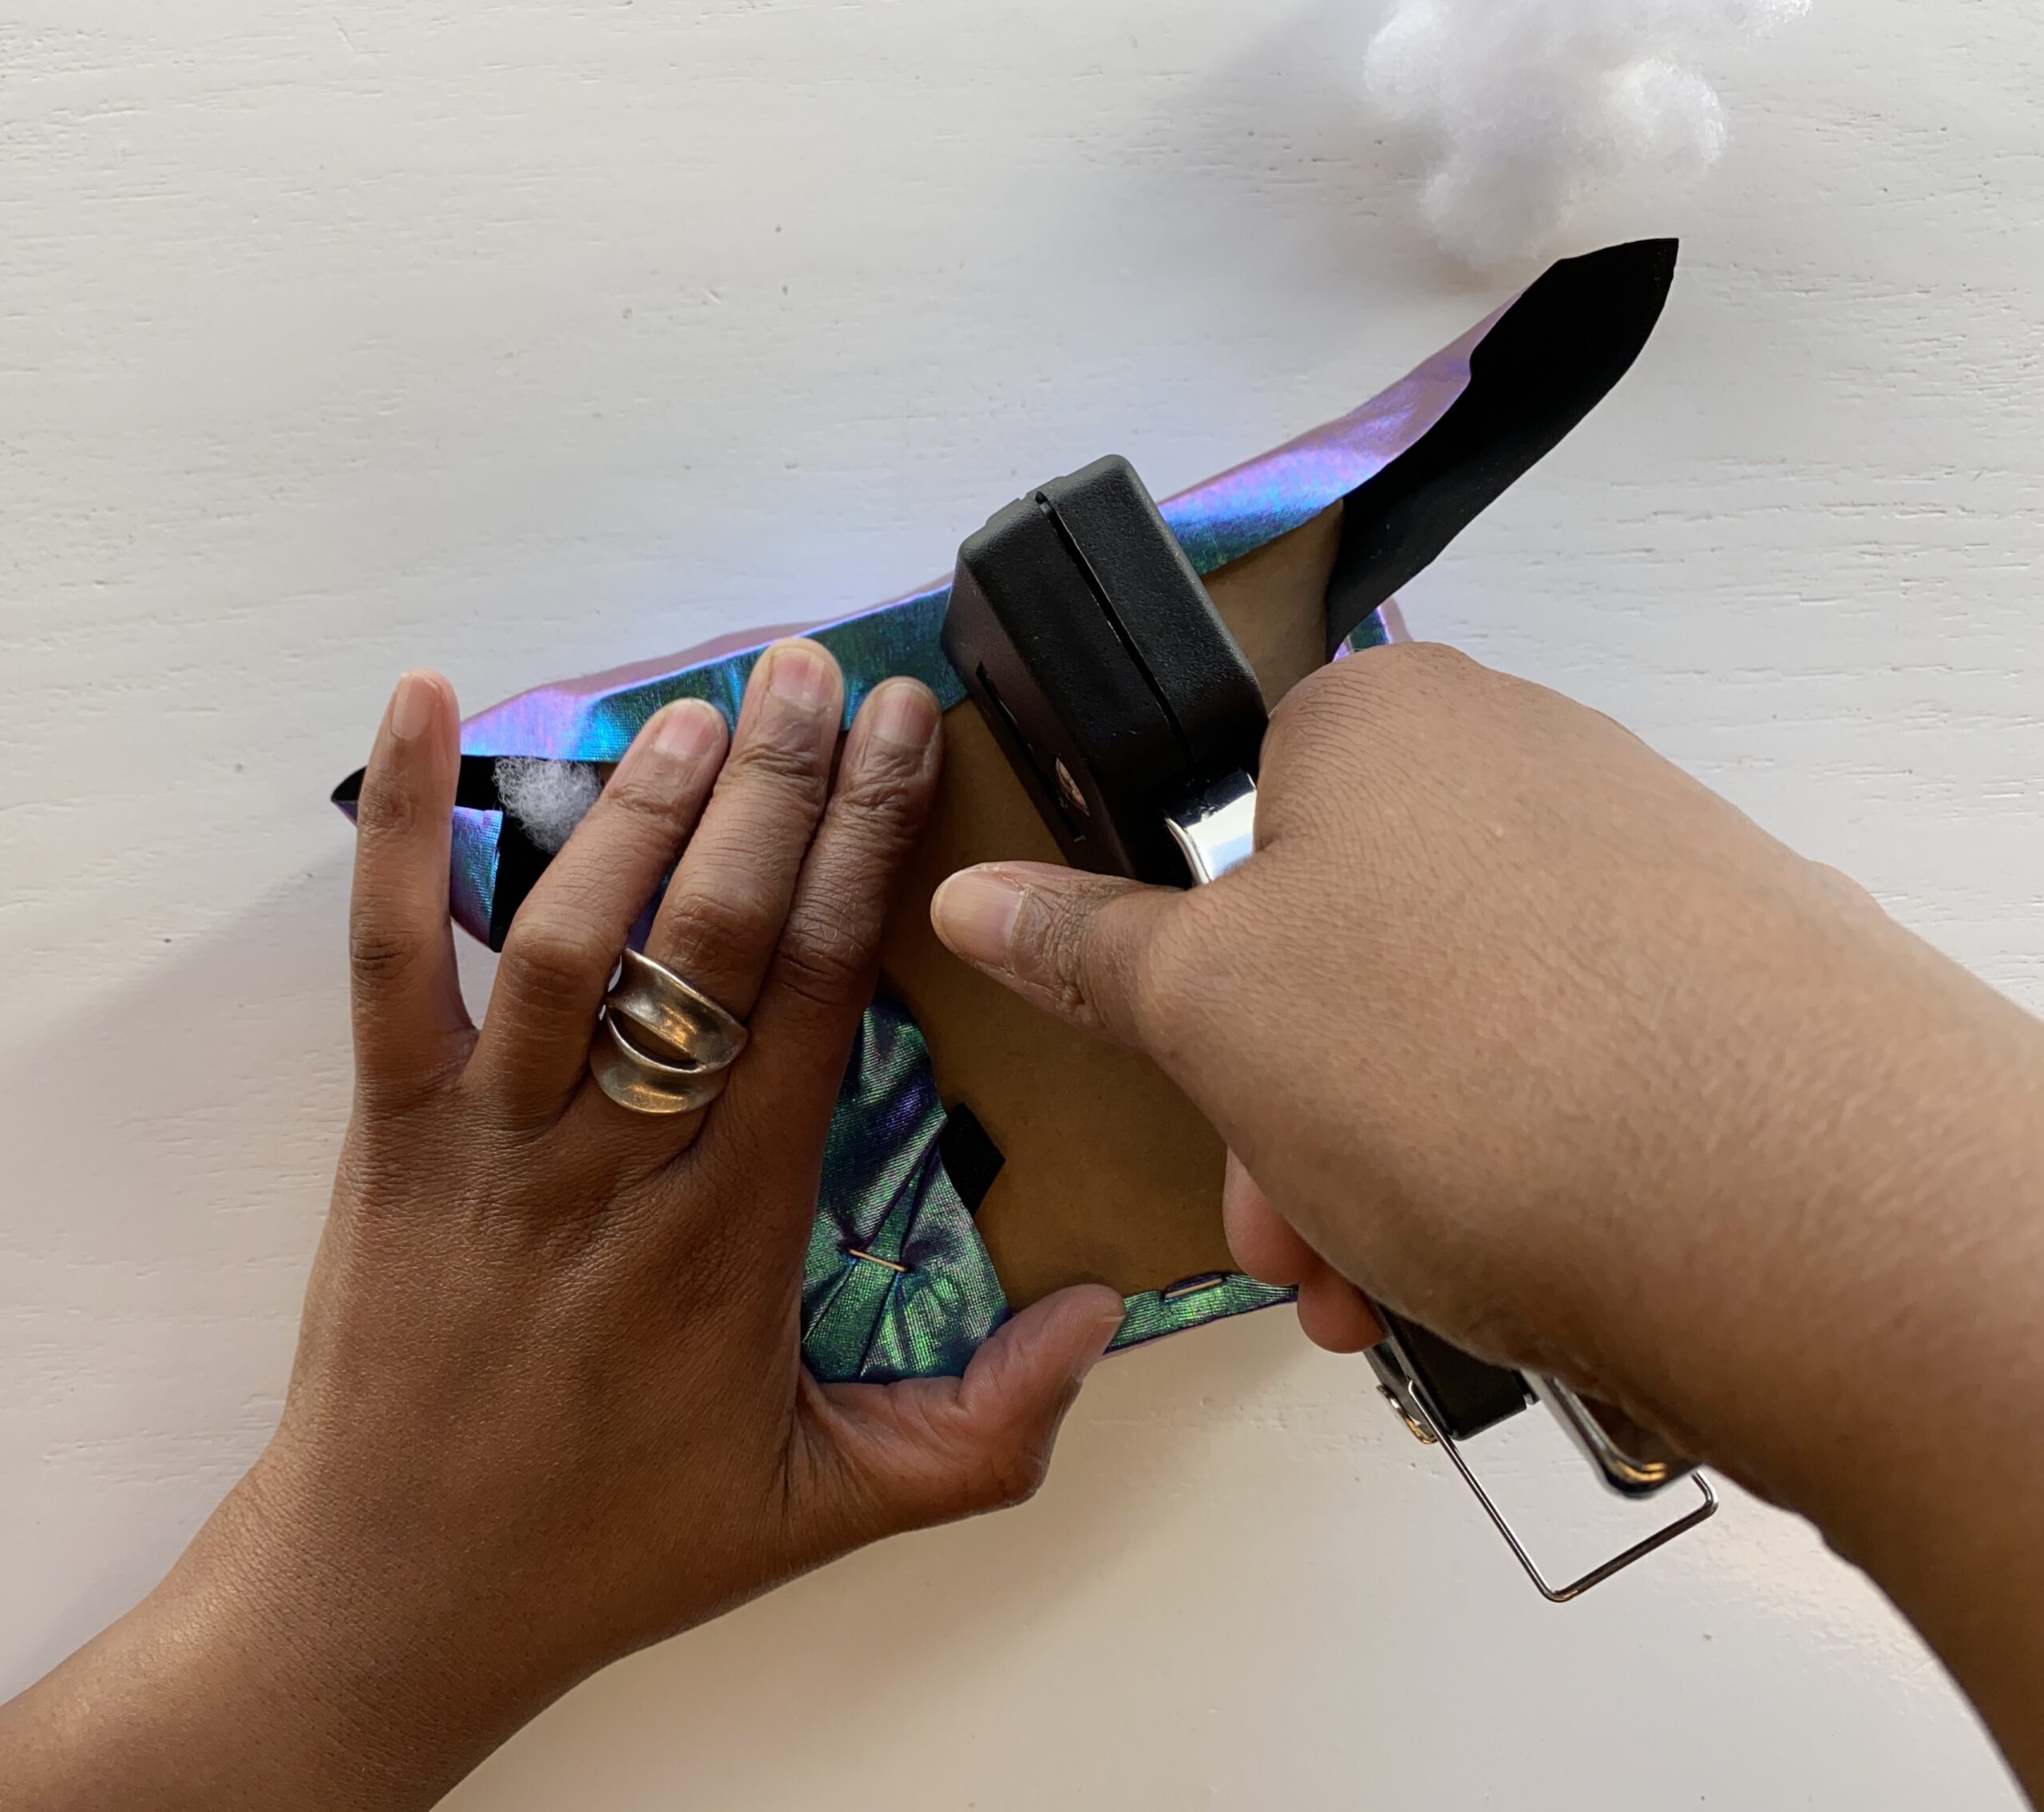
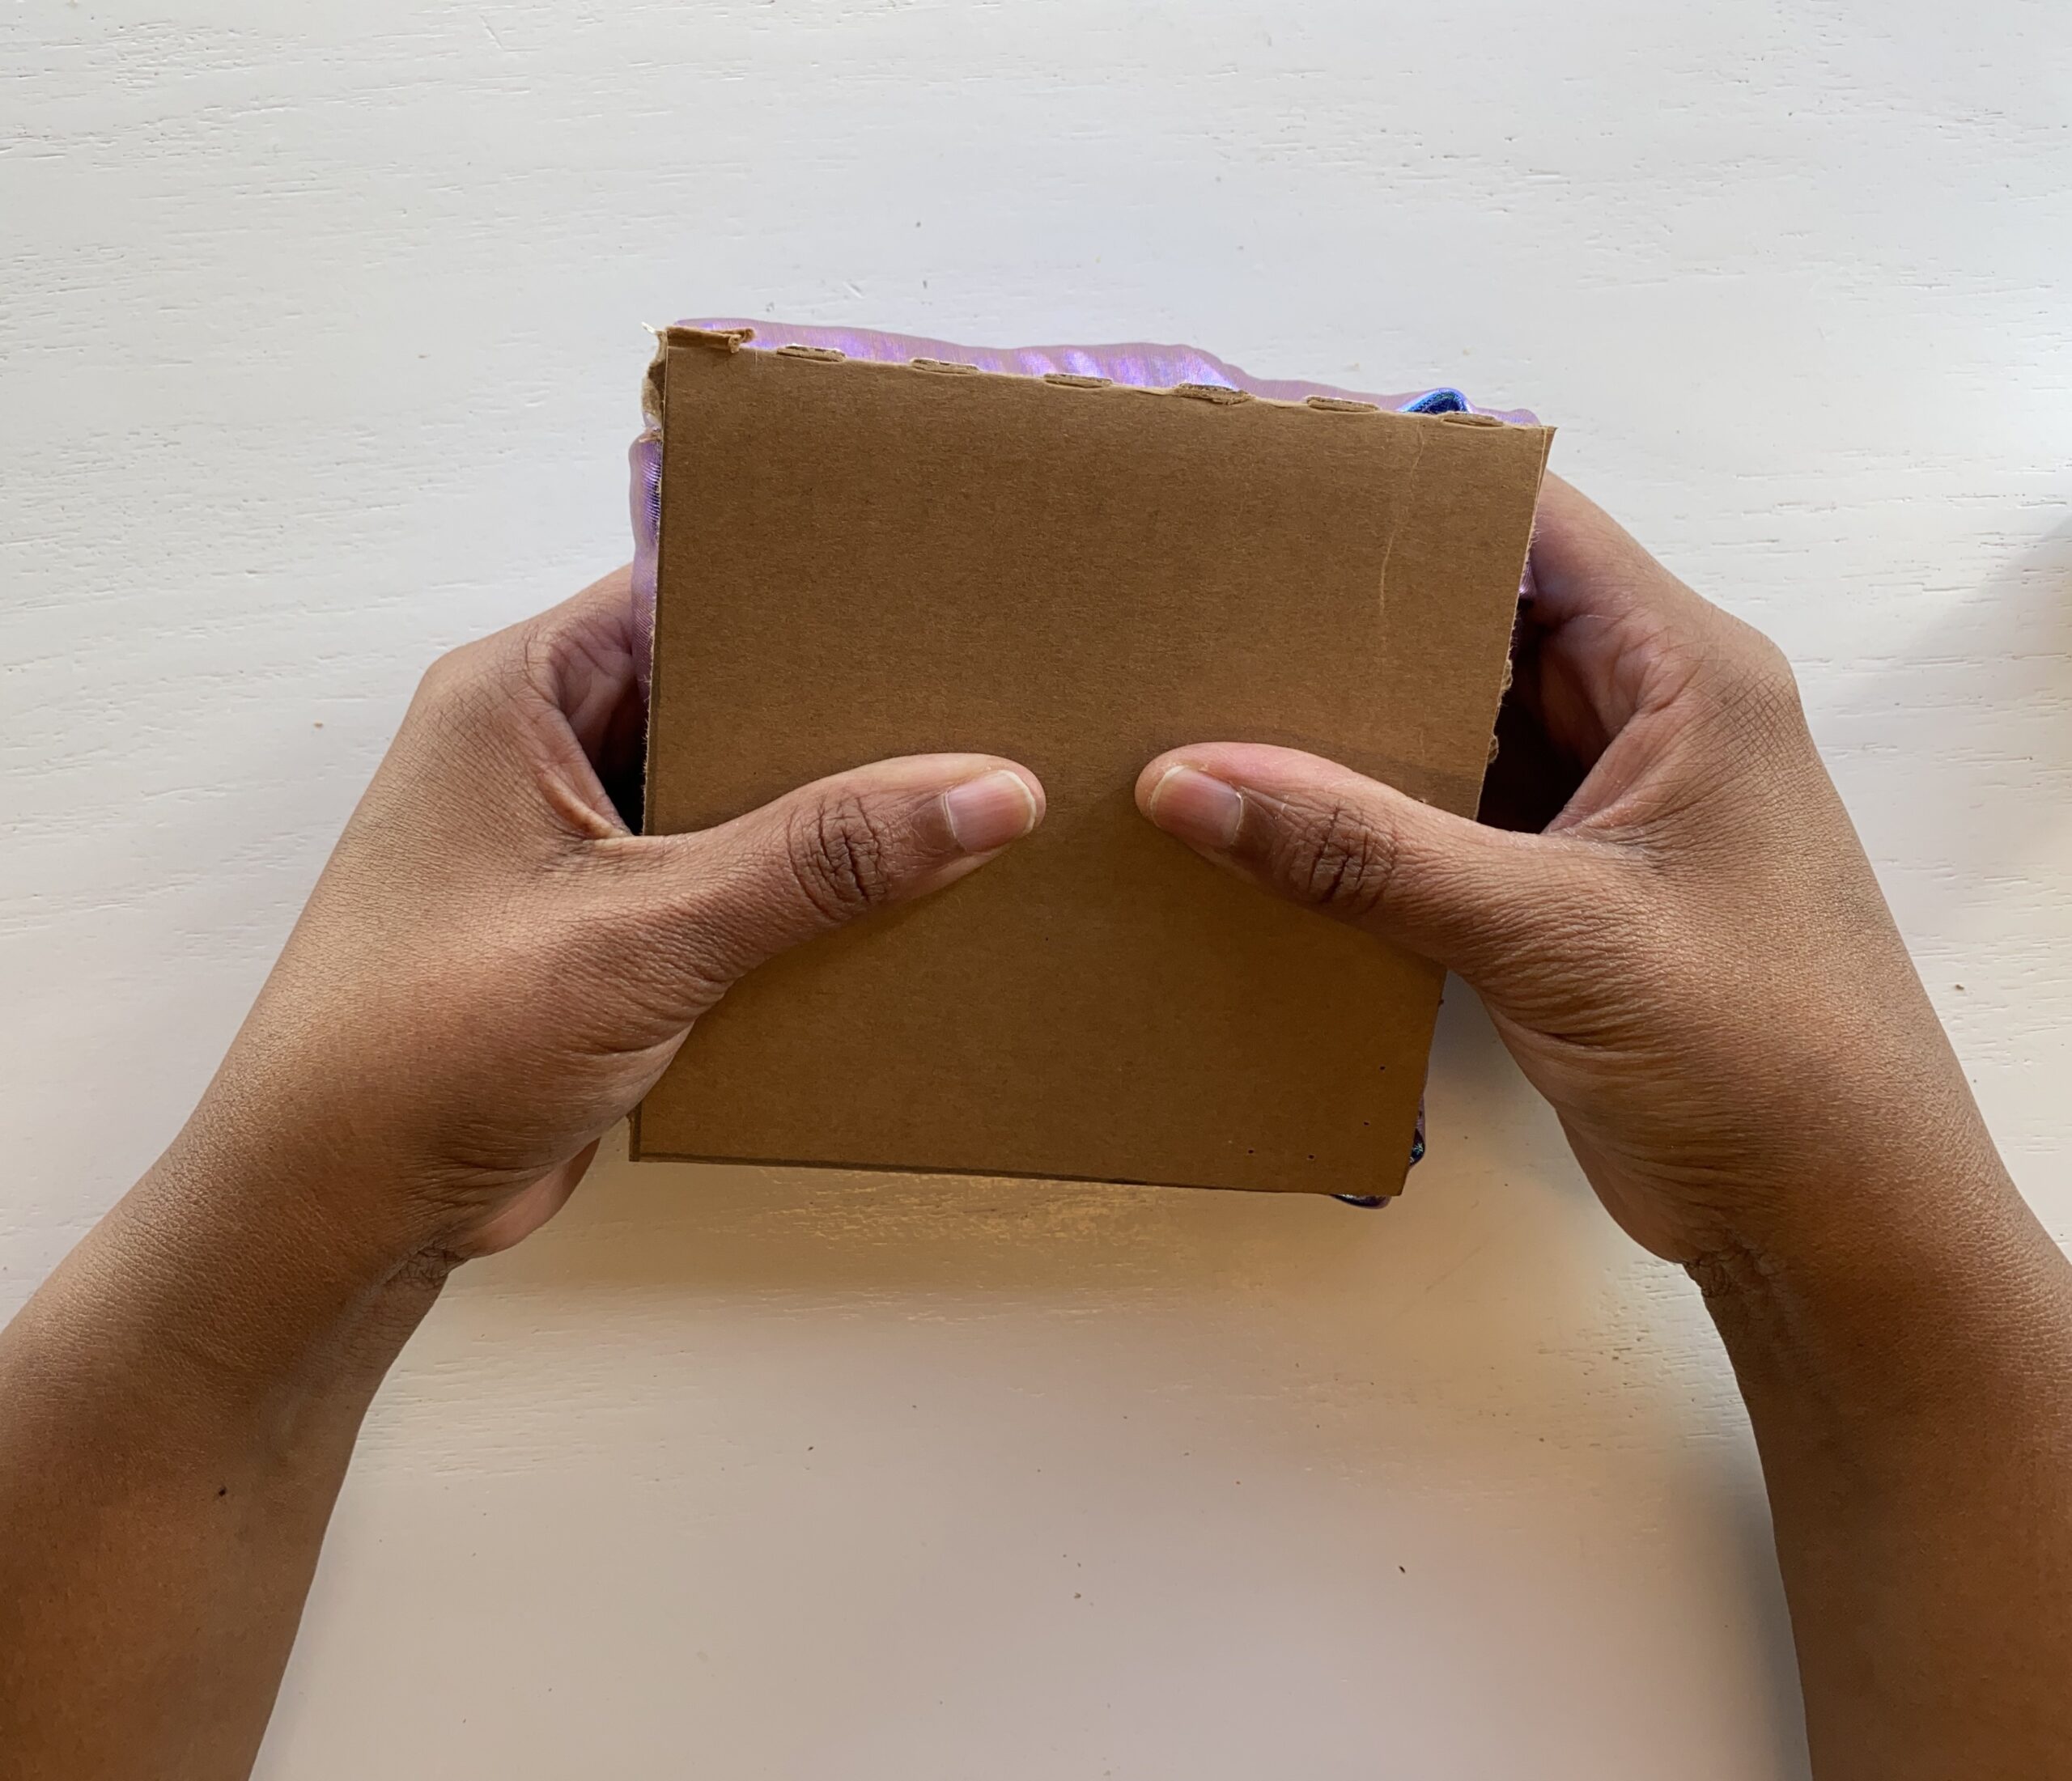
10. Now flip the form over to the cardboard bottom. Begin to gather fabric on the open edges and staple them closed. The top should look like a pillow.
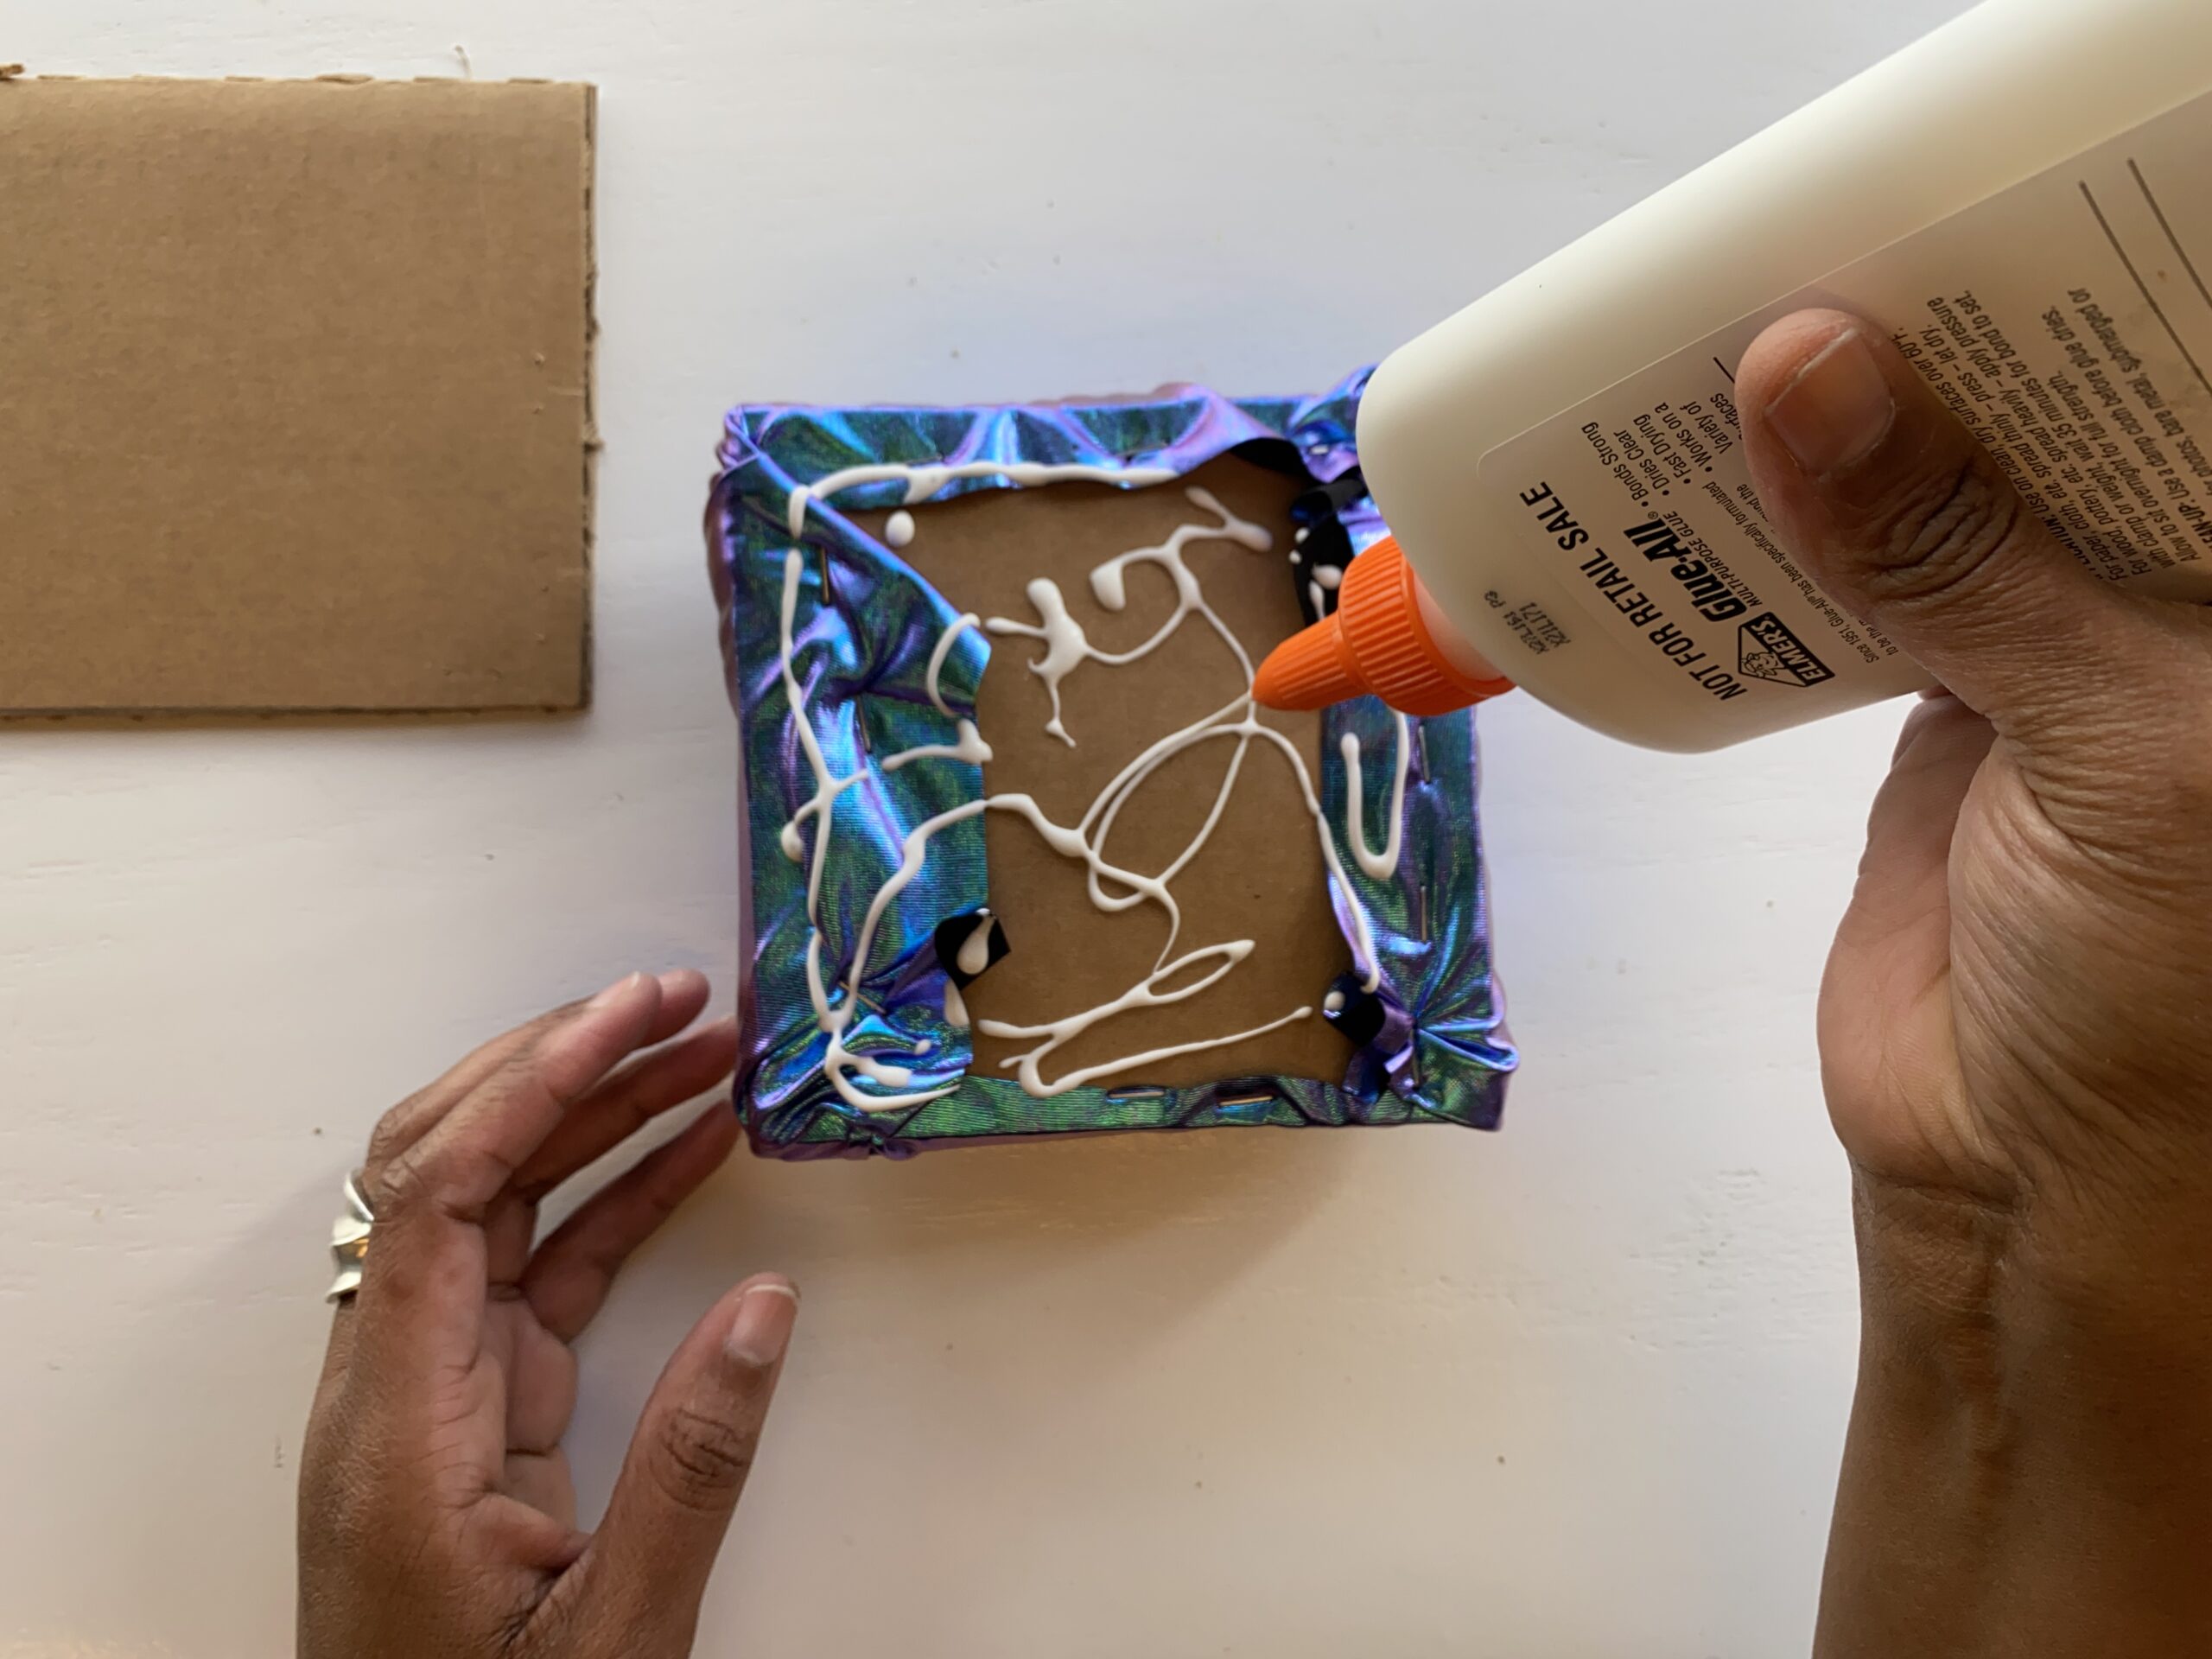
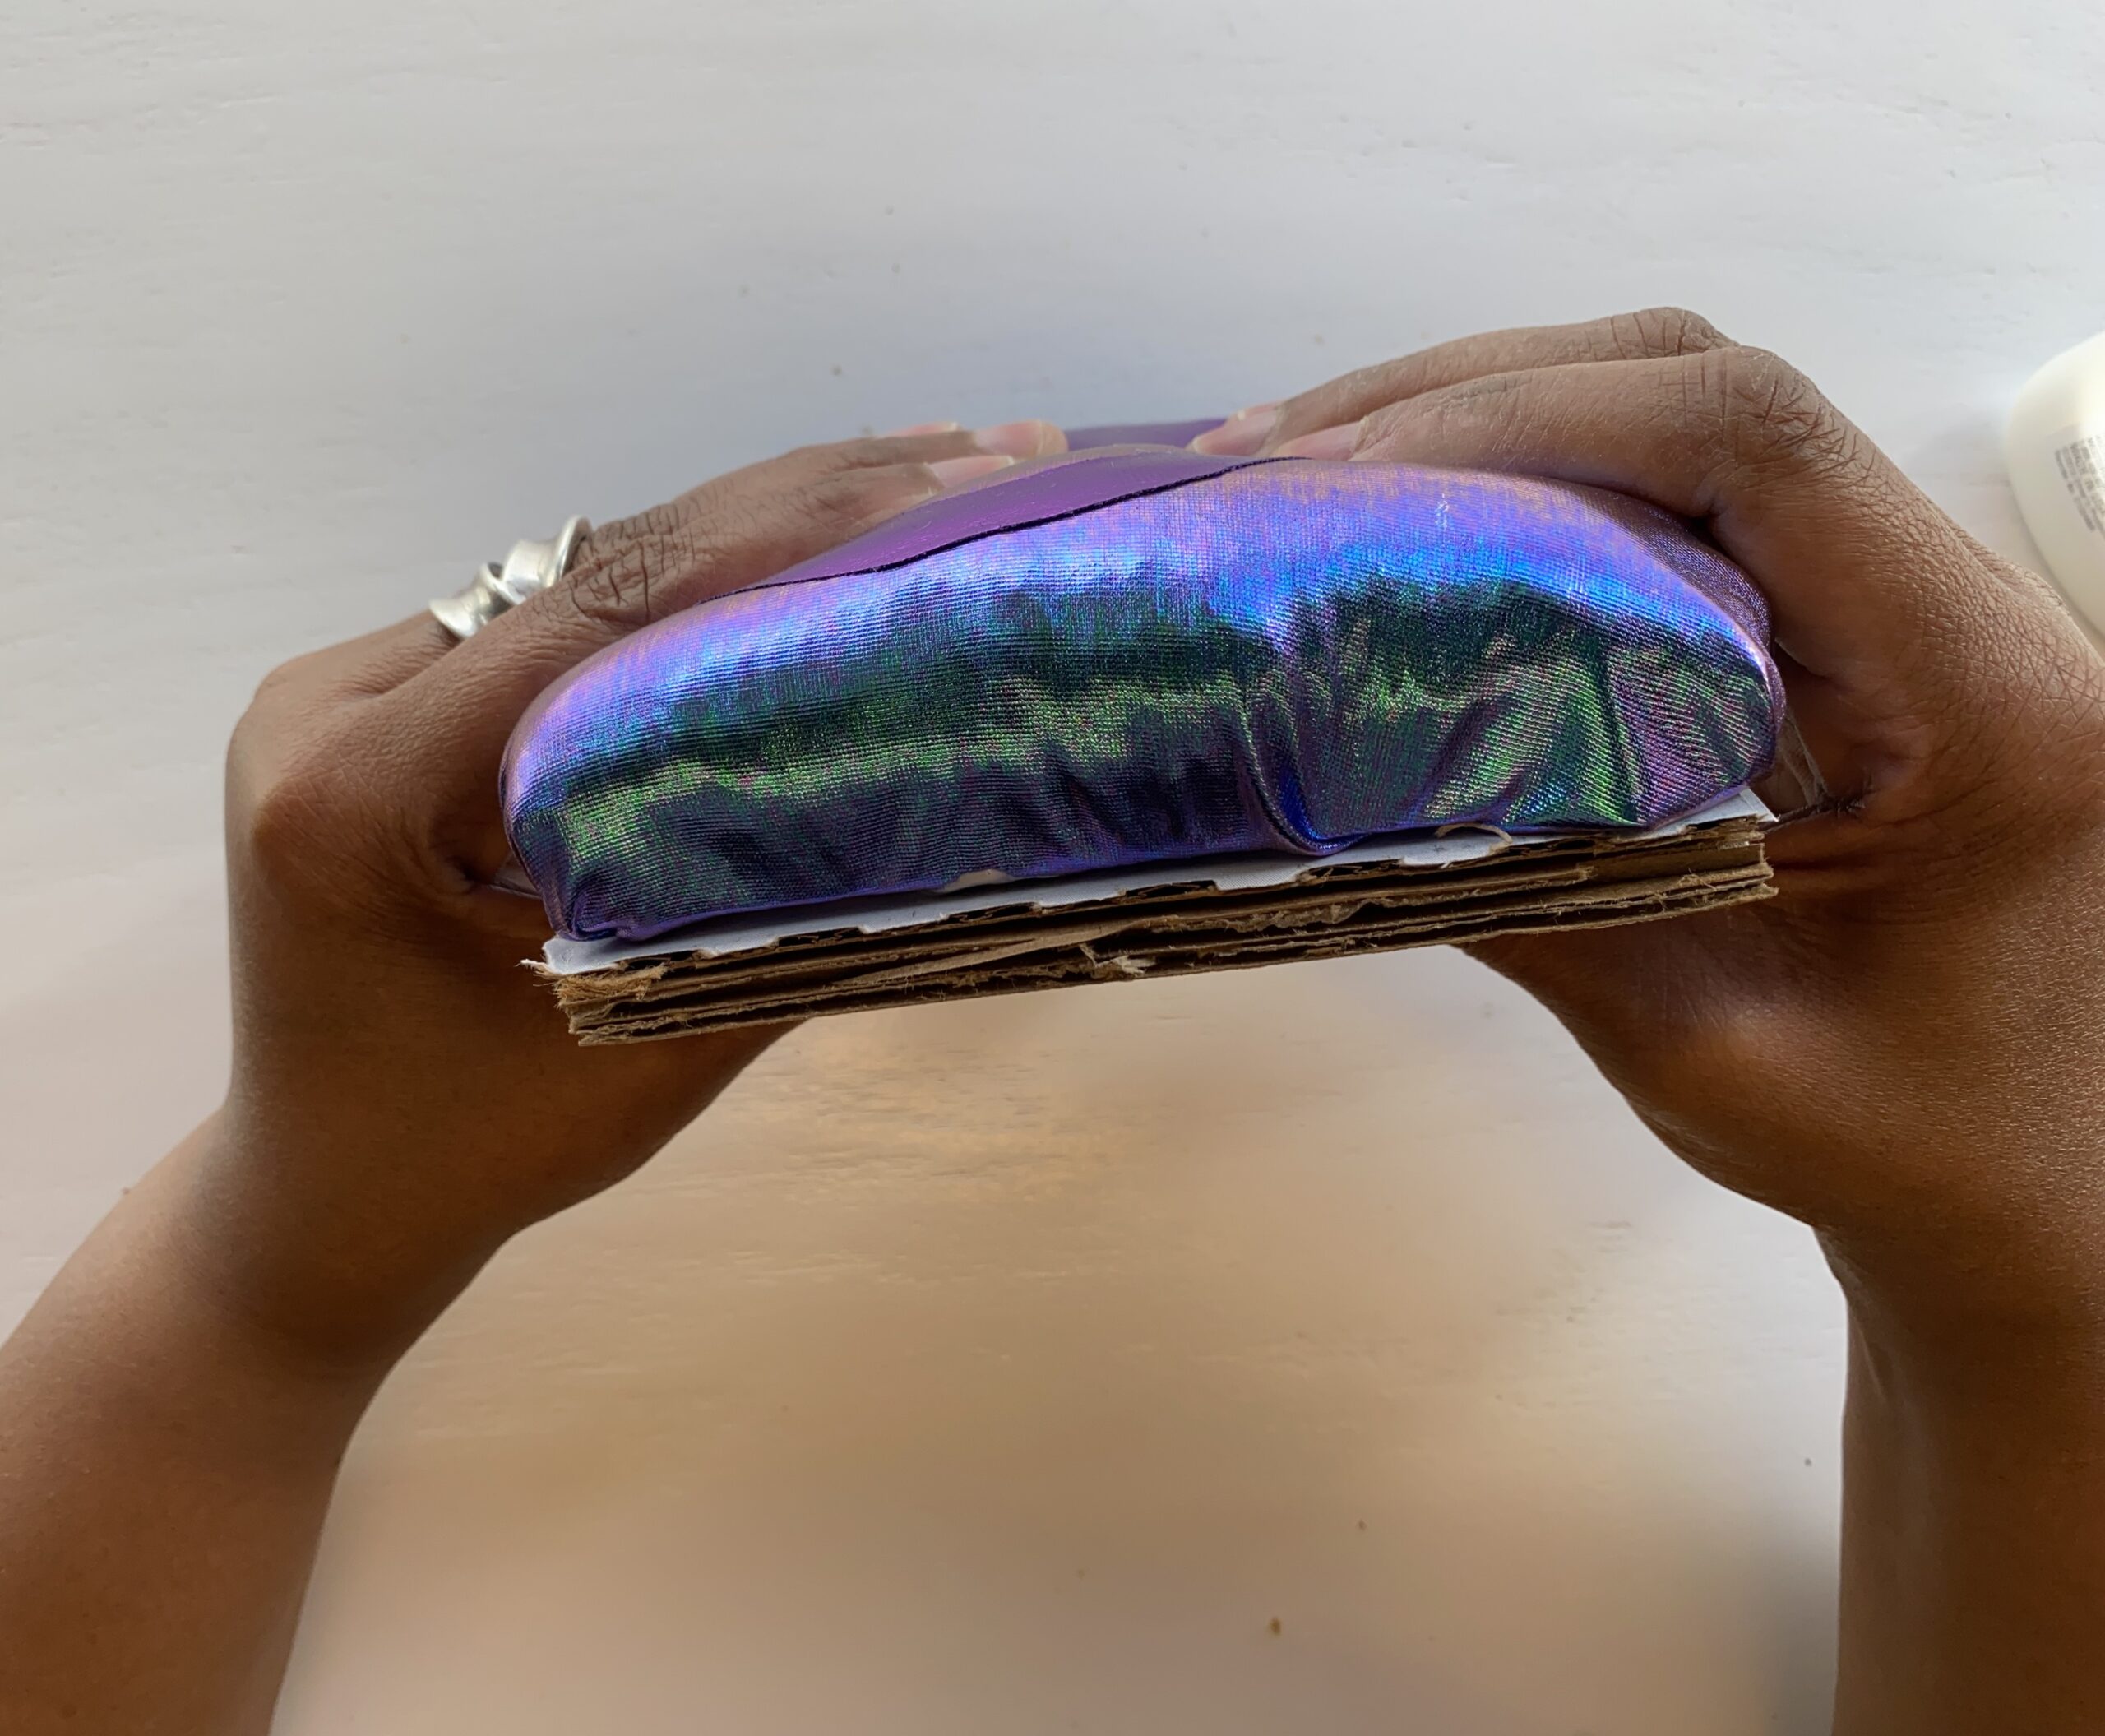
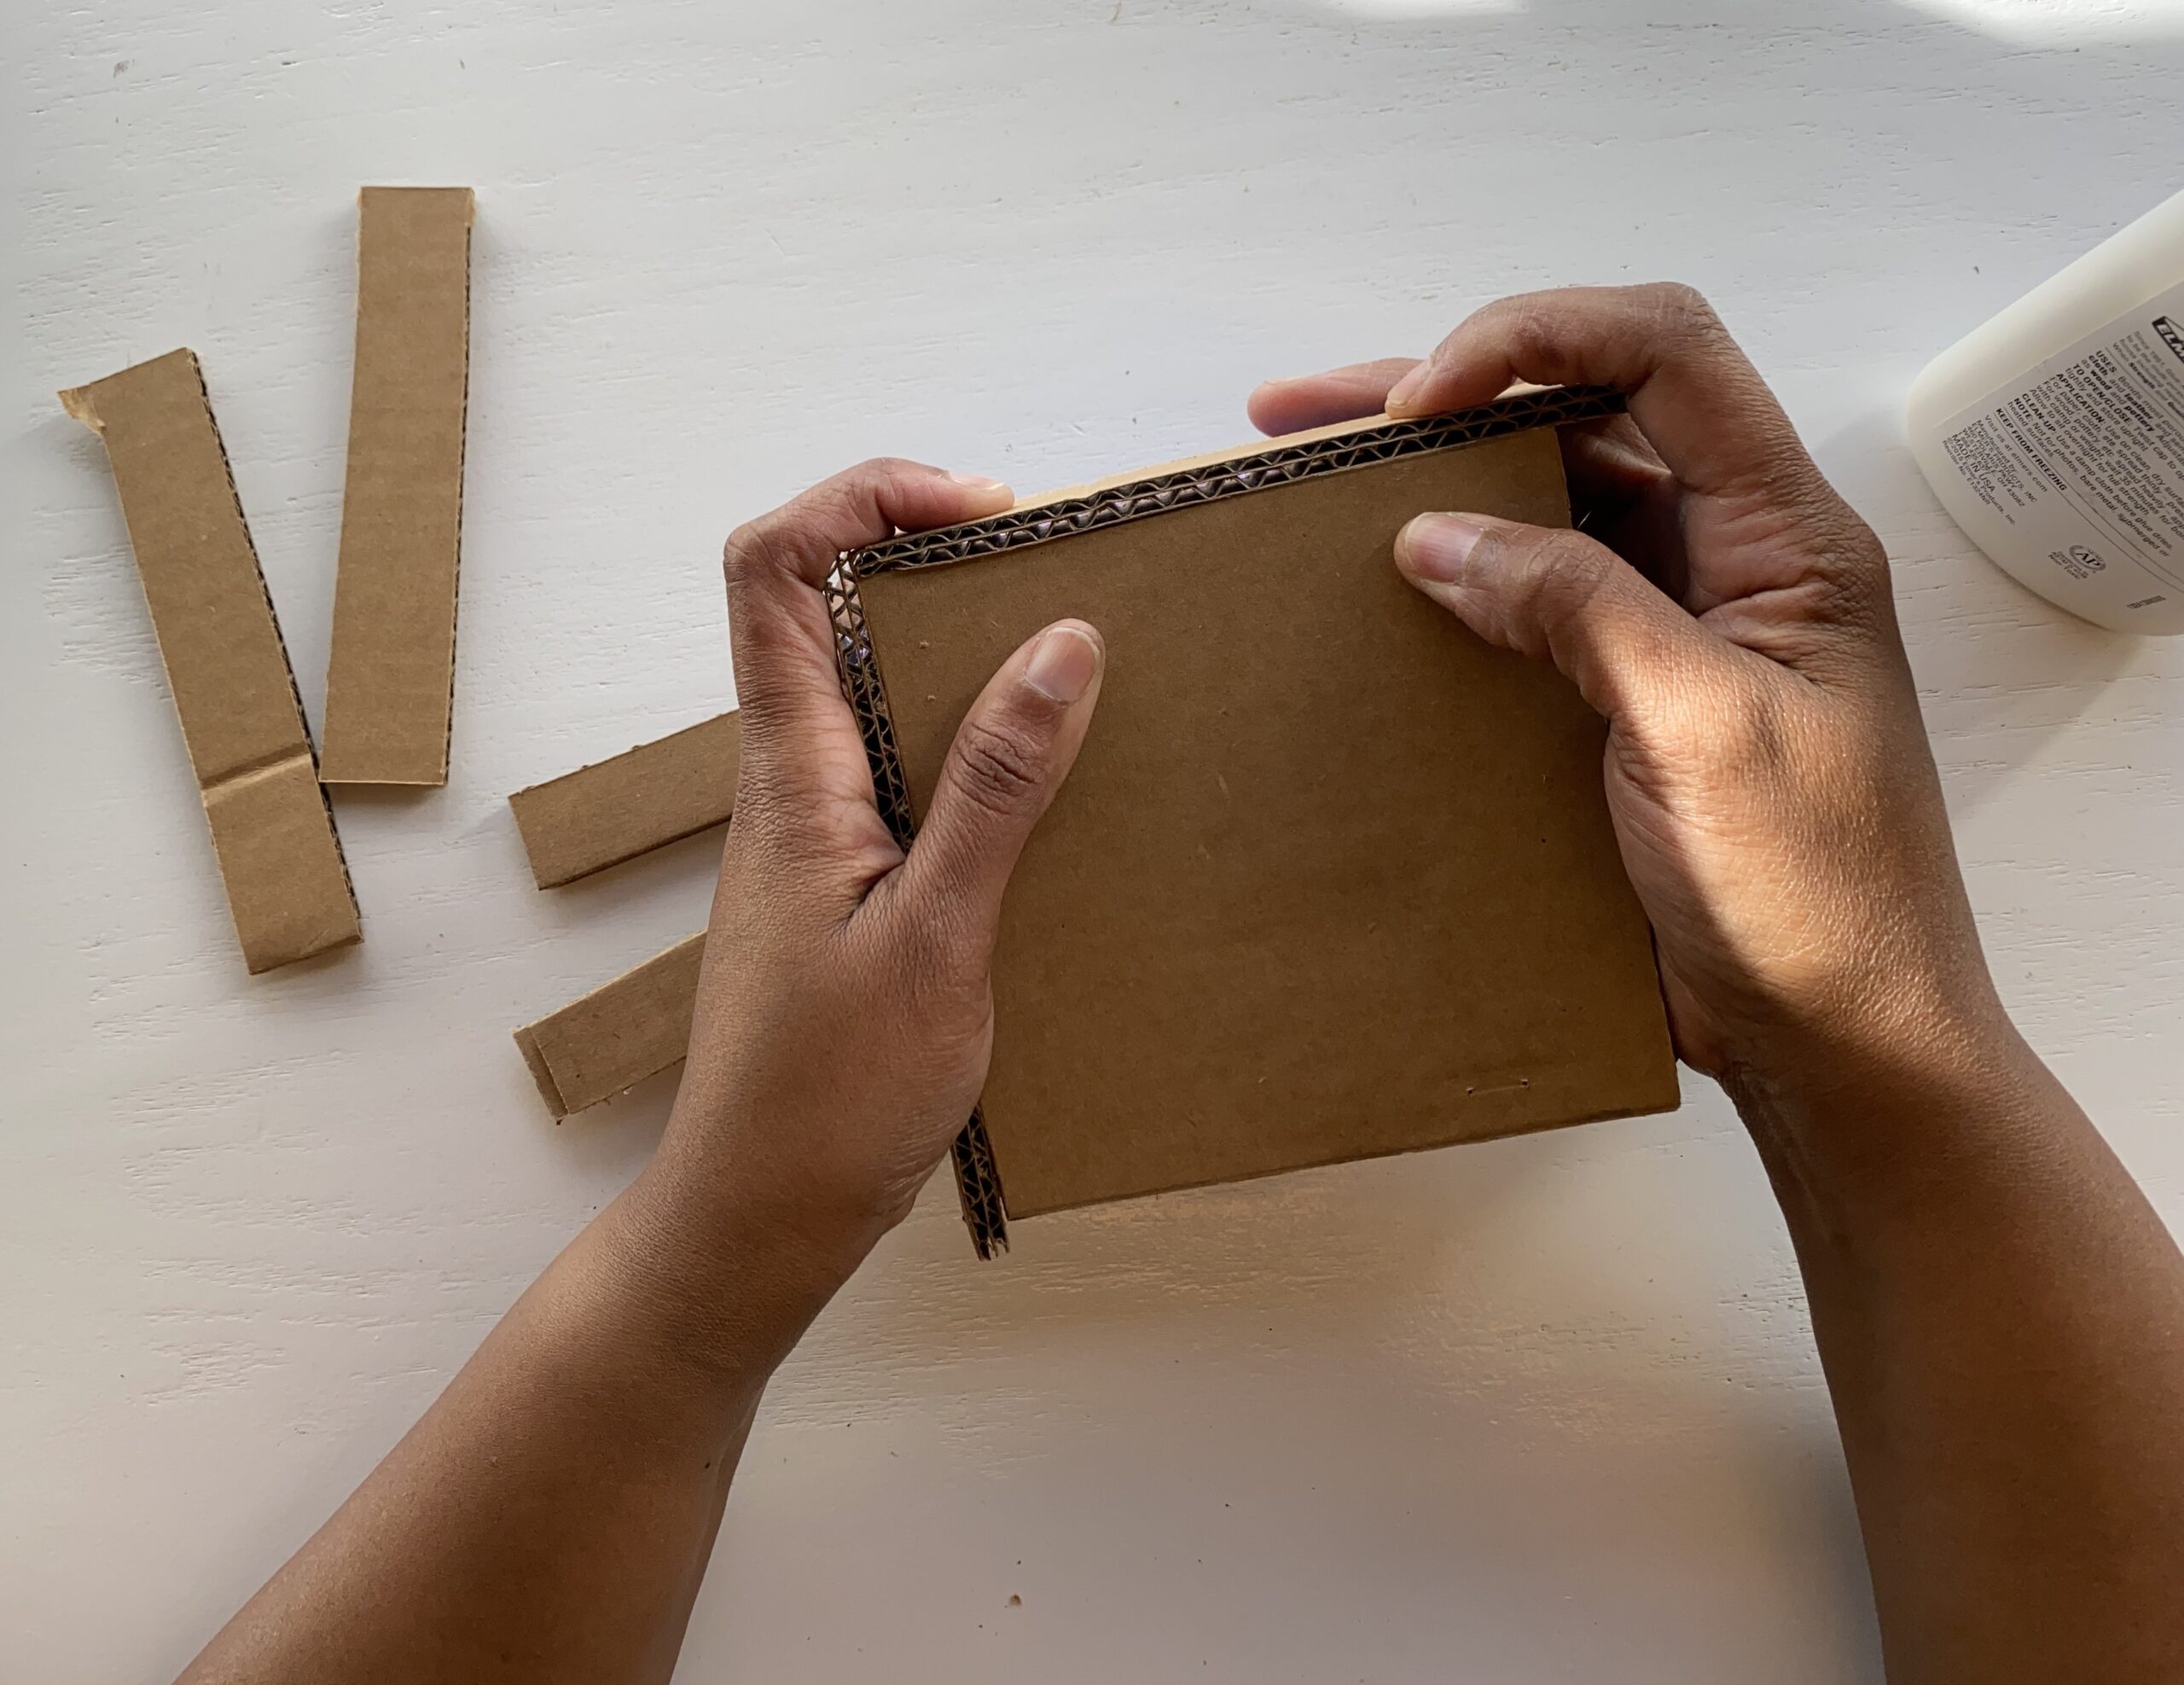
11. Take the glue and put a good amount on the fabric and cardboard. Then take another cardboard square and press it firmly against the form, until it is attached. This may take a couple of minutes.

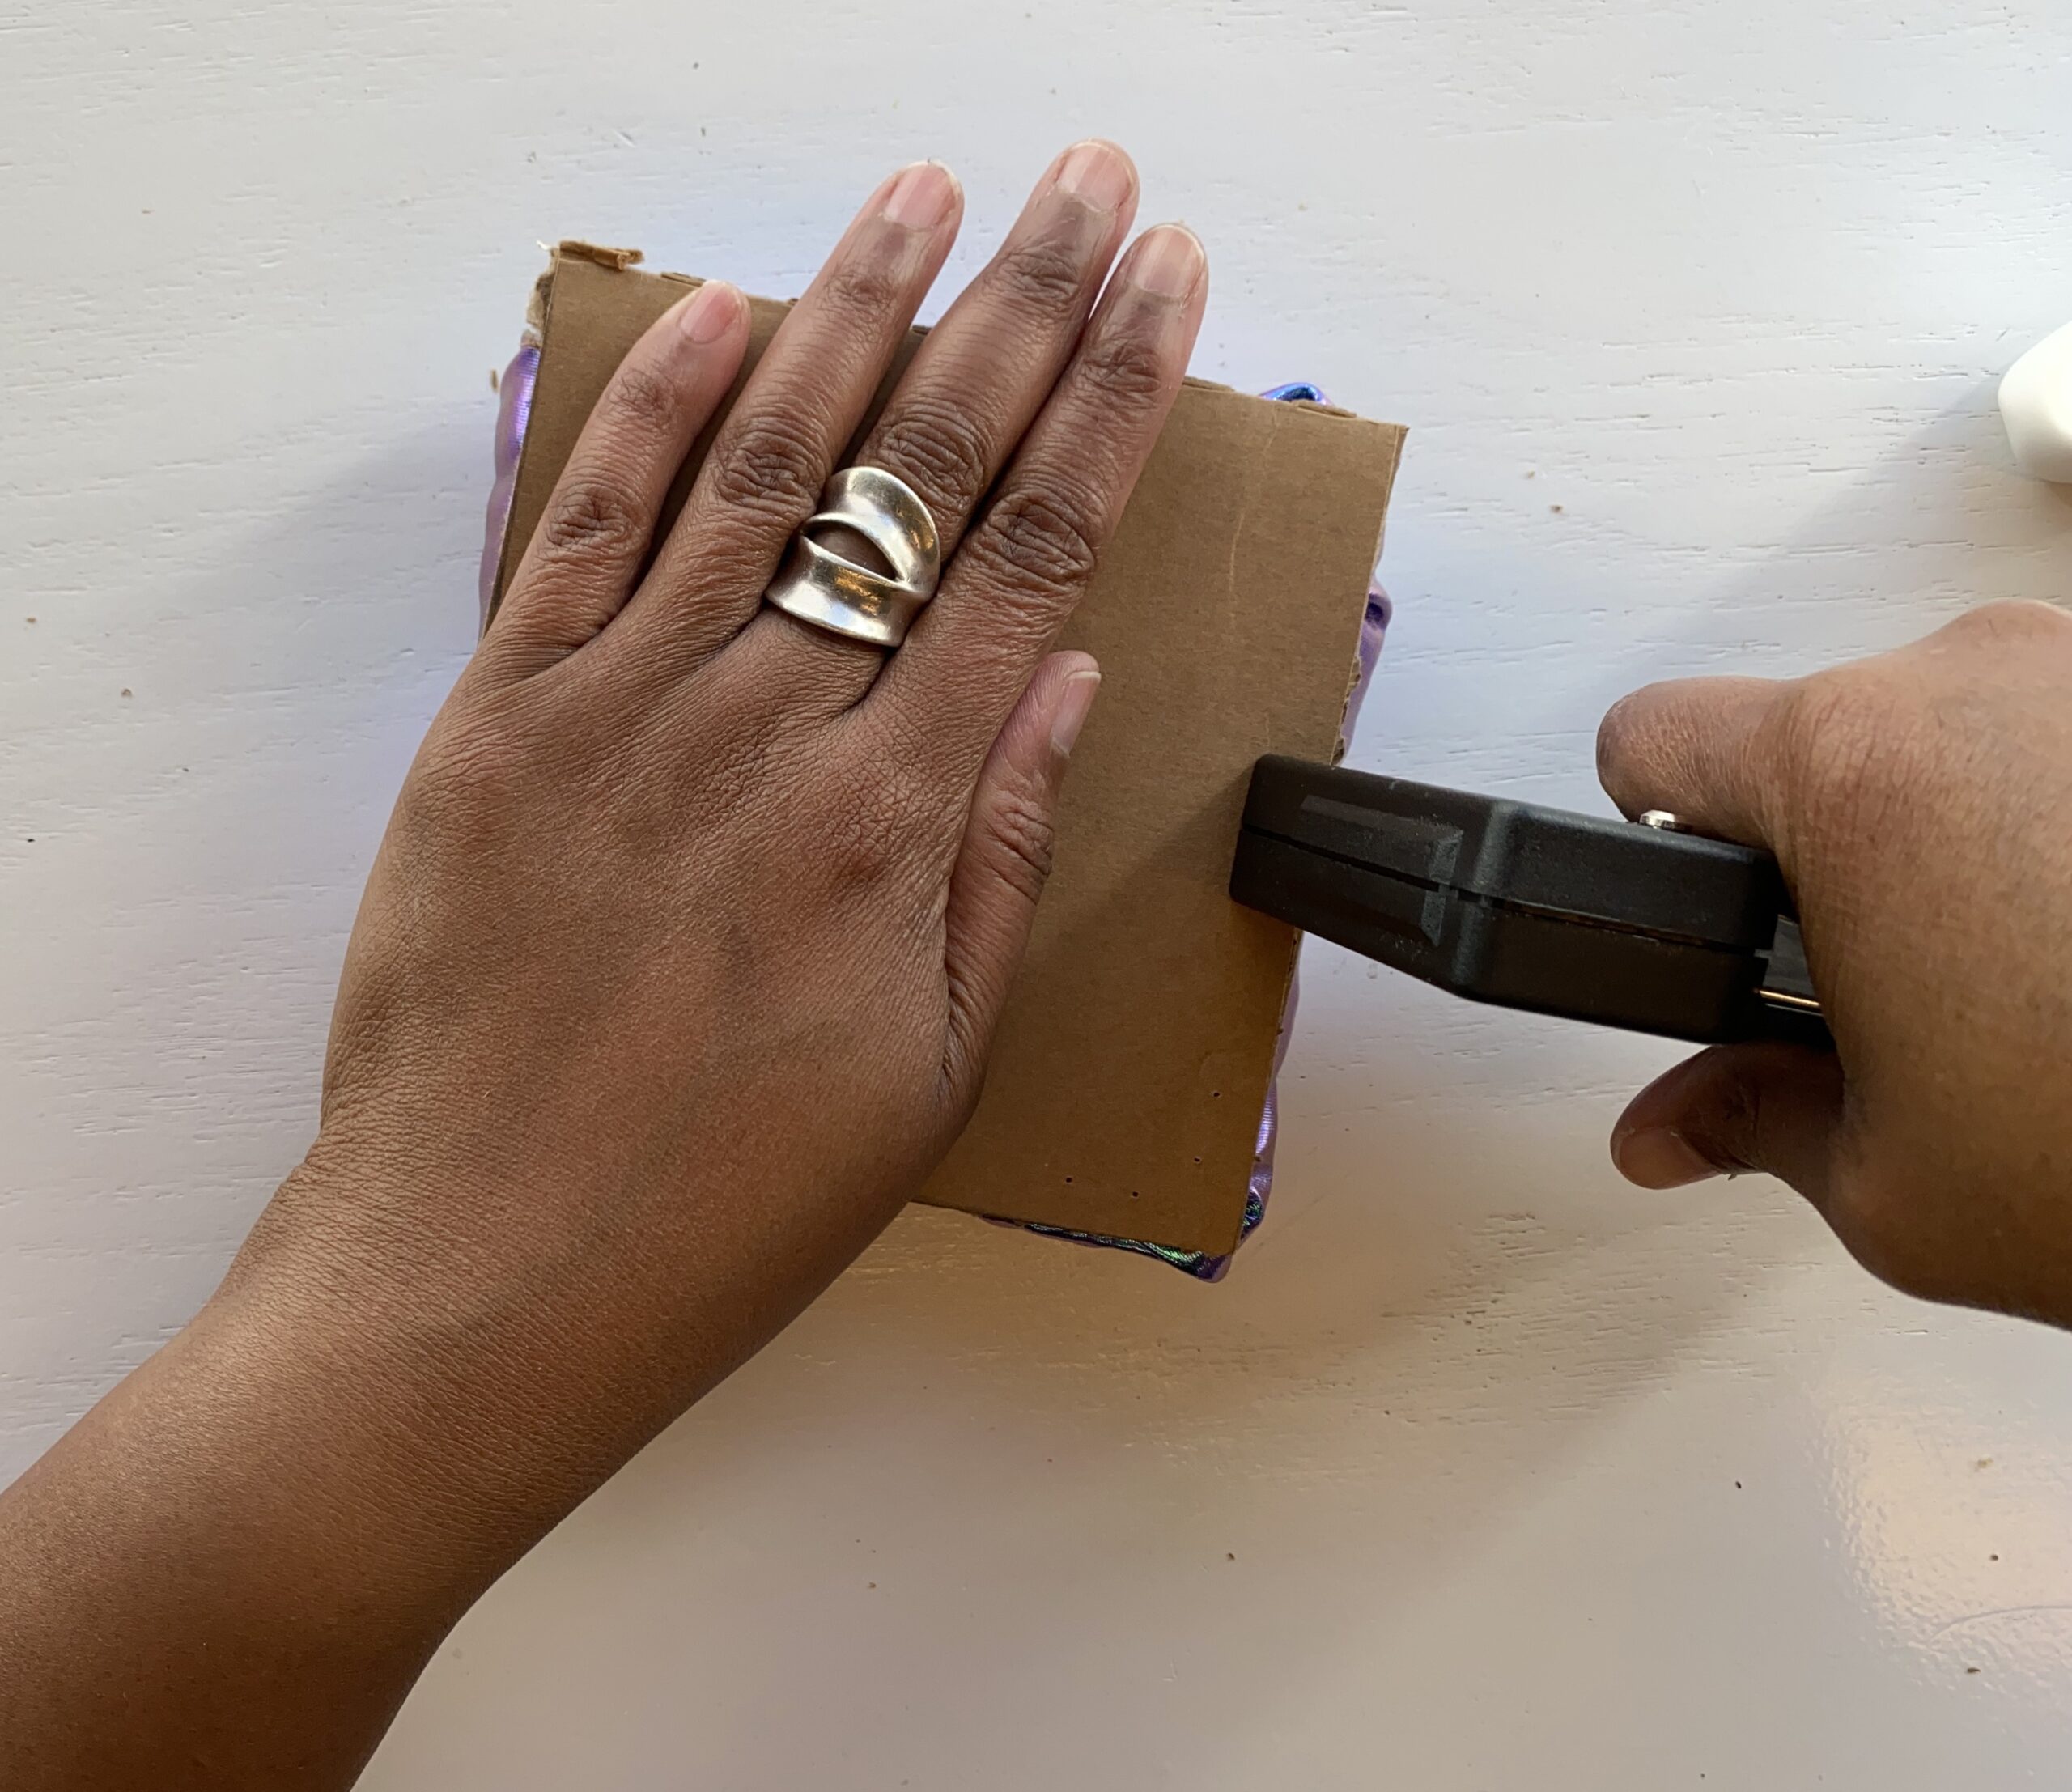
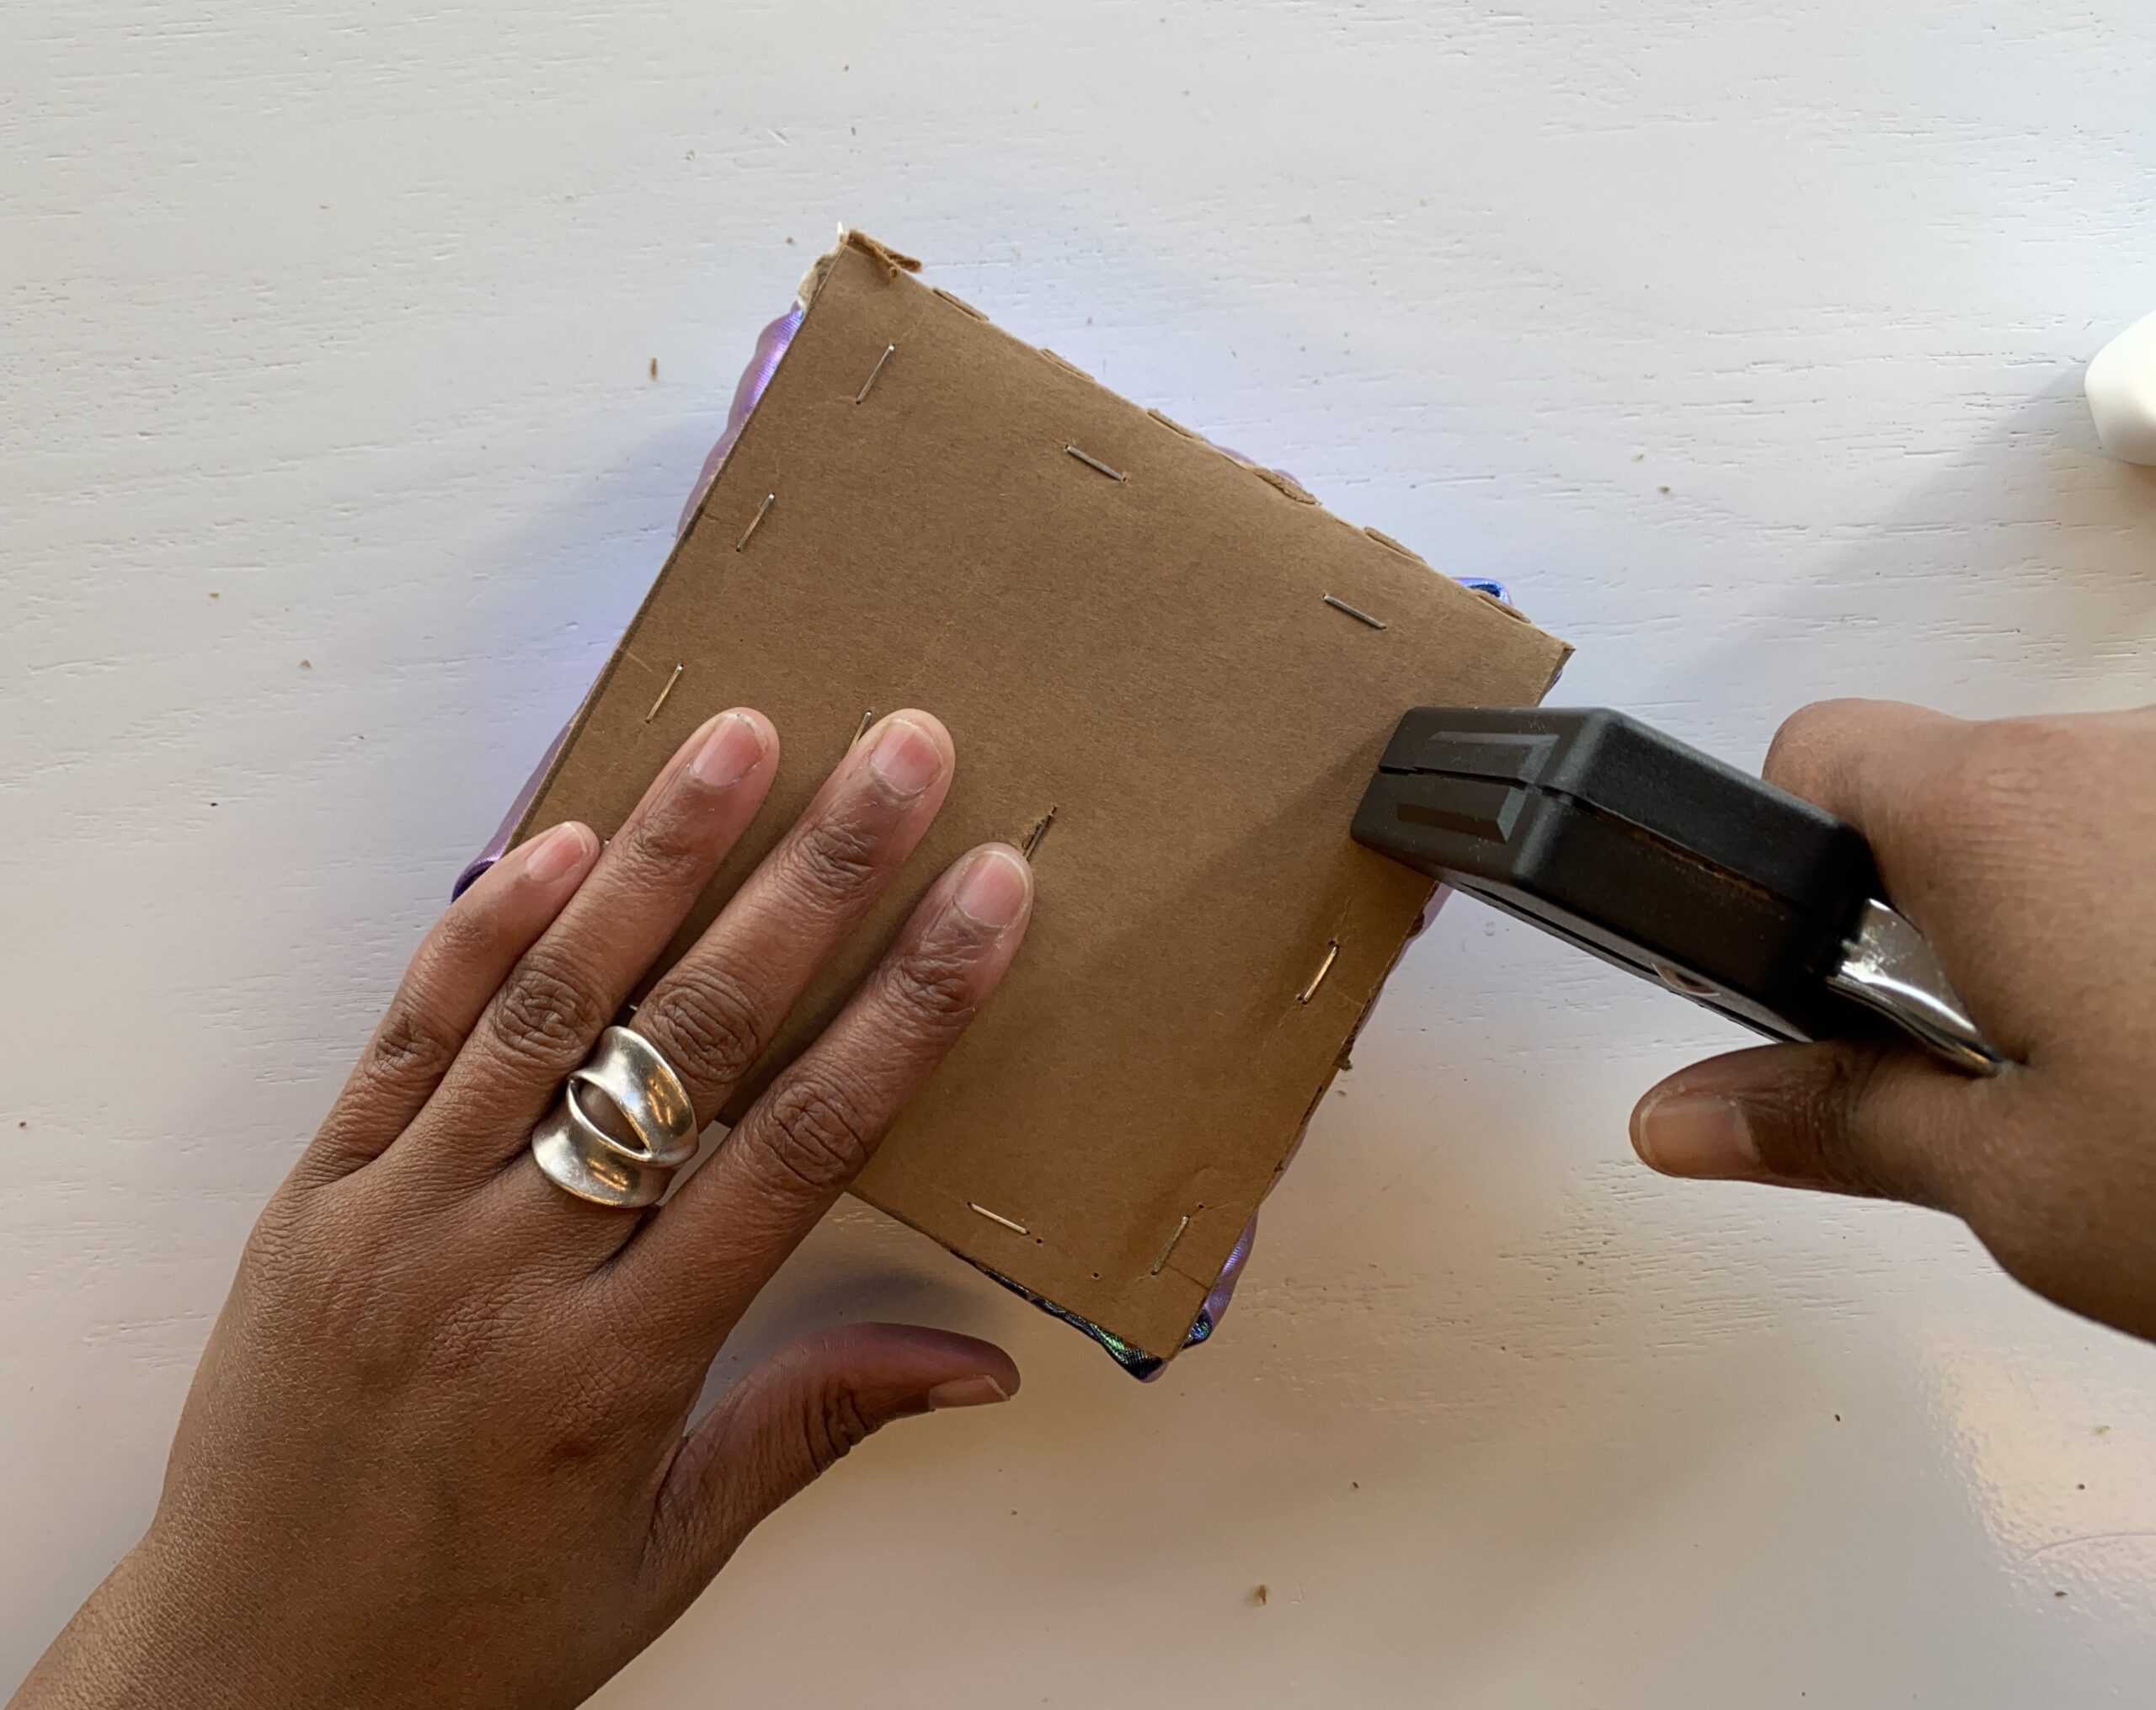
12. Once that cardboard square is attached, take the staple gun and staple along all four sides.
13. Now get another cardboard square and apply glue to it and attach it to the cardboard that was just stapled and hold in place until this cardboard square is firmly attached.
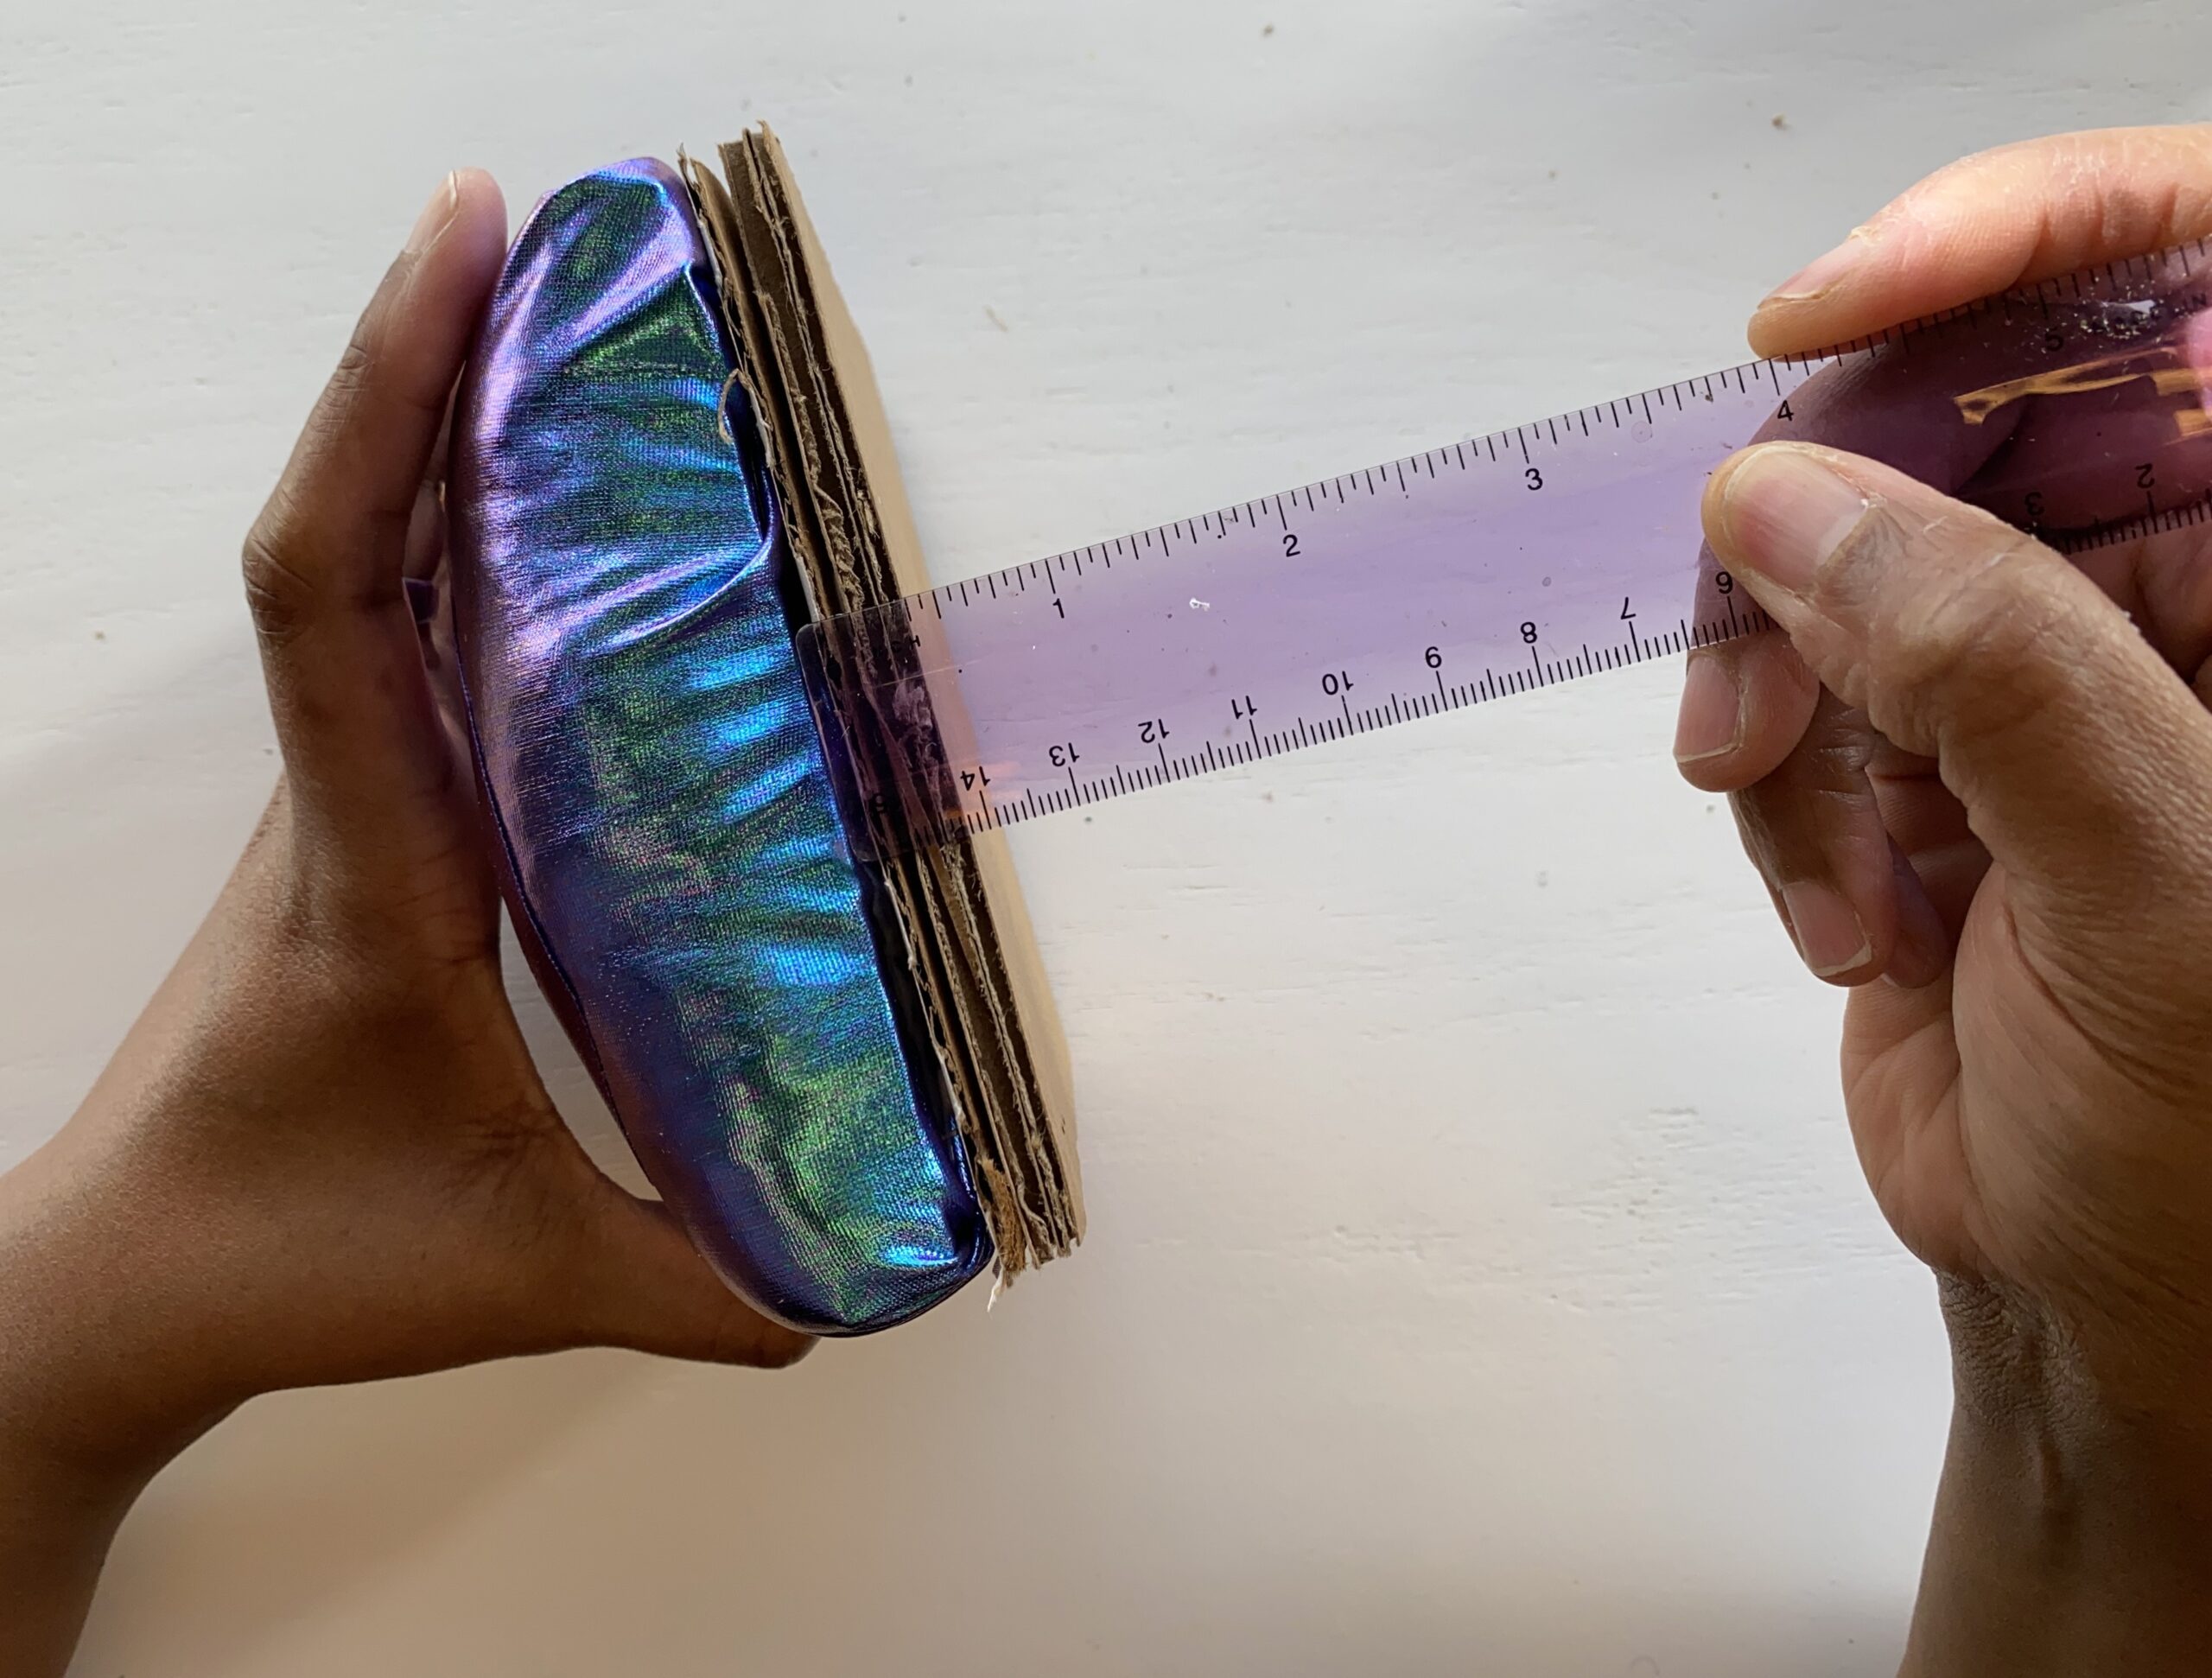
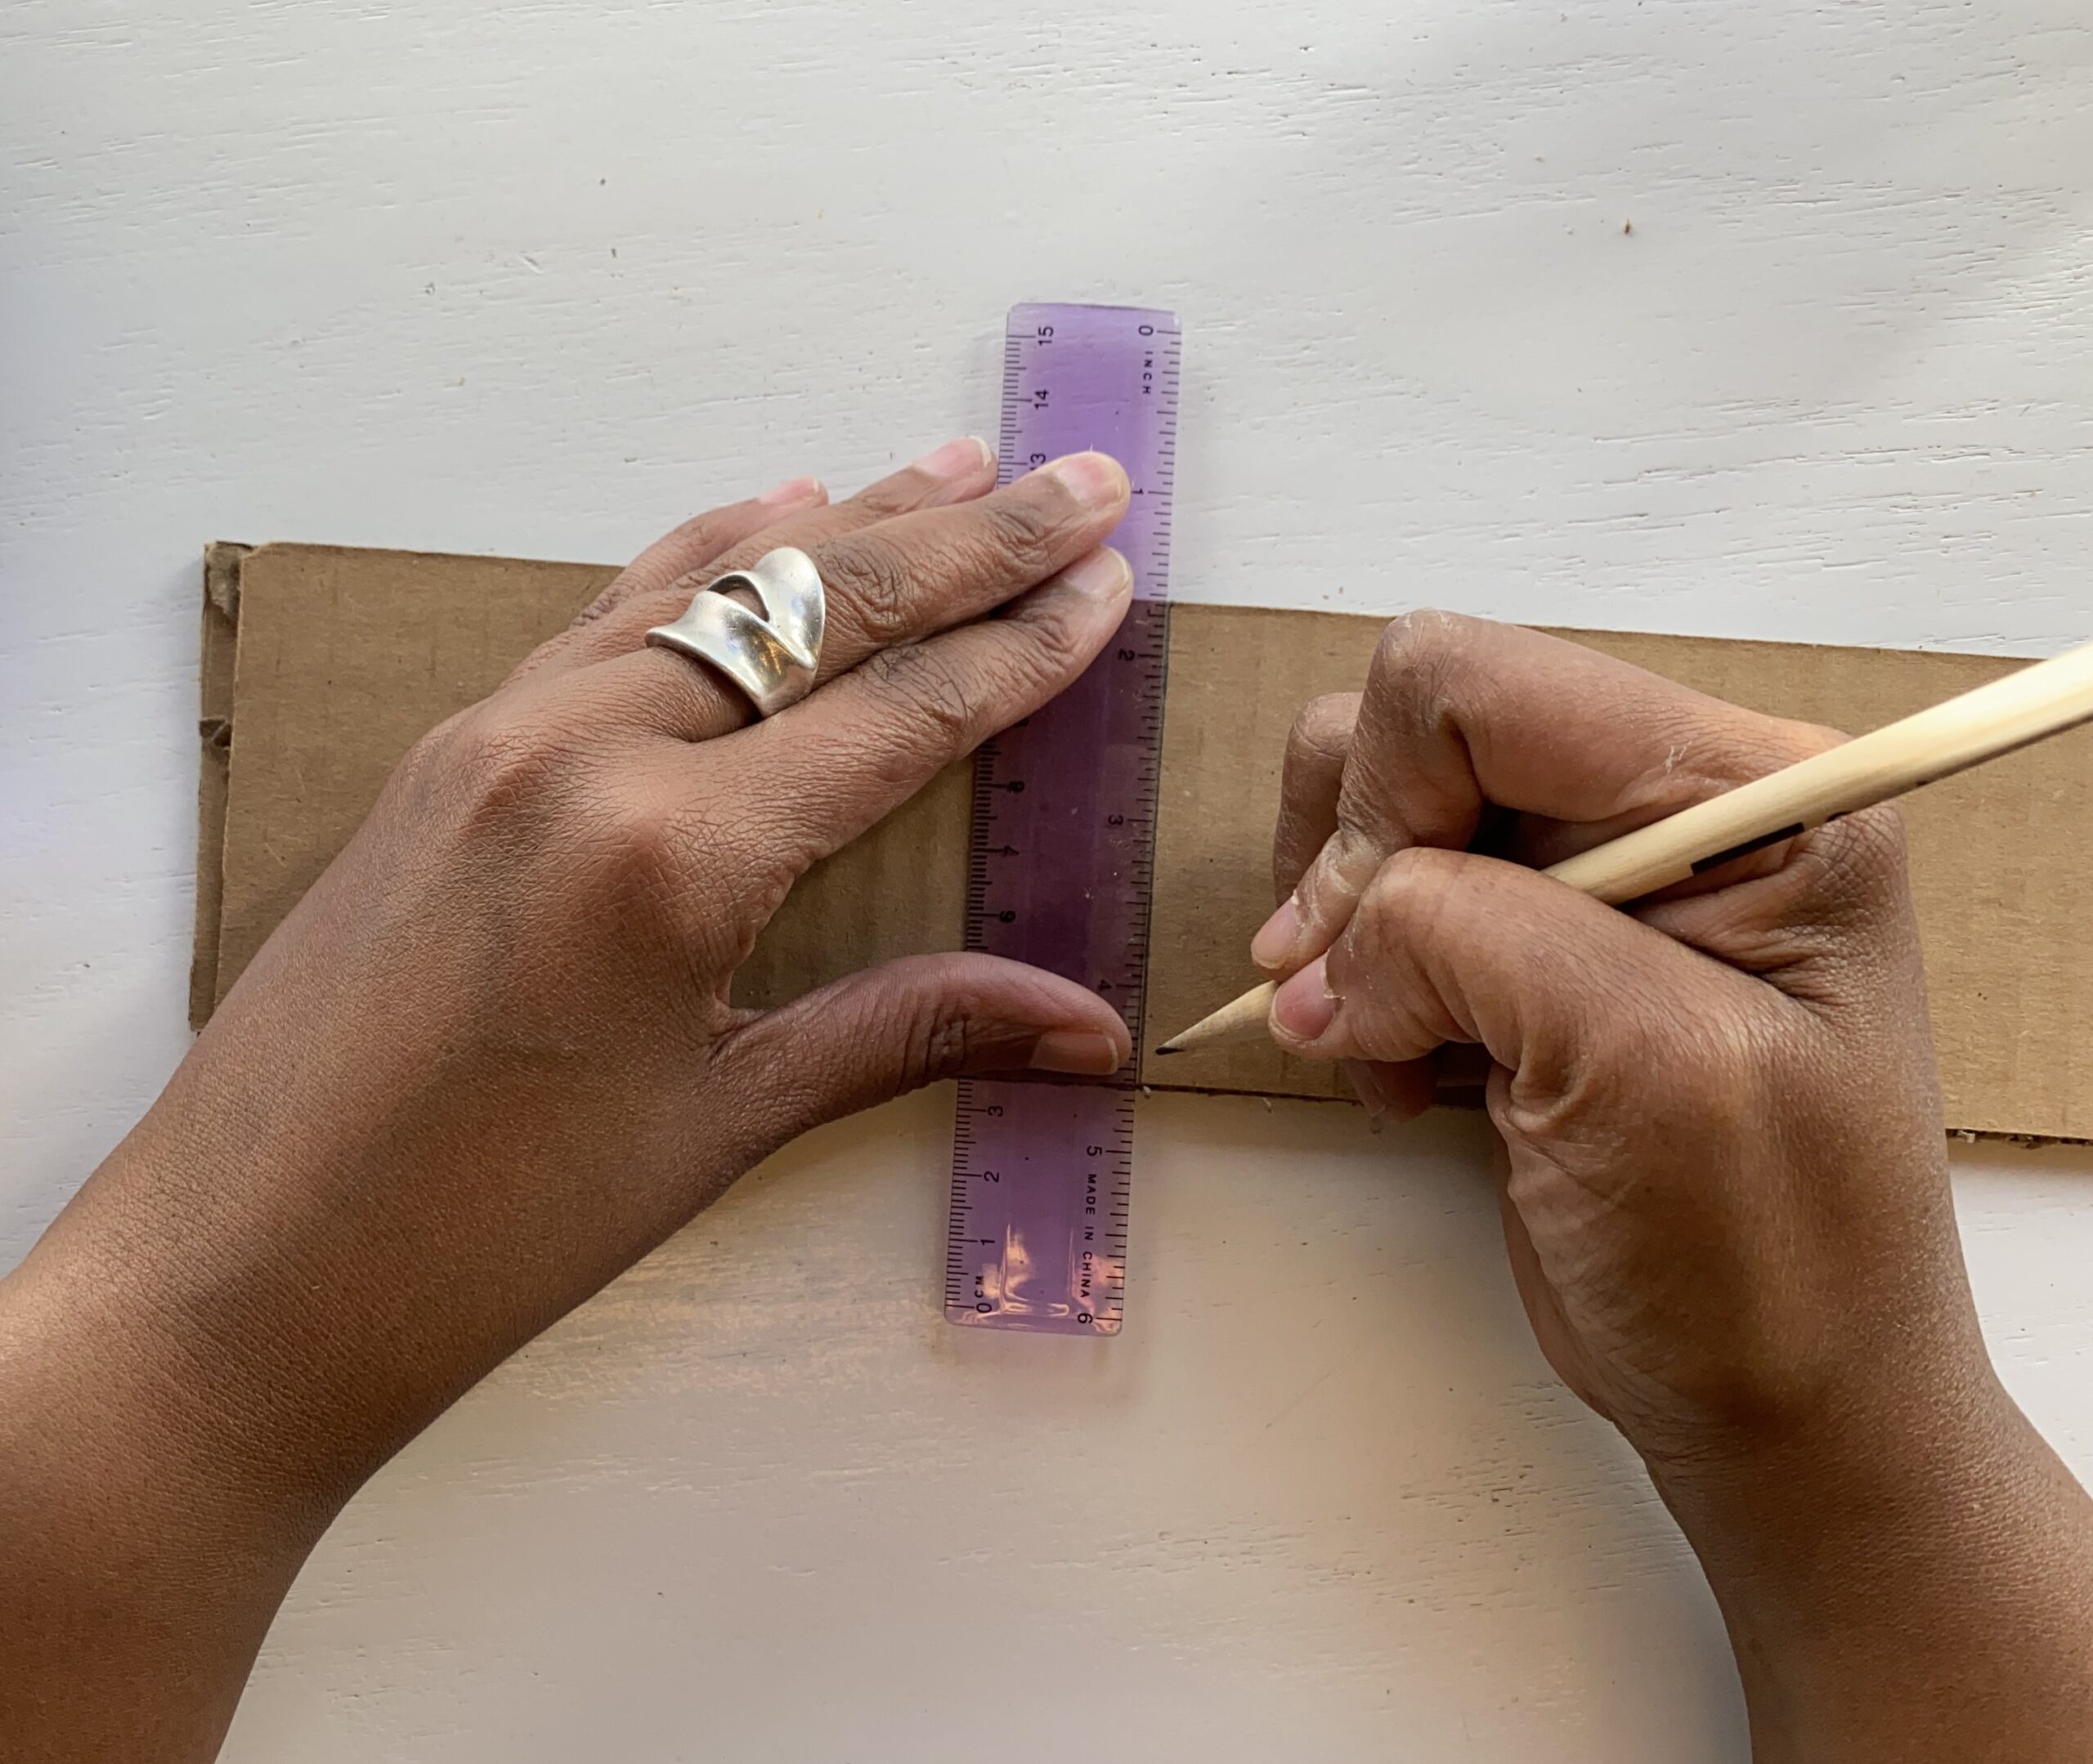
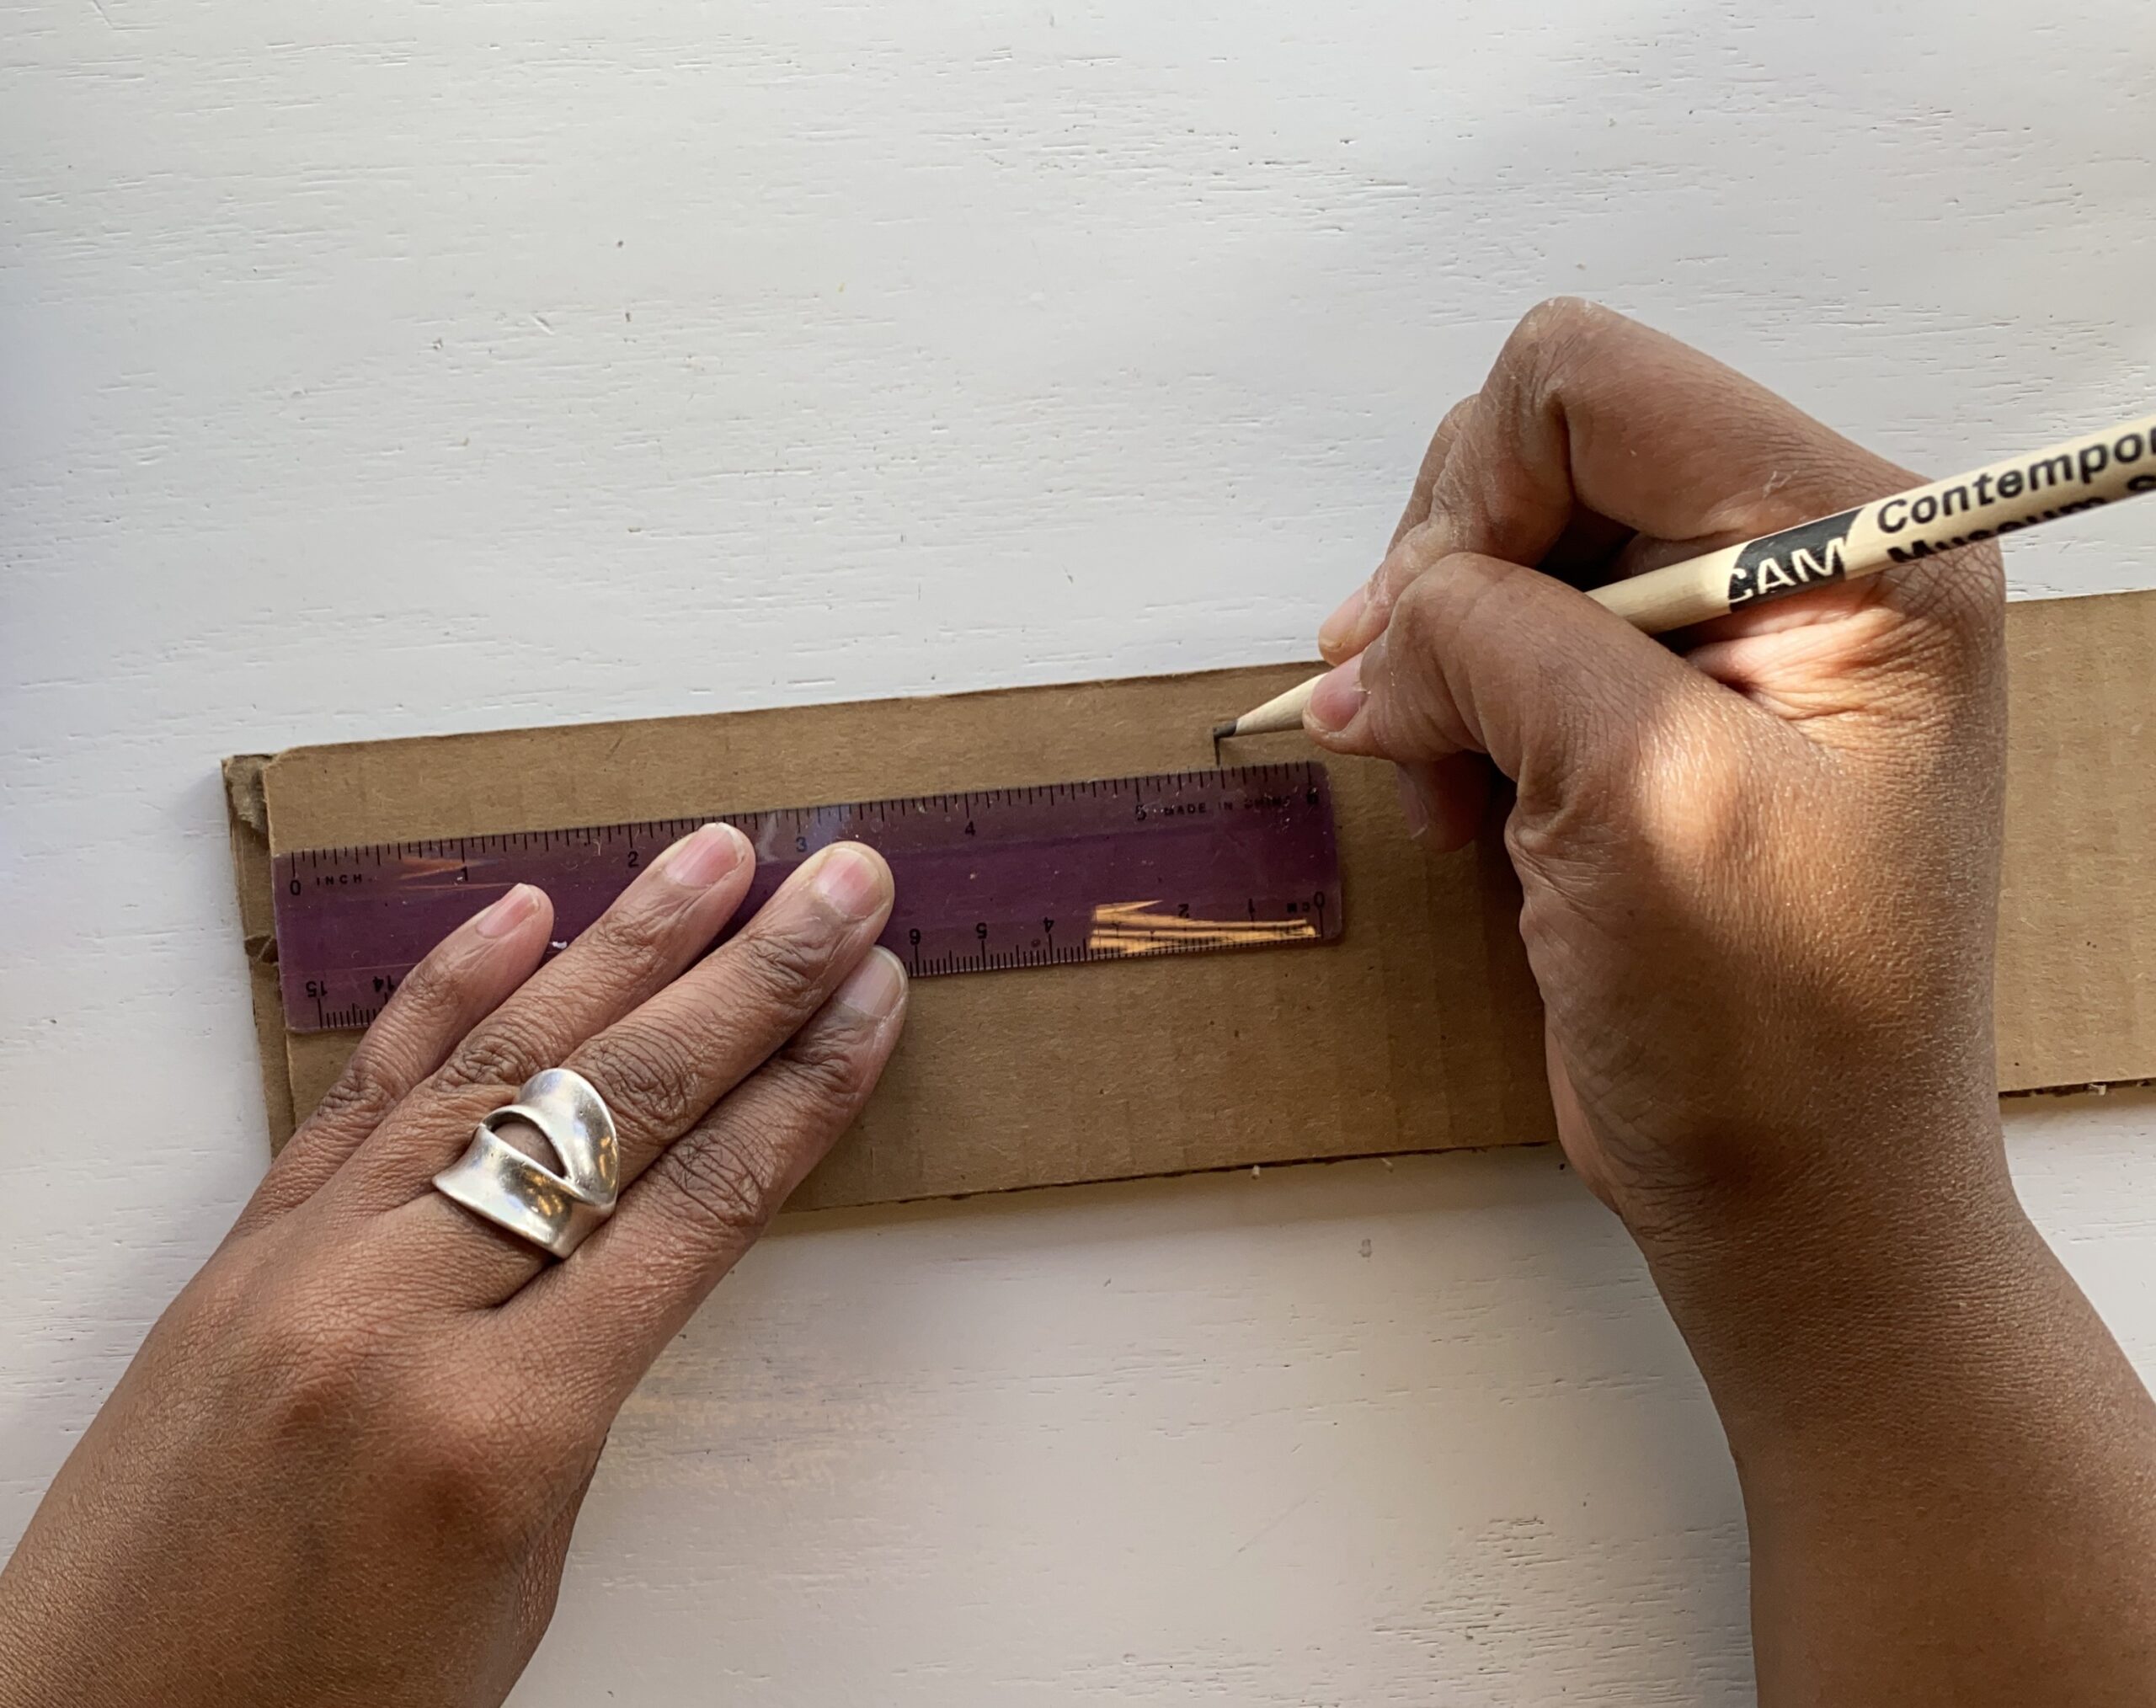
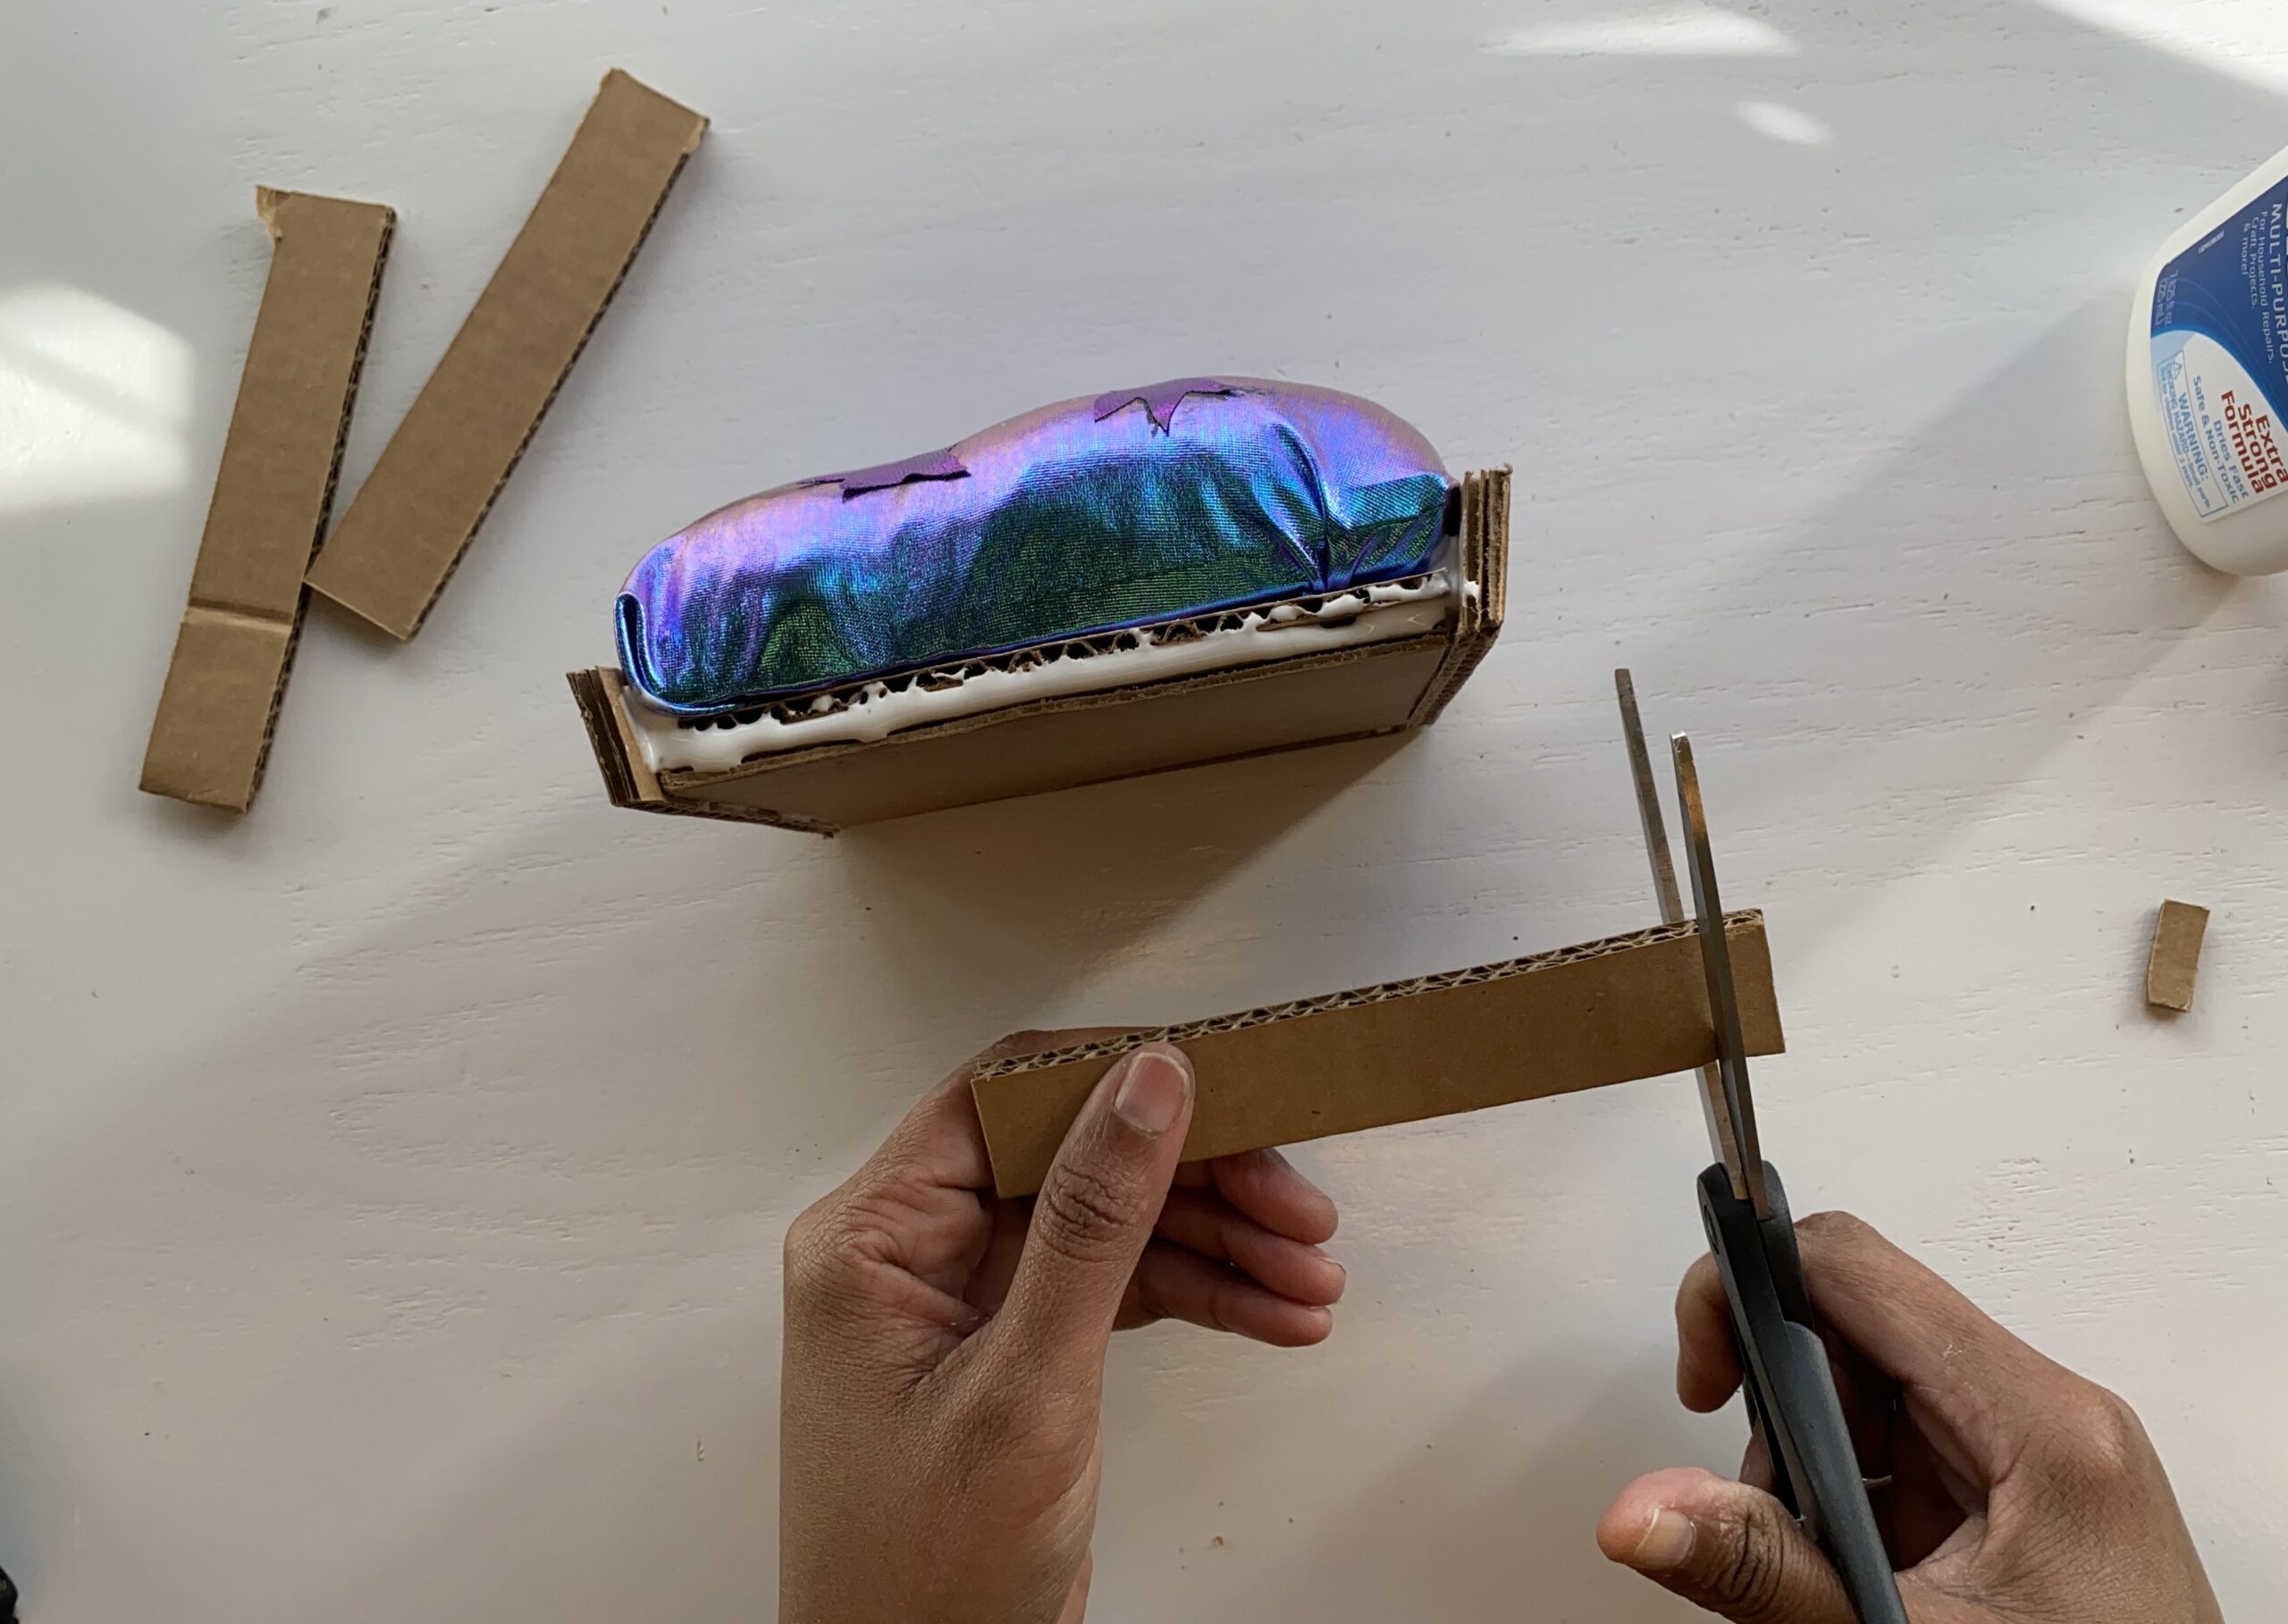
14. Measure the length and width of the cardboard edges at the bottom of the form. Then measure and mark four pieces of cardboard using a pencil. The cardboard should be deep enough for the form to slightly sit below. Also allot for extra space for the side cardboard pieces for adjustment.

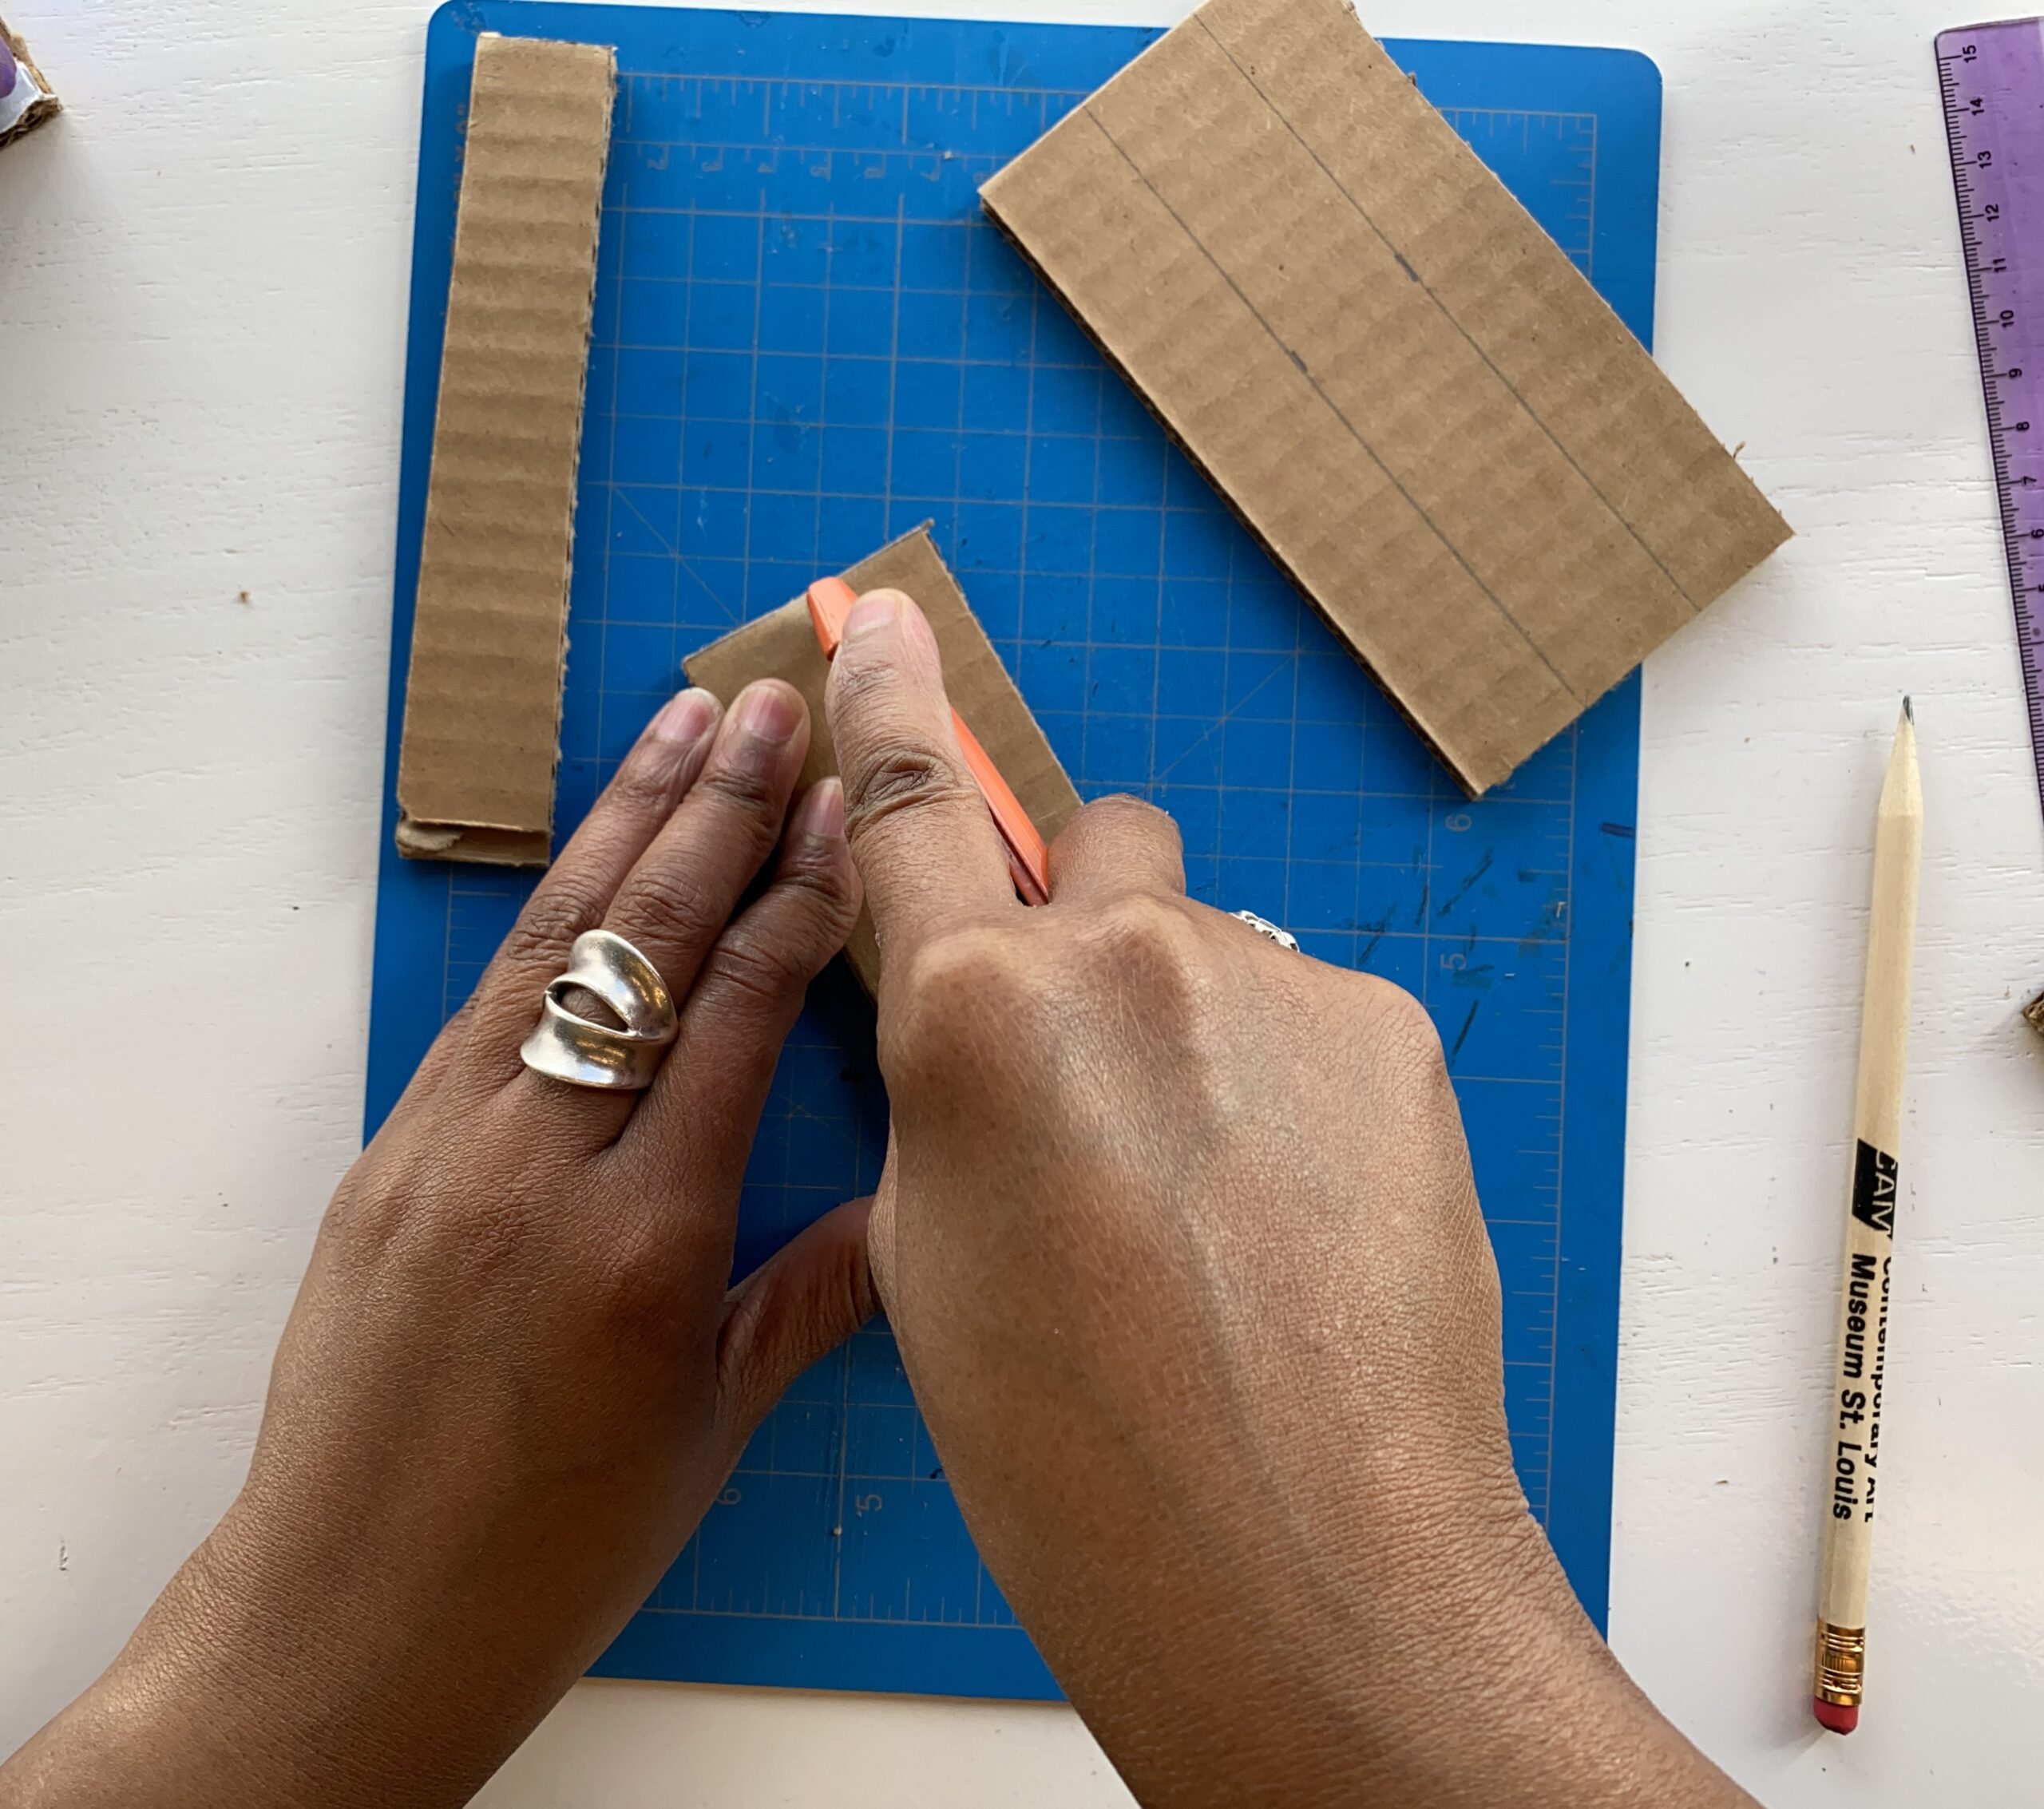
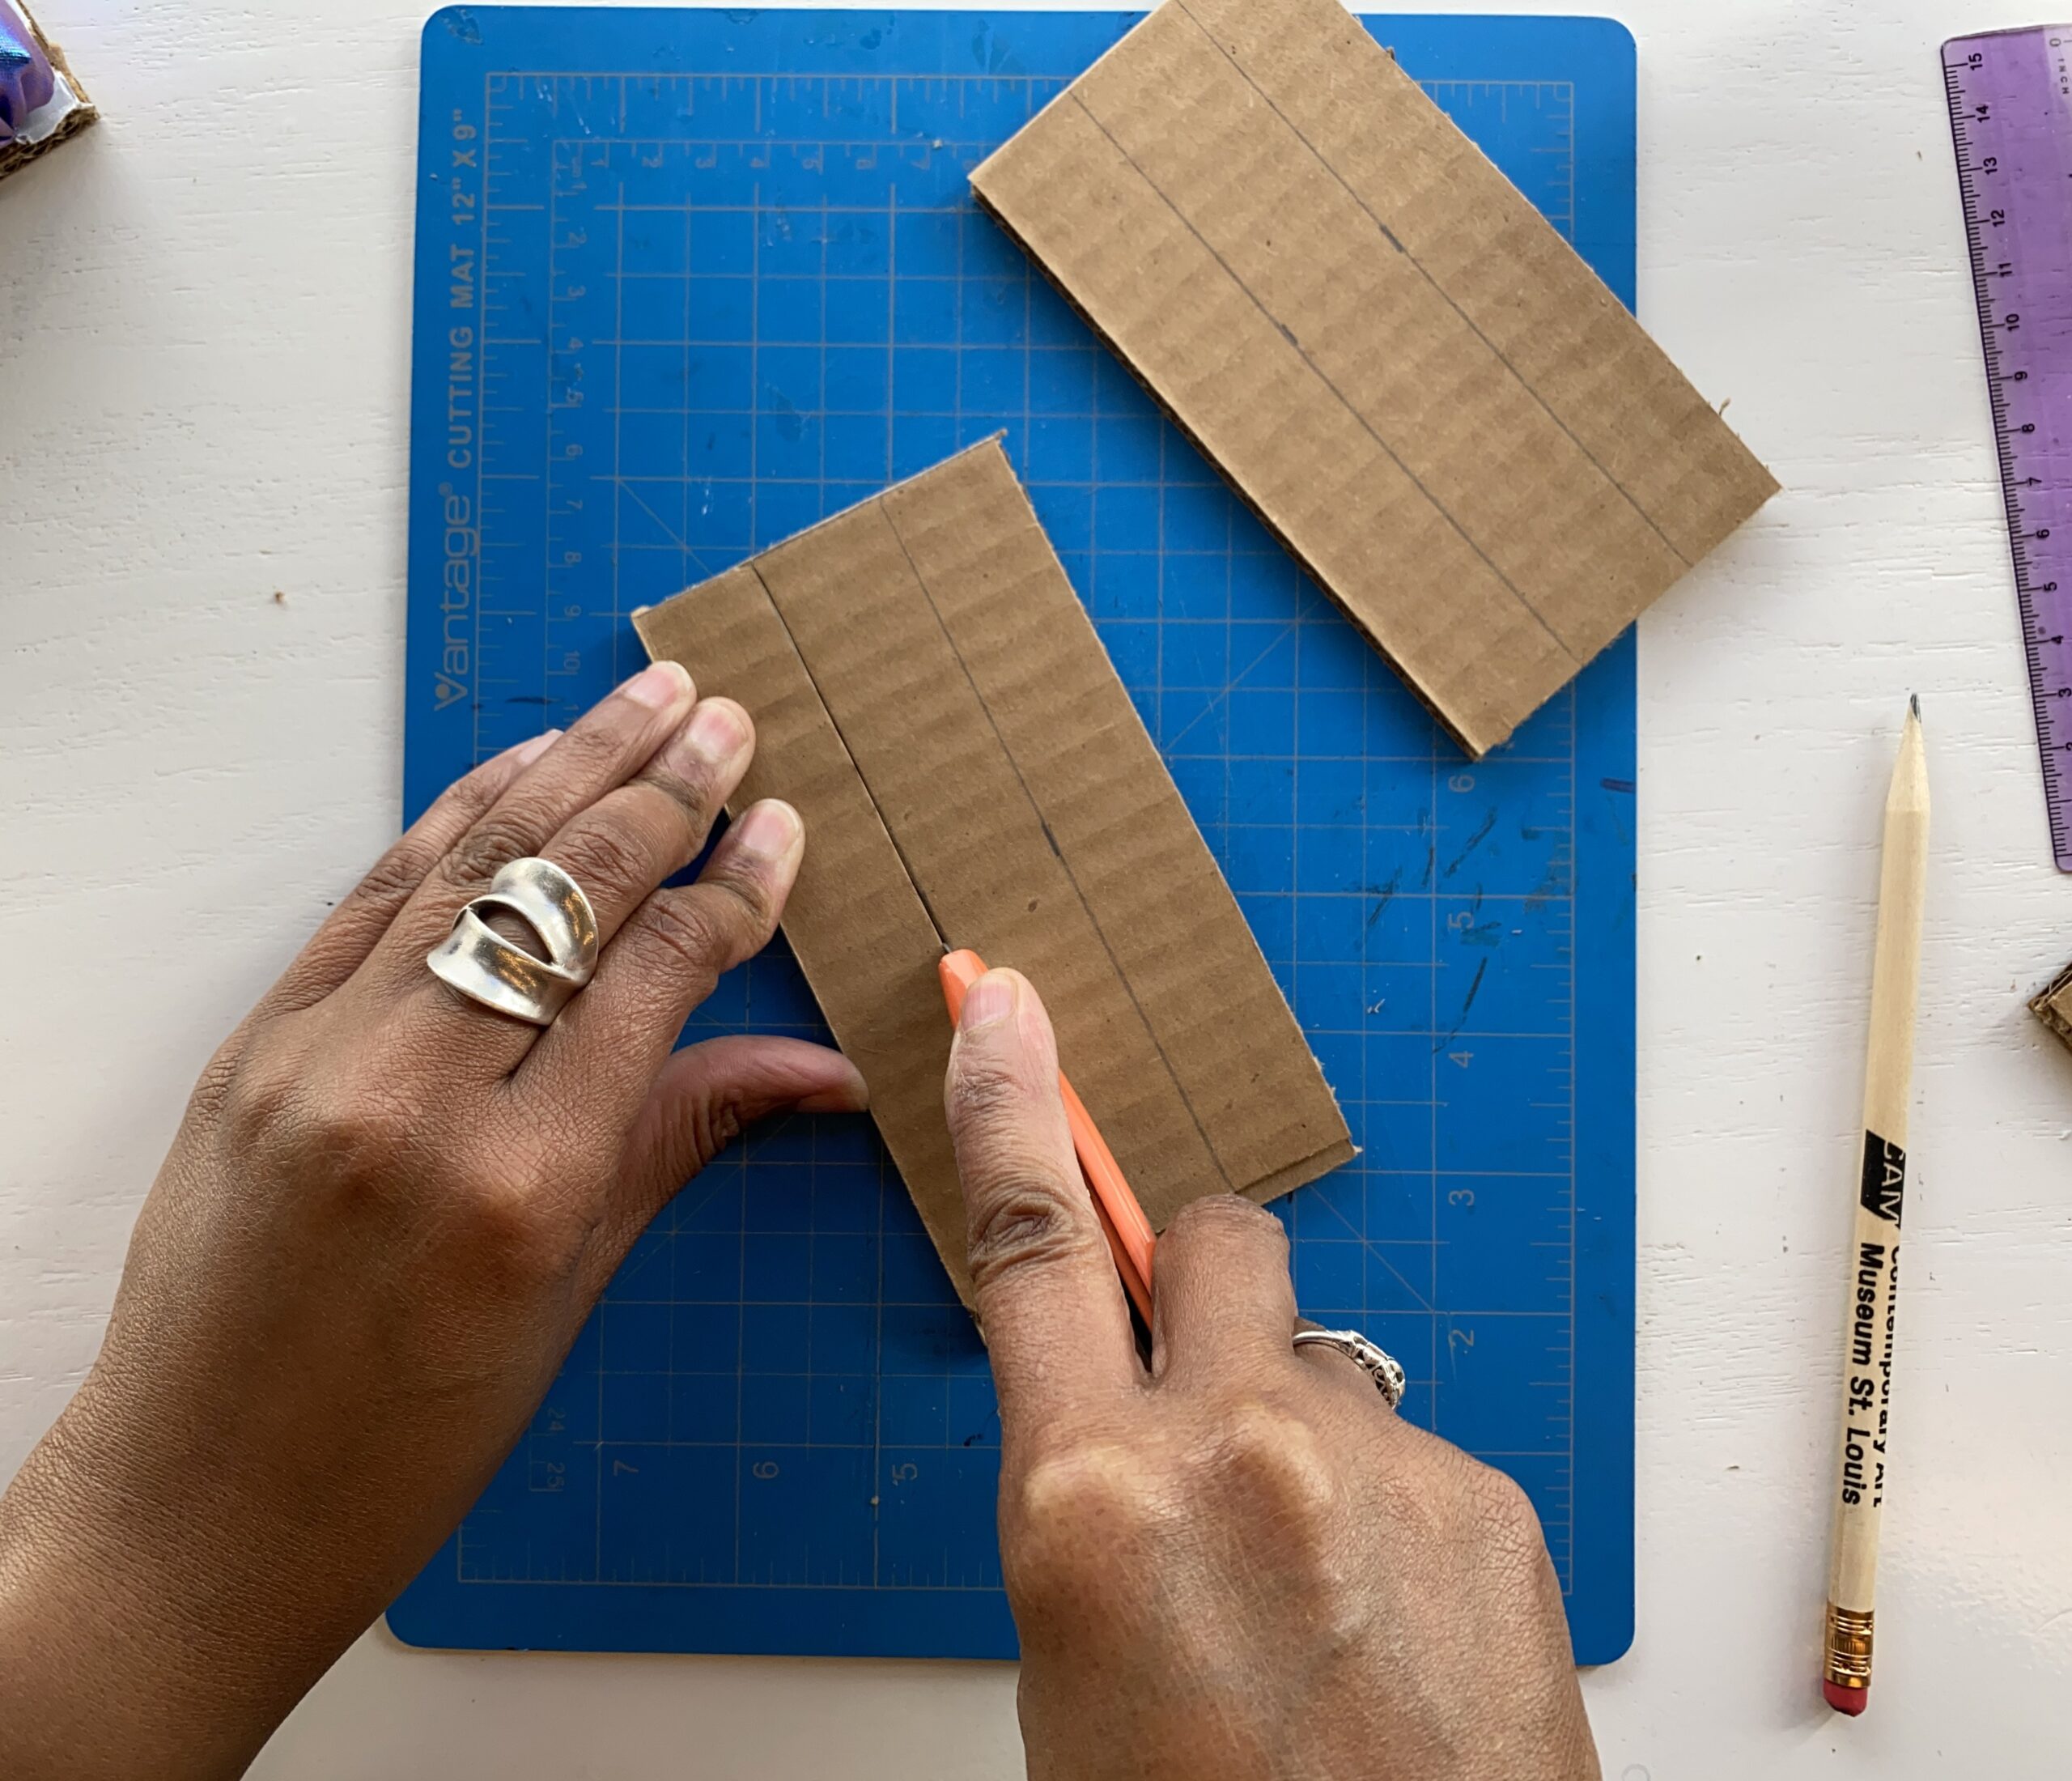
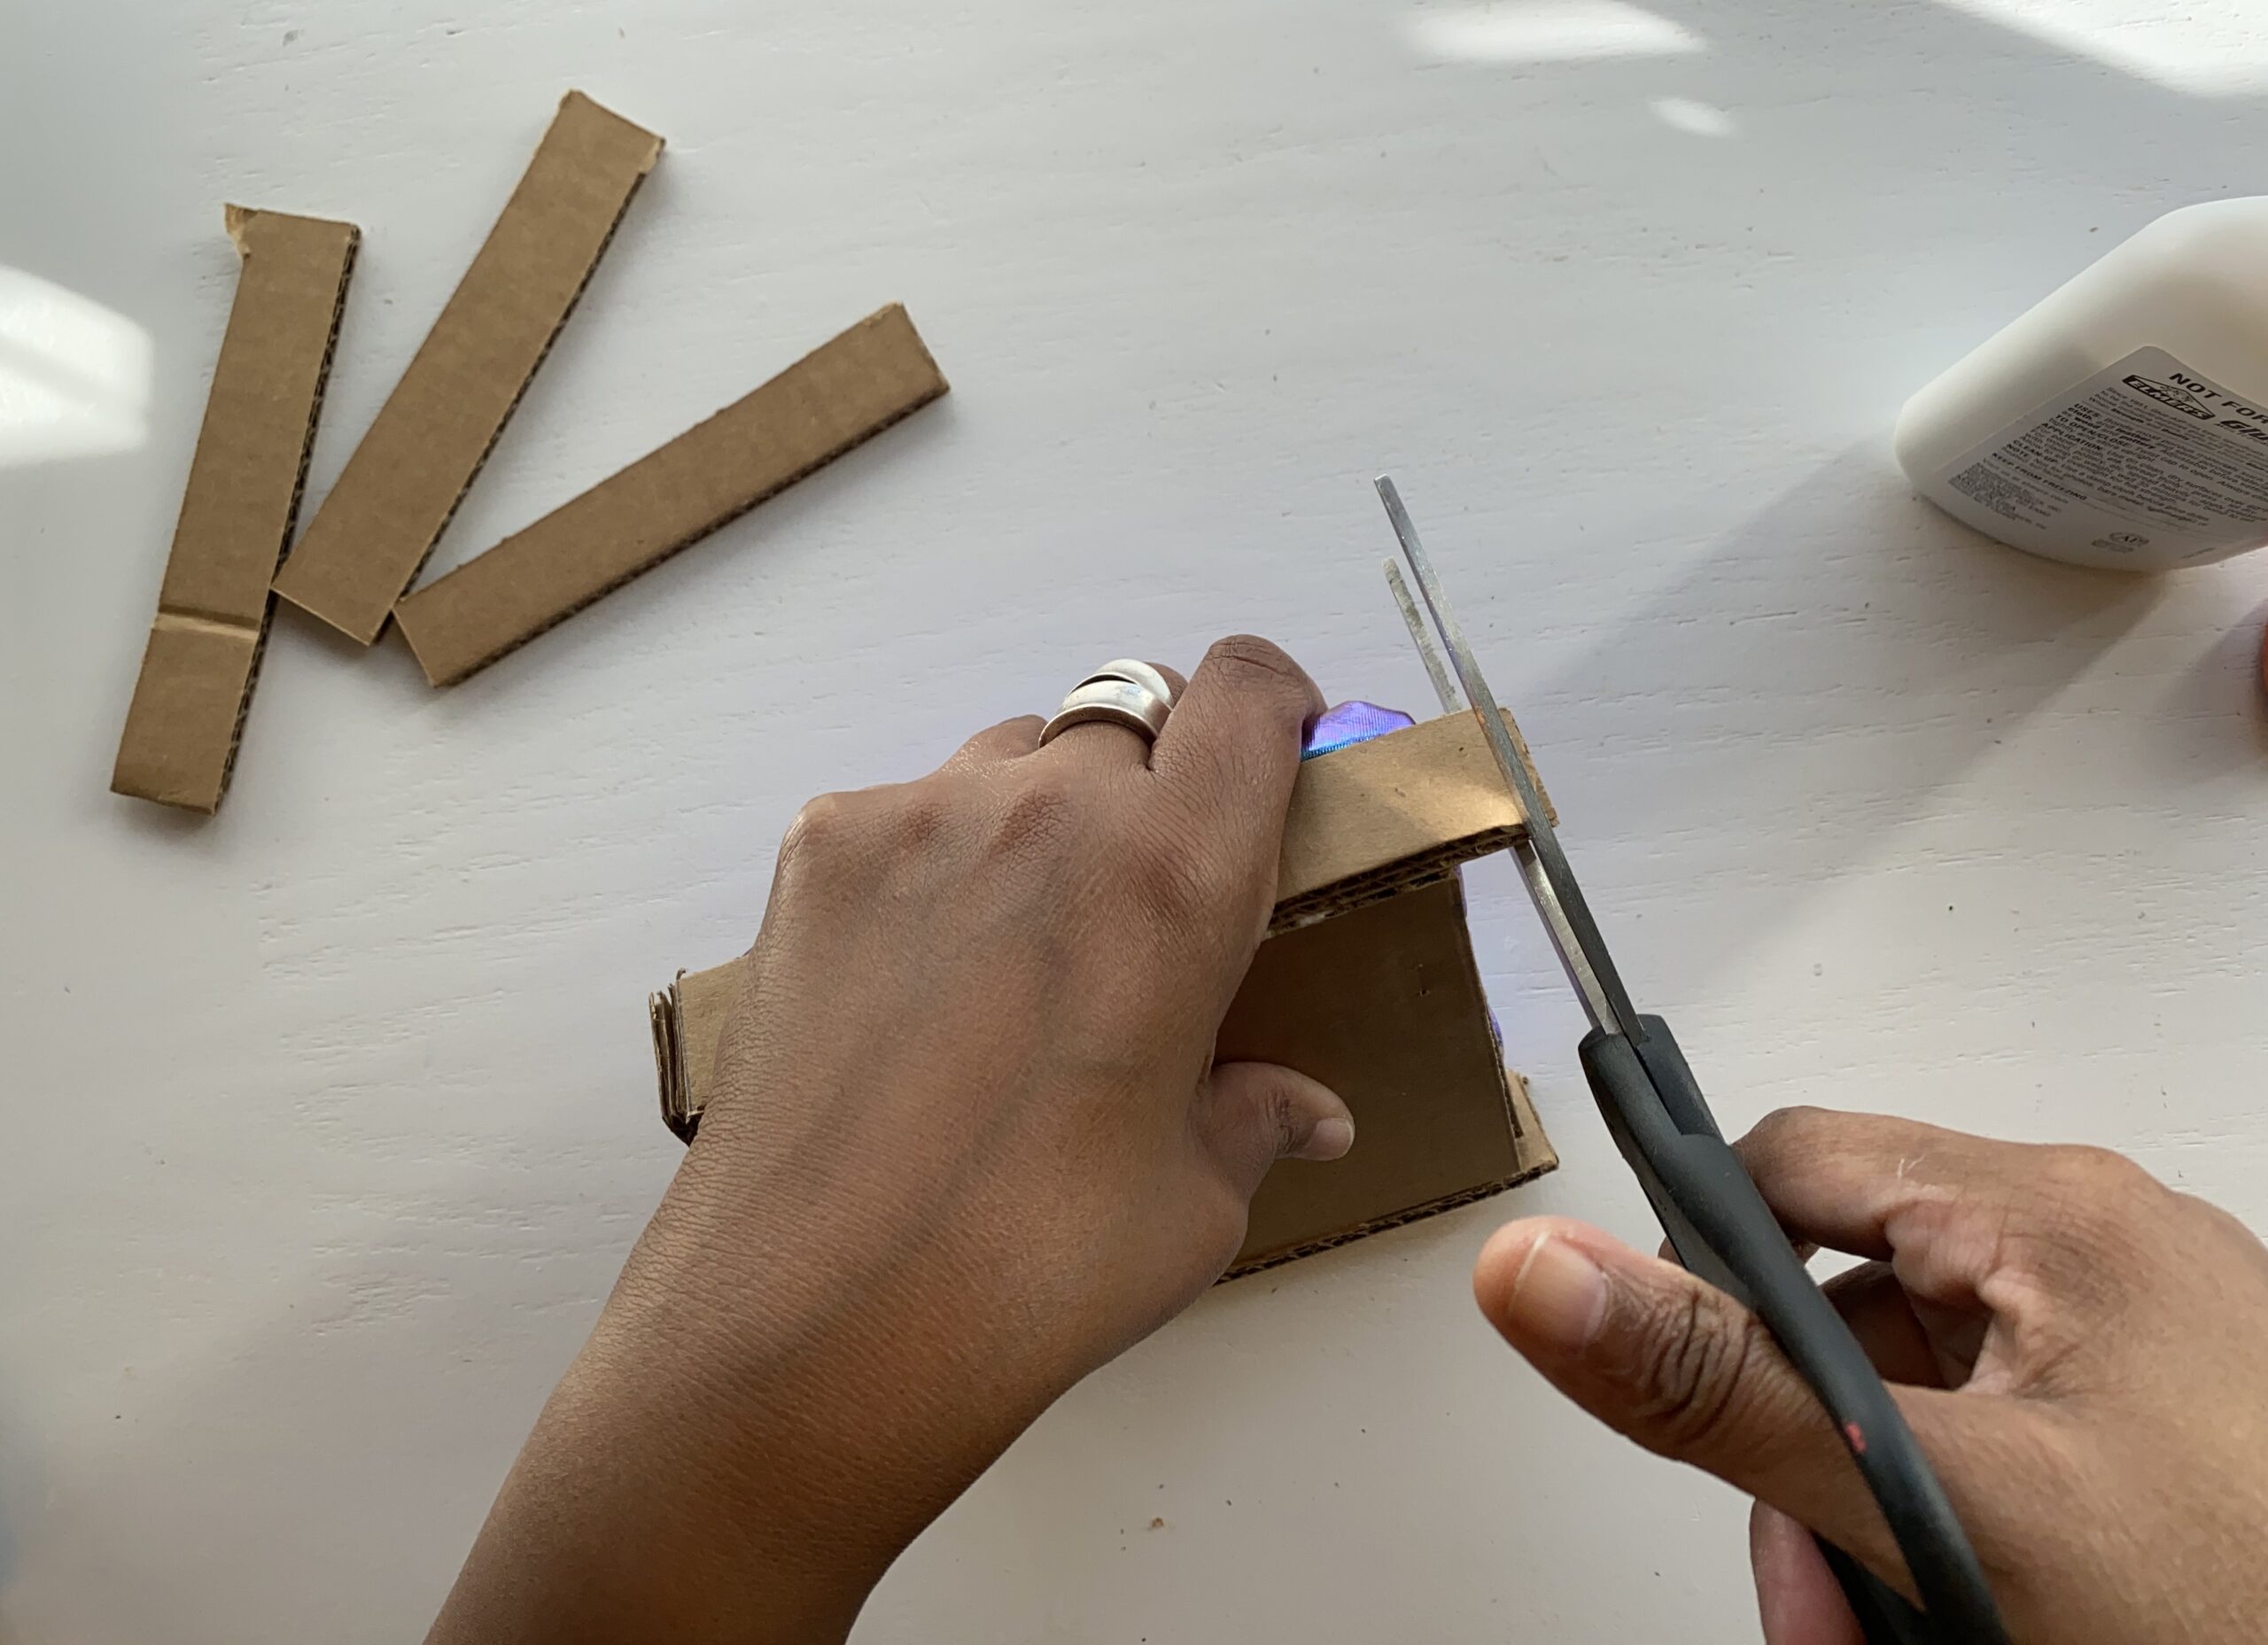
15. Now cut the measured cardboard strips using an Exacto knife or a box cutter on a soft surface to protect the area.
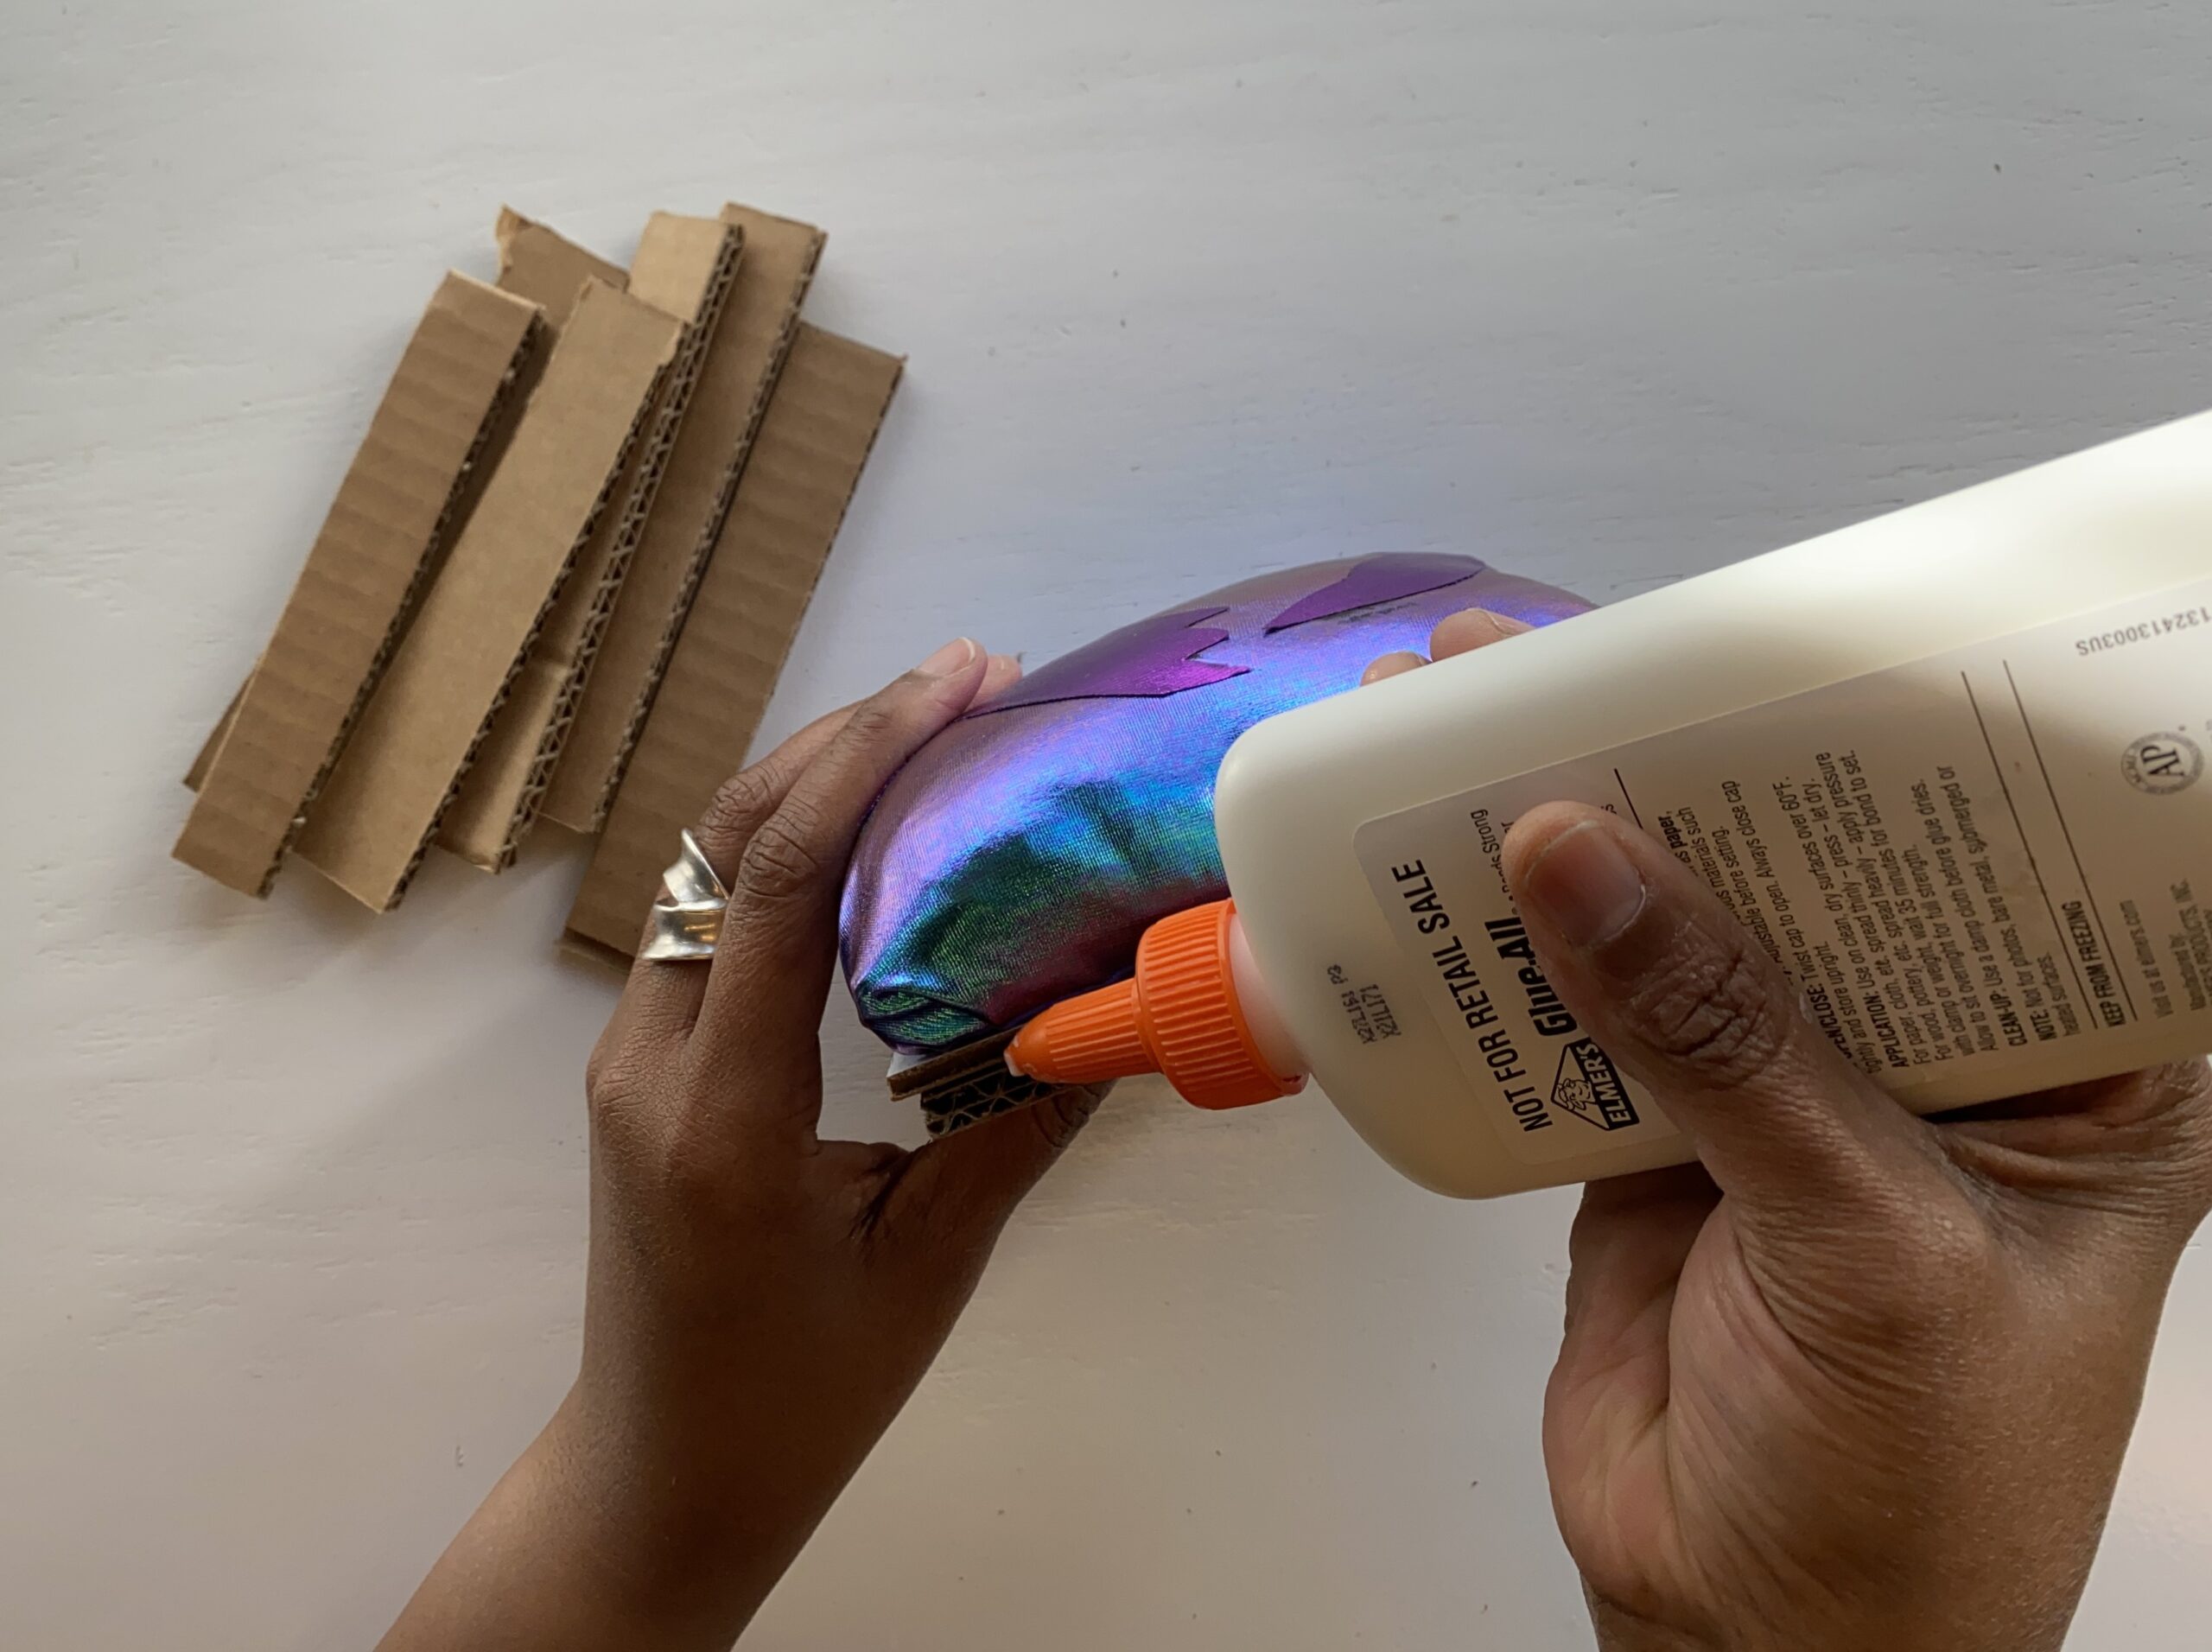
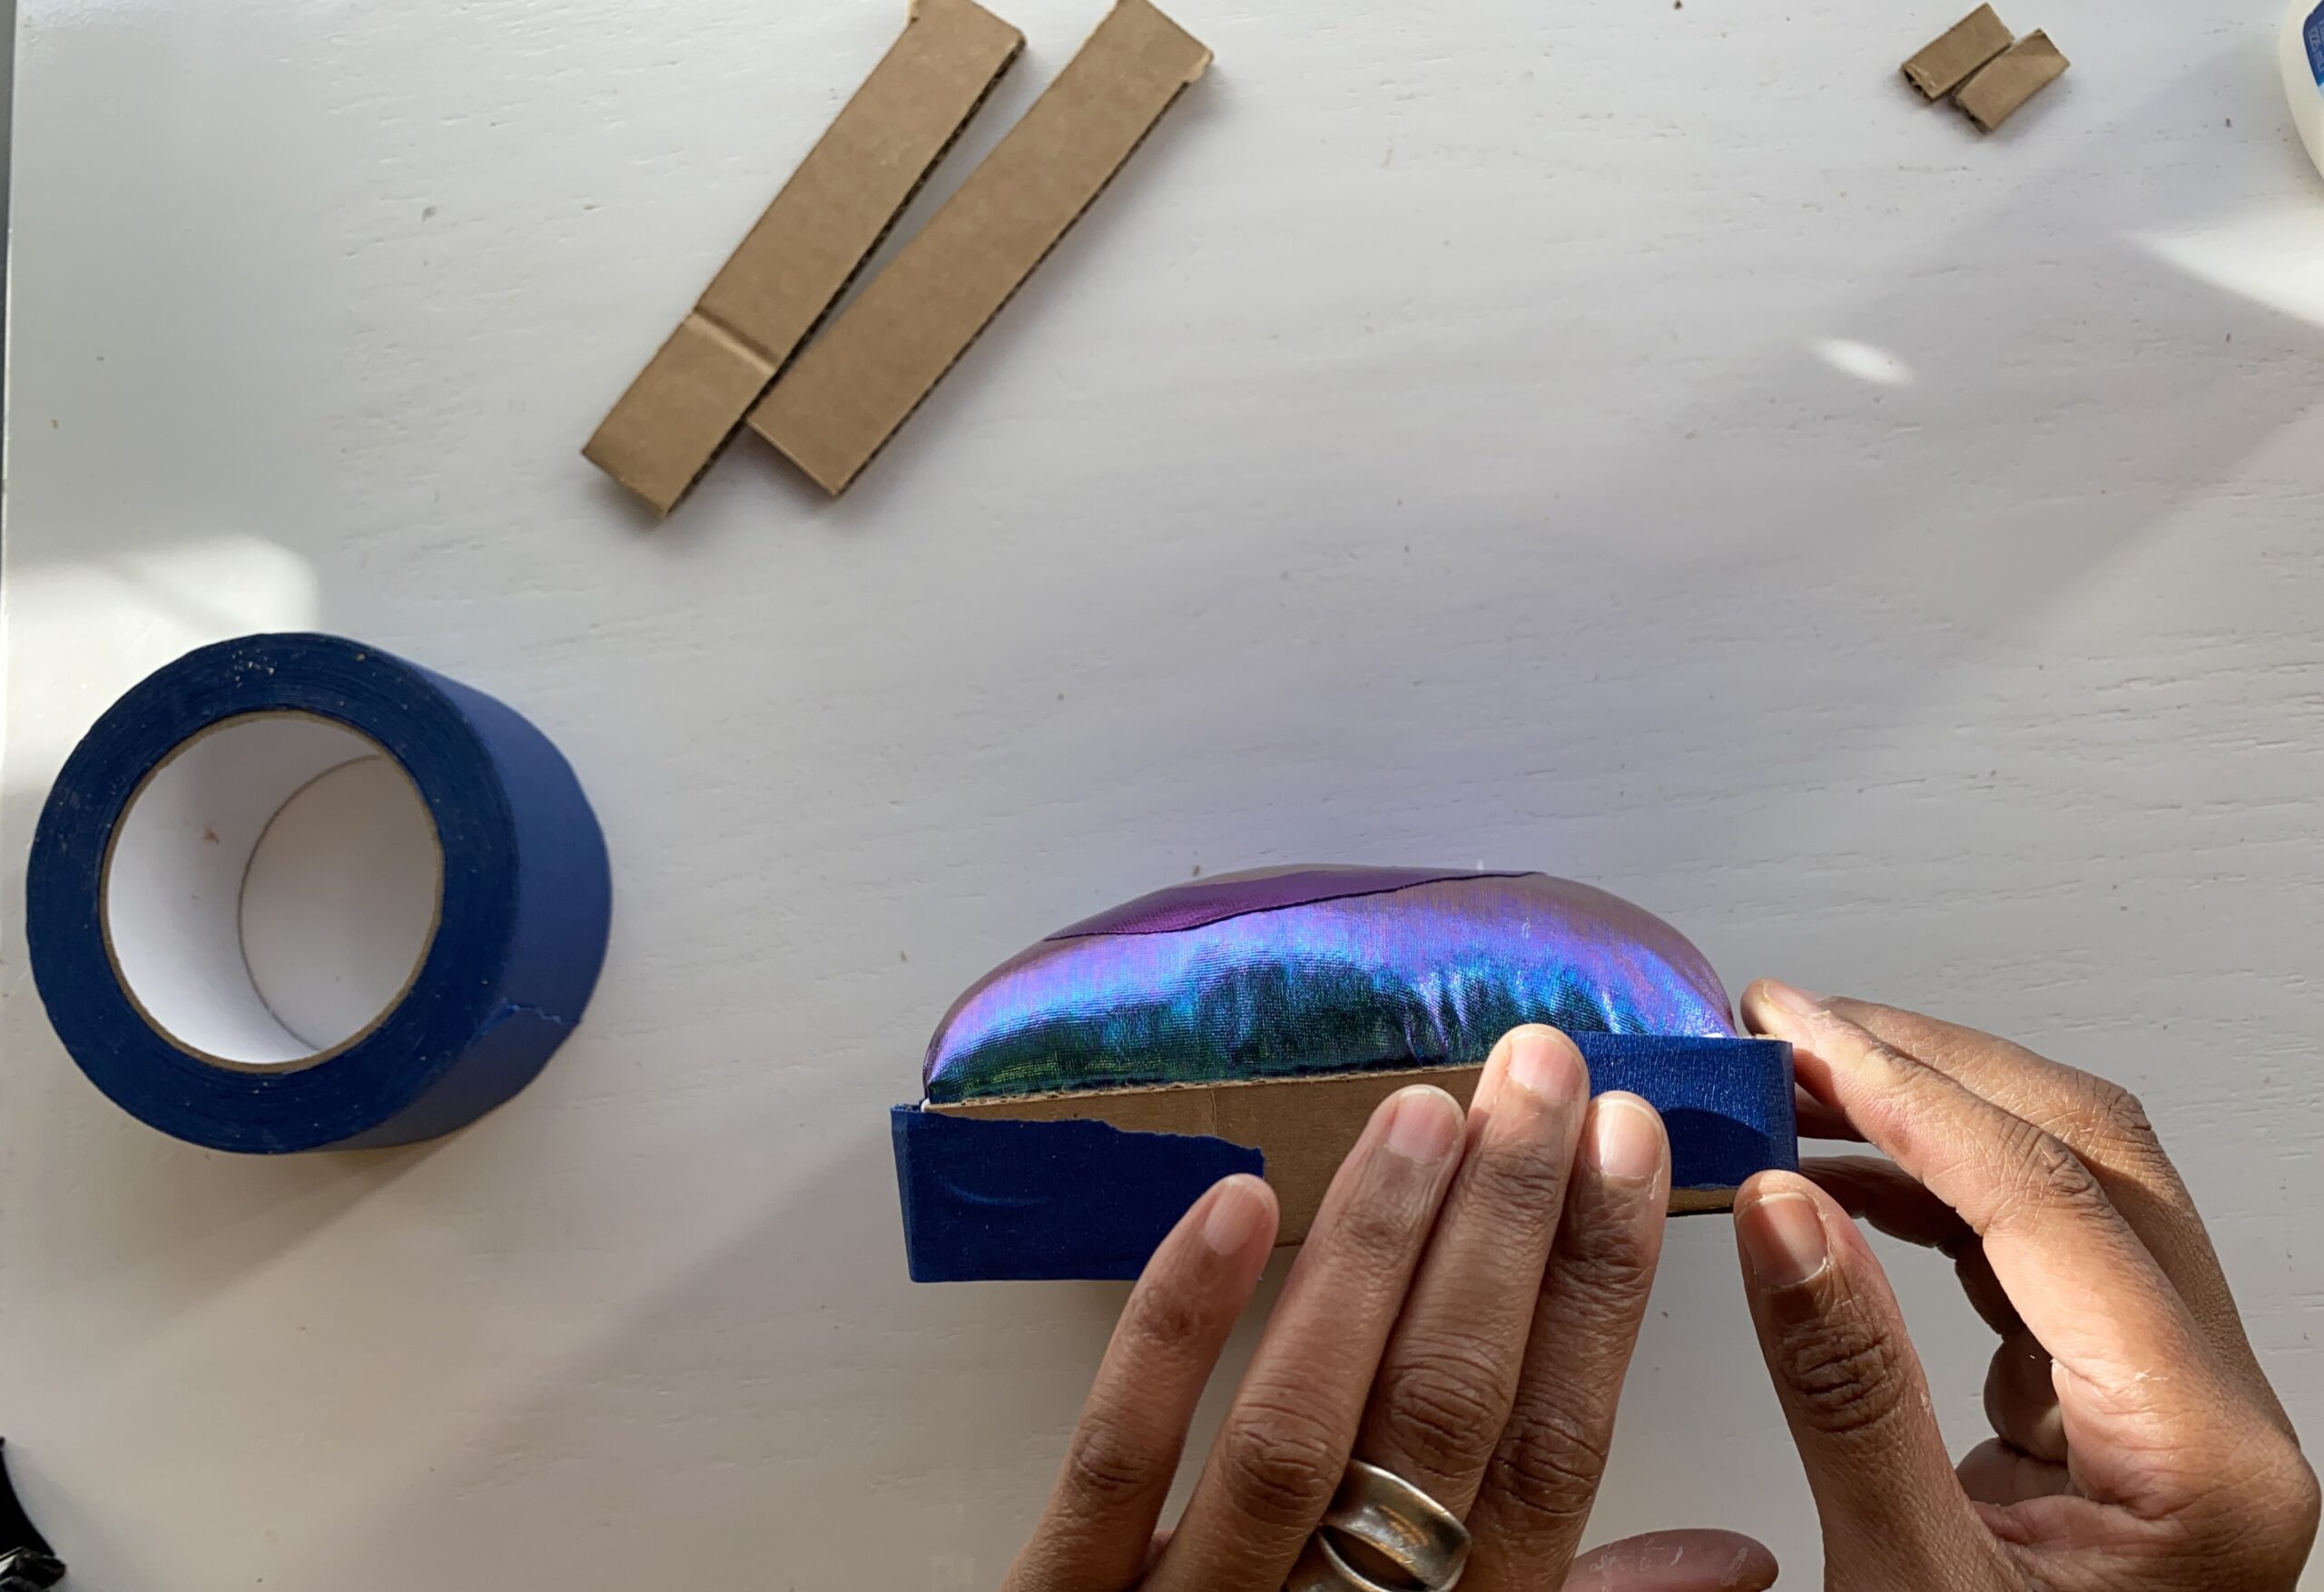
16. Begin to glue the cardboard strips along the side of the form. Apply a good amount of glue and hold until they set.
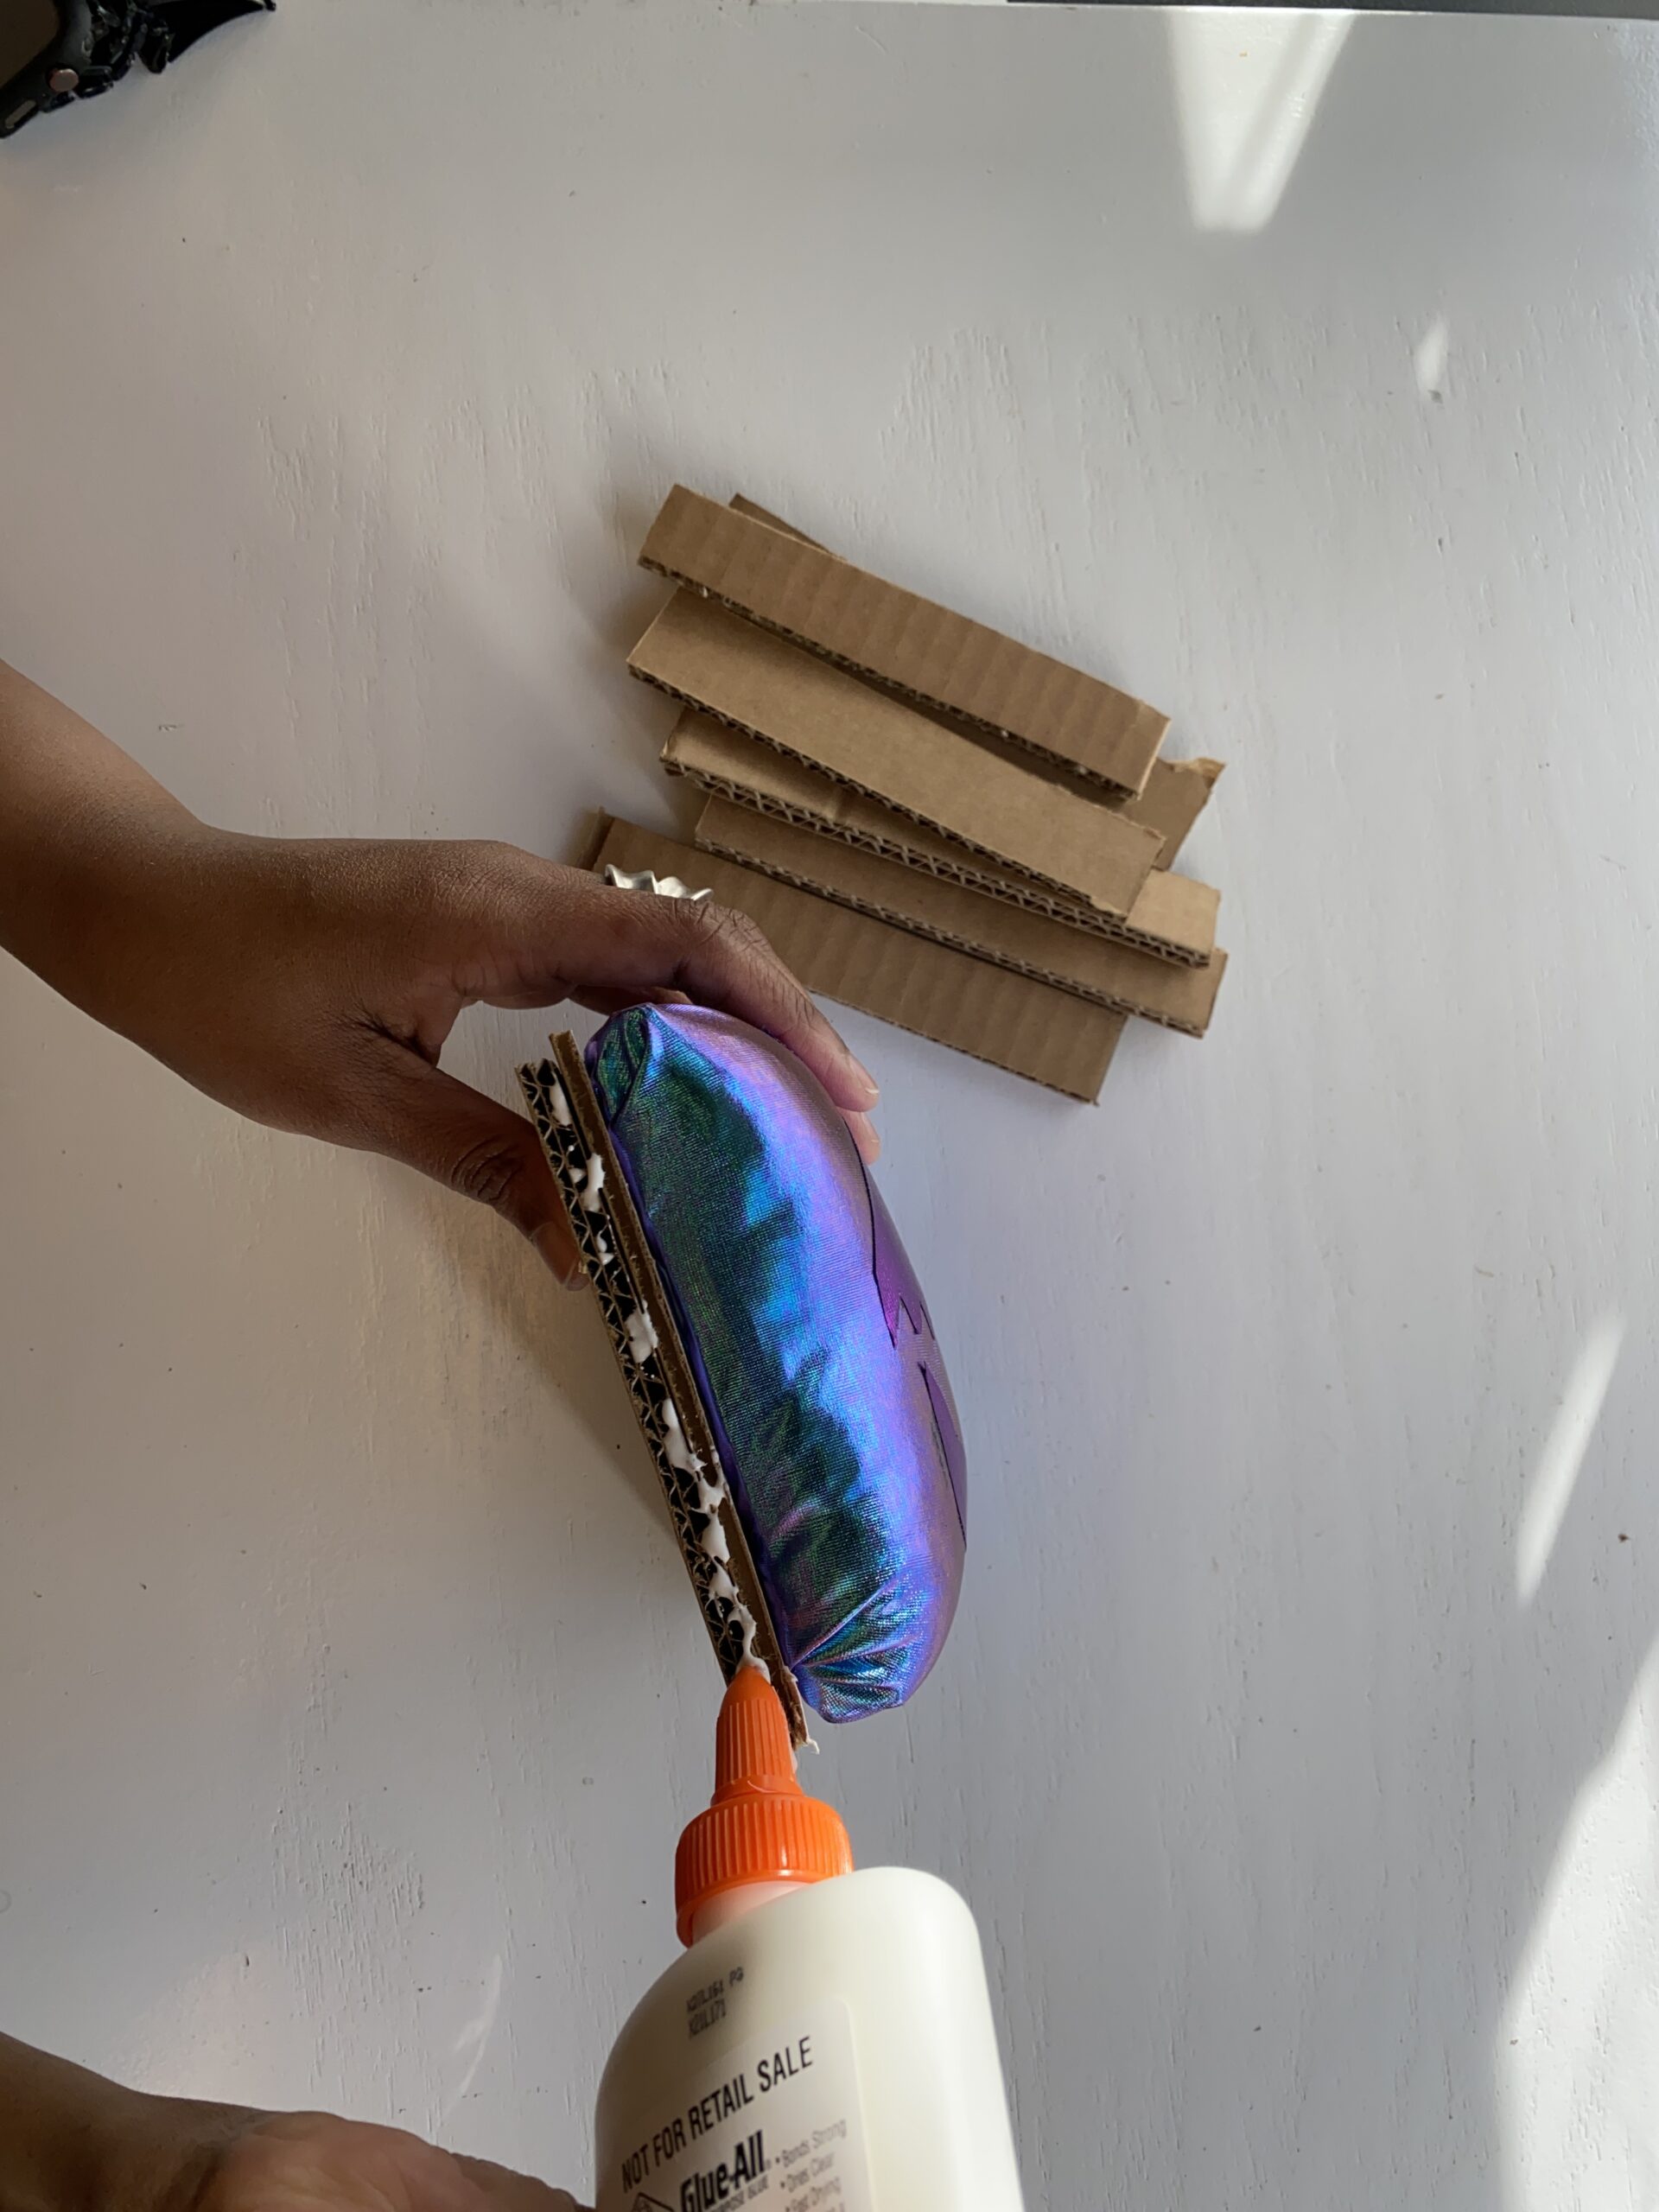
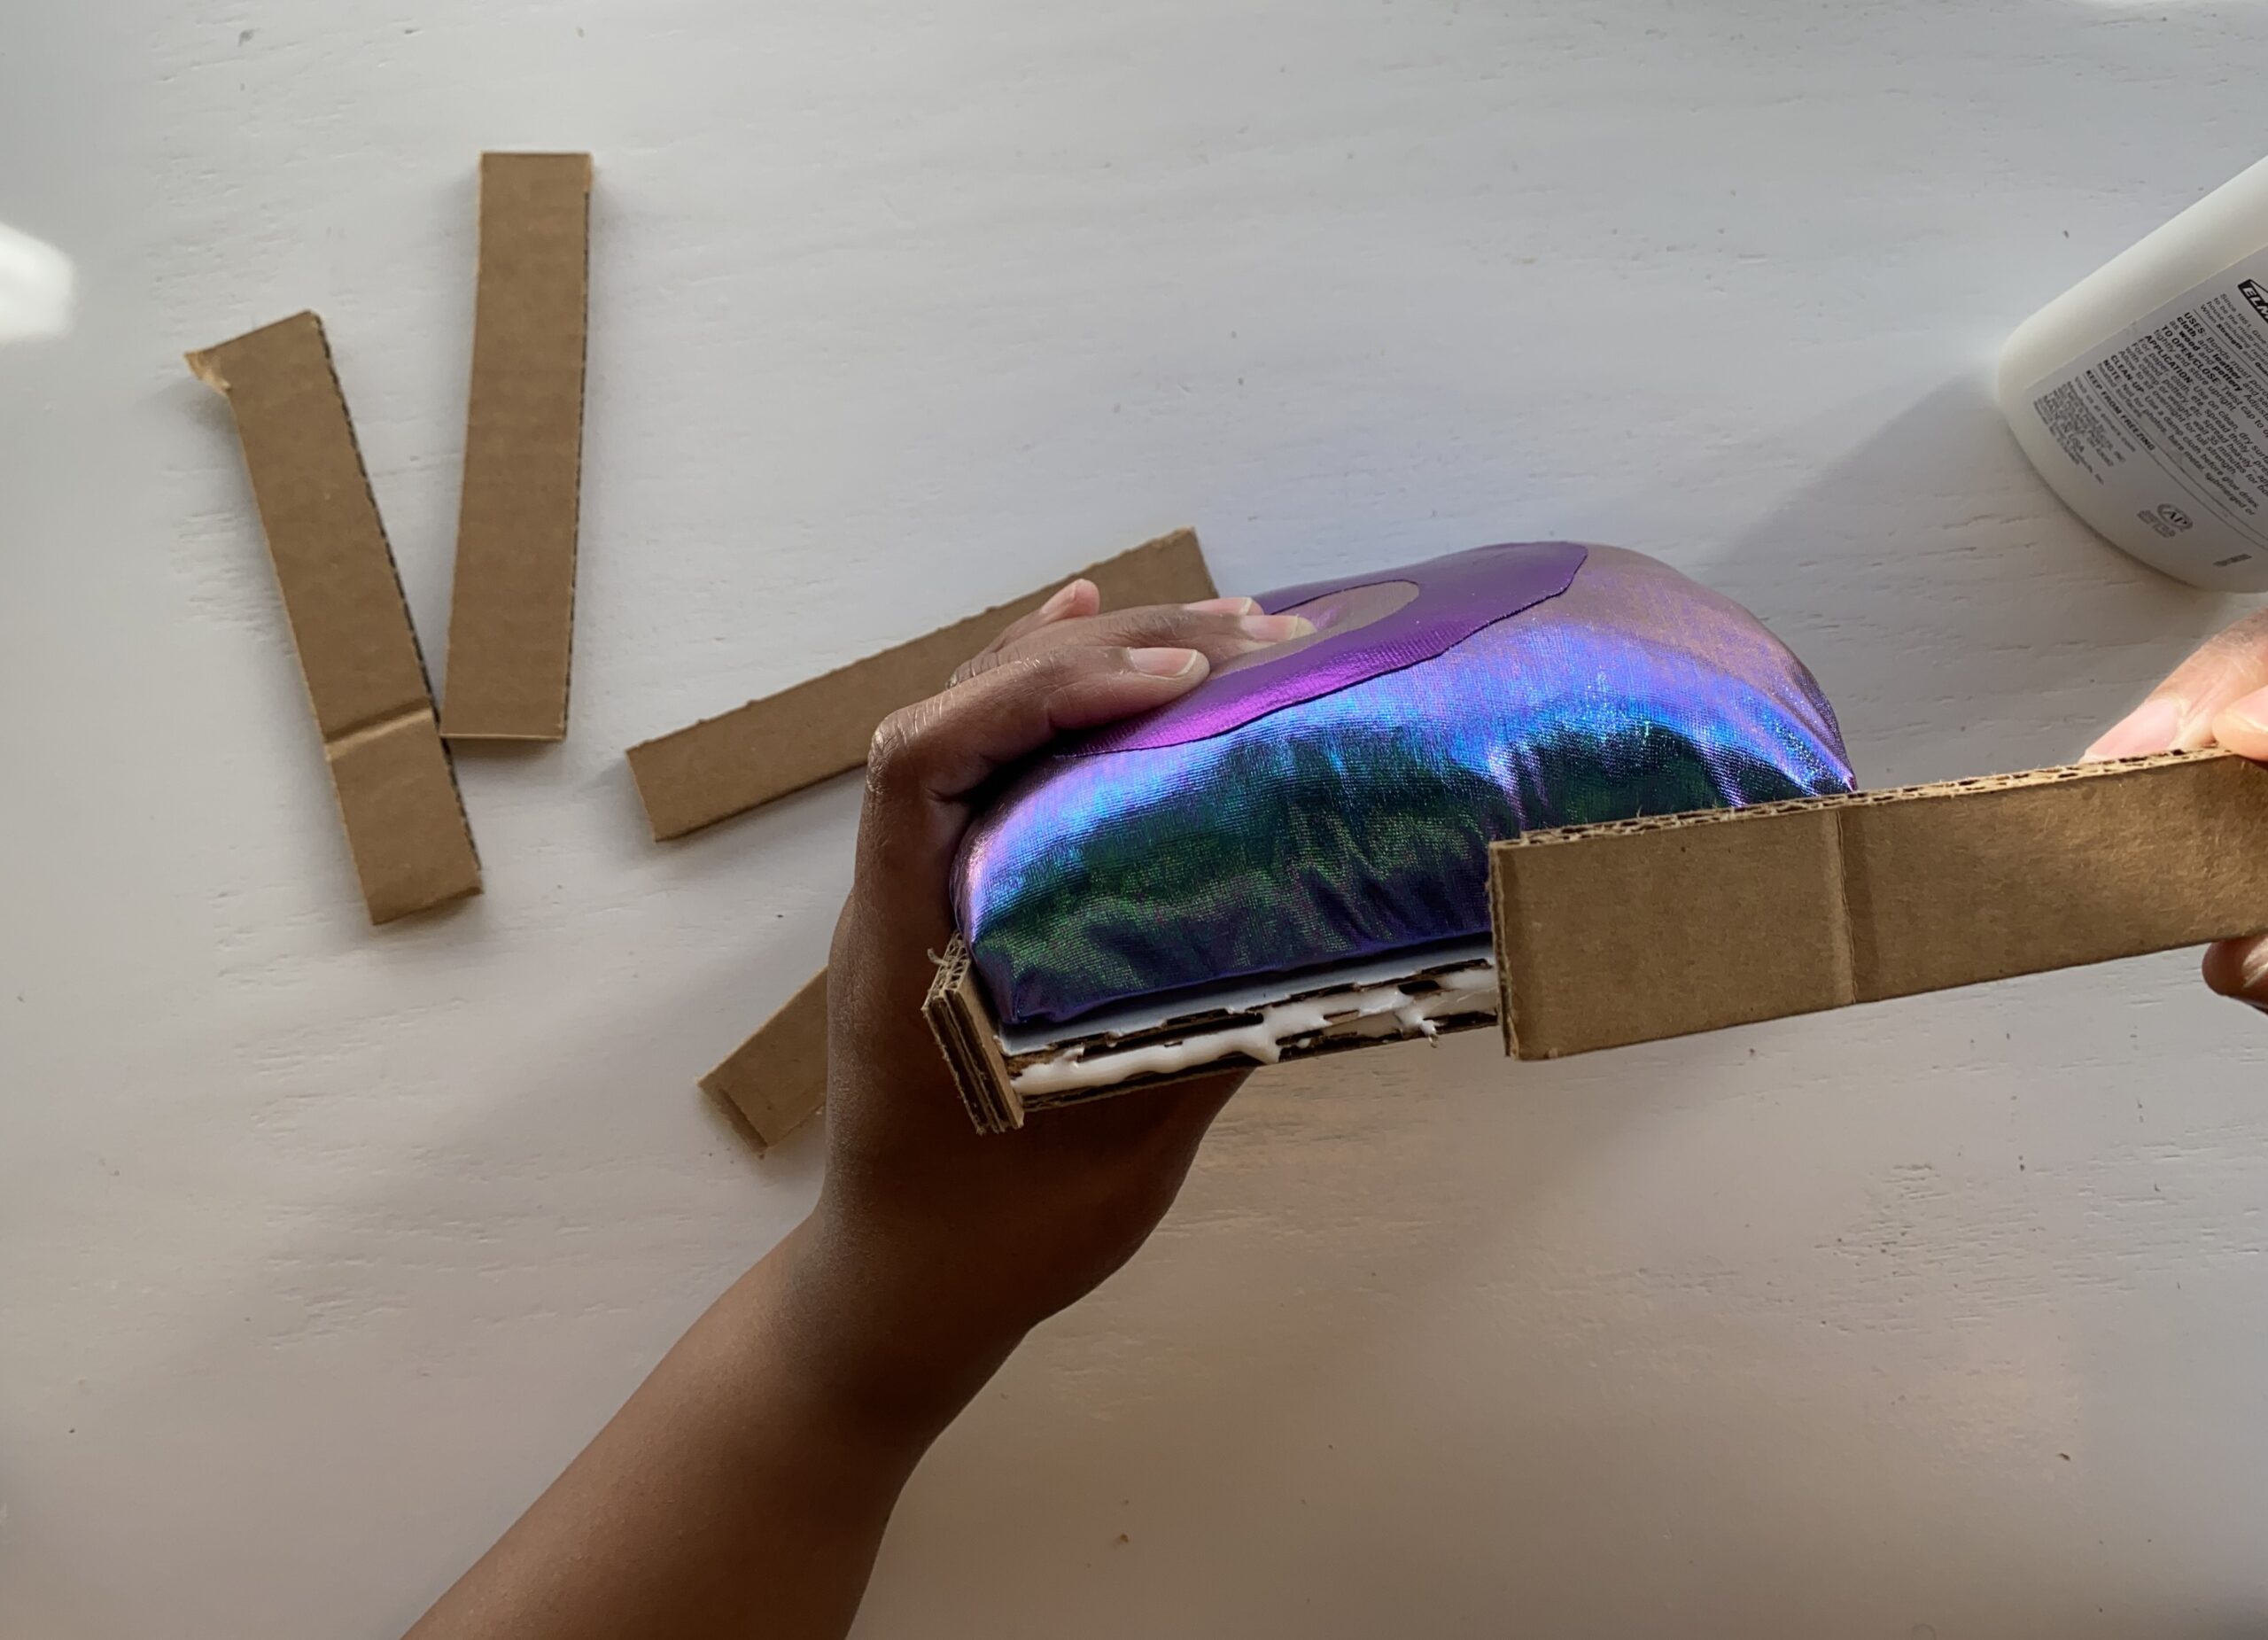
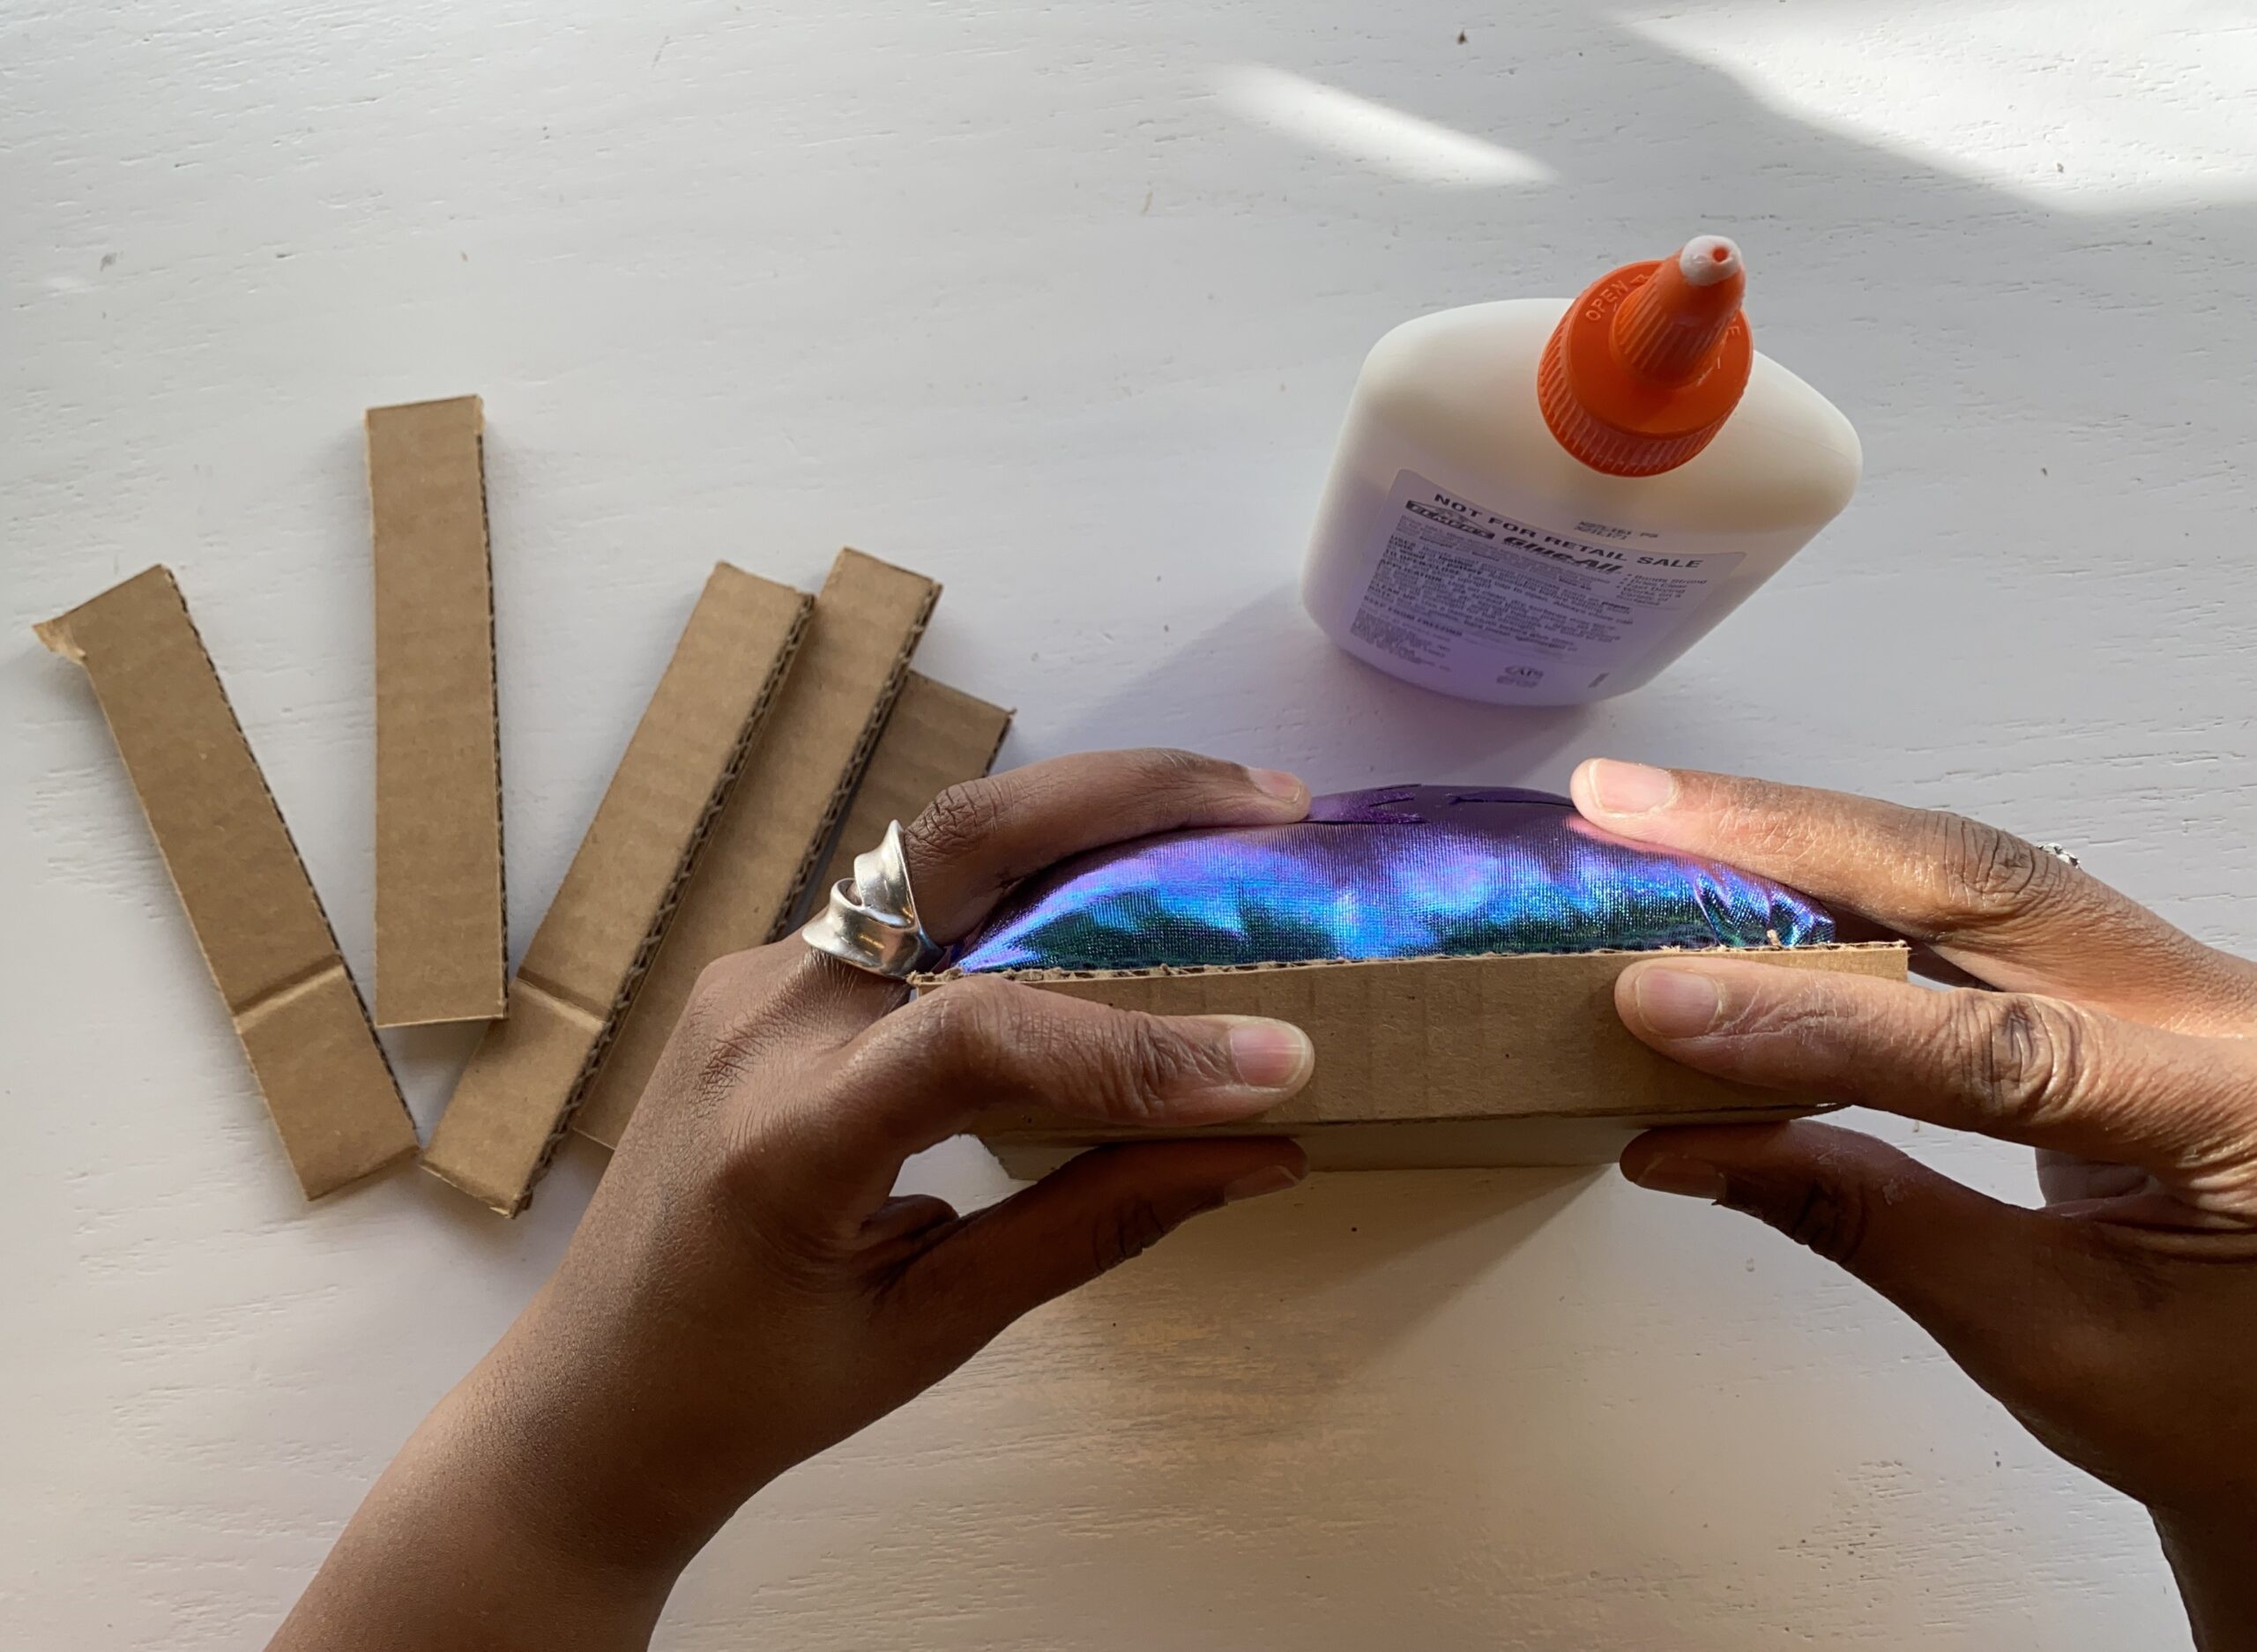
17. Then continue to do the rest of the sides. Cut off excess cardboard as each side is applied. When cardboard is on all four sides, take painters tape and apply it to all four corners to hold it in place until it dries.
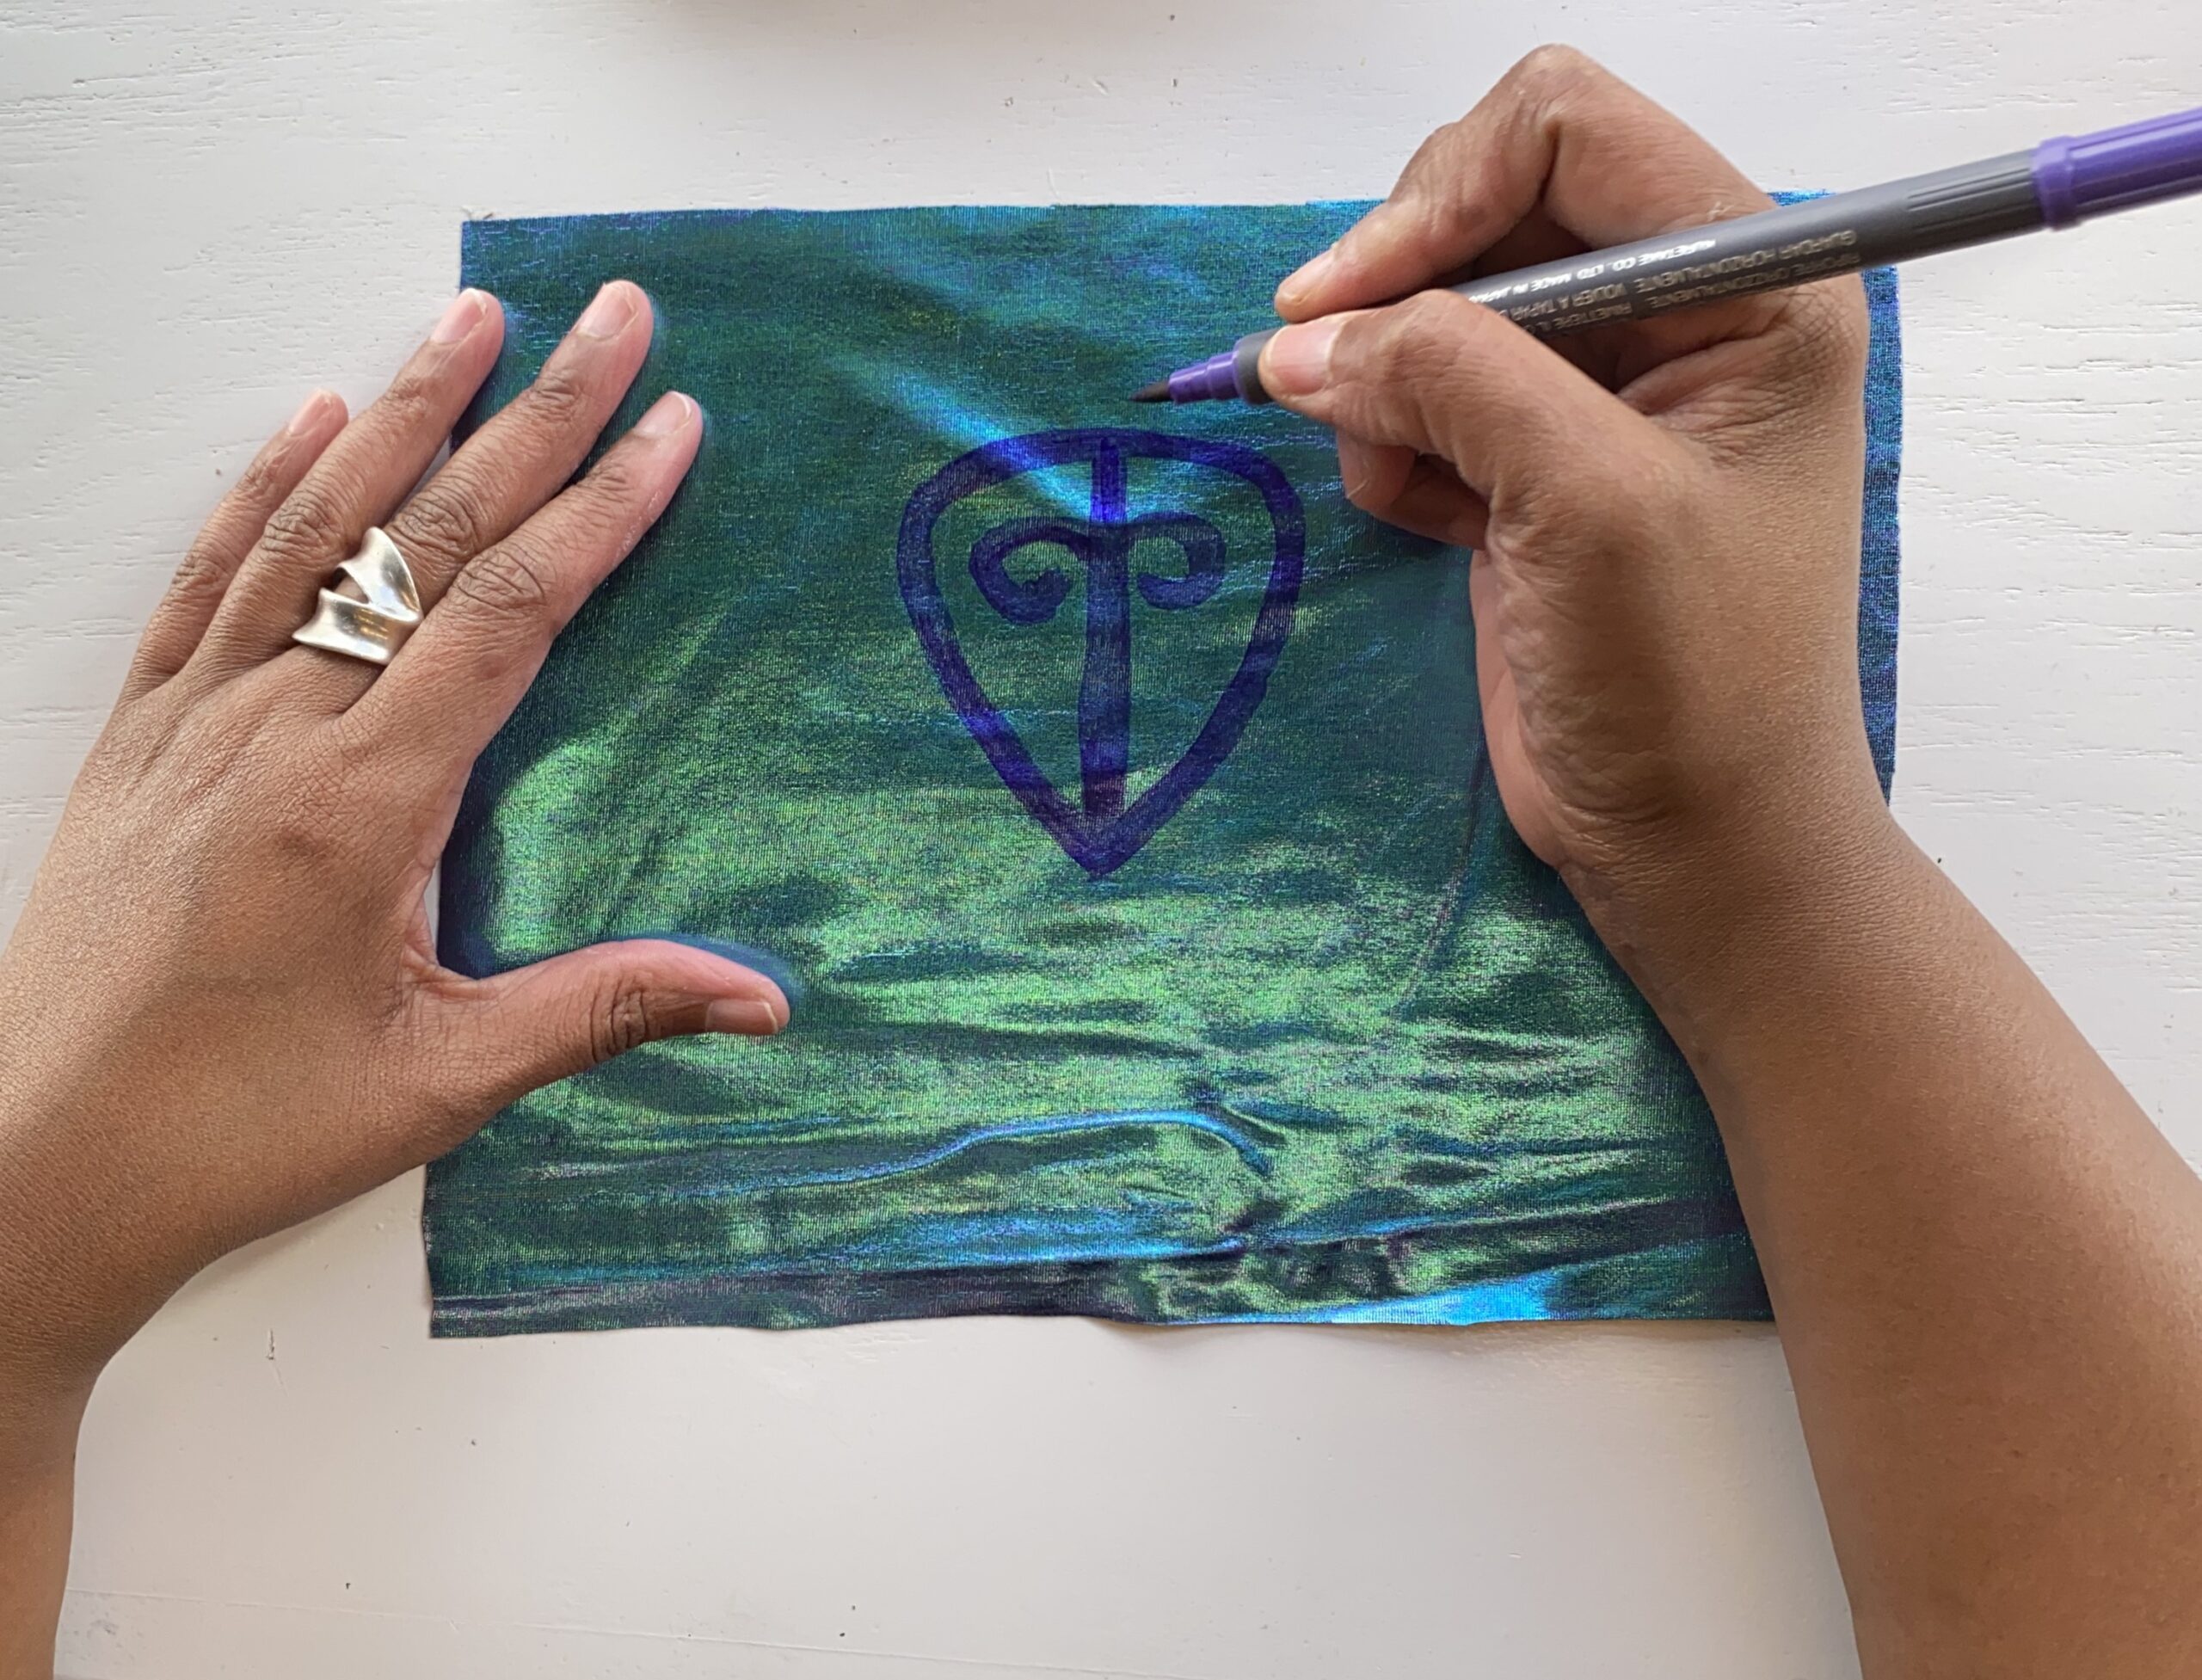
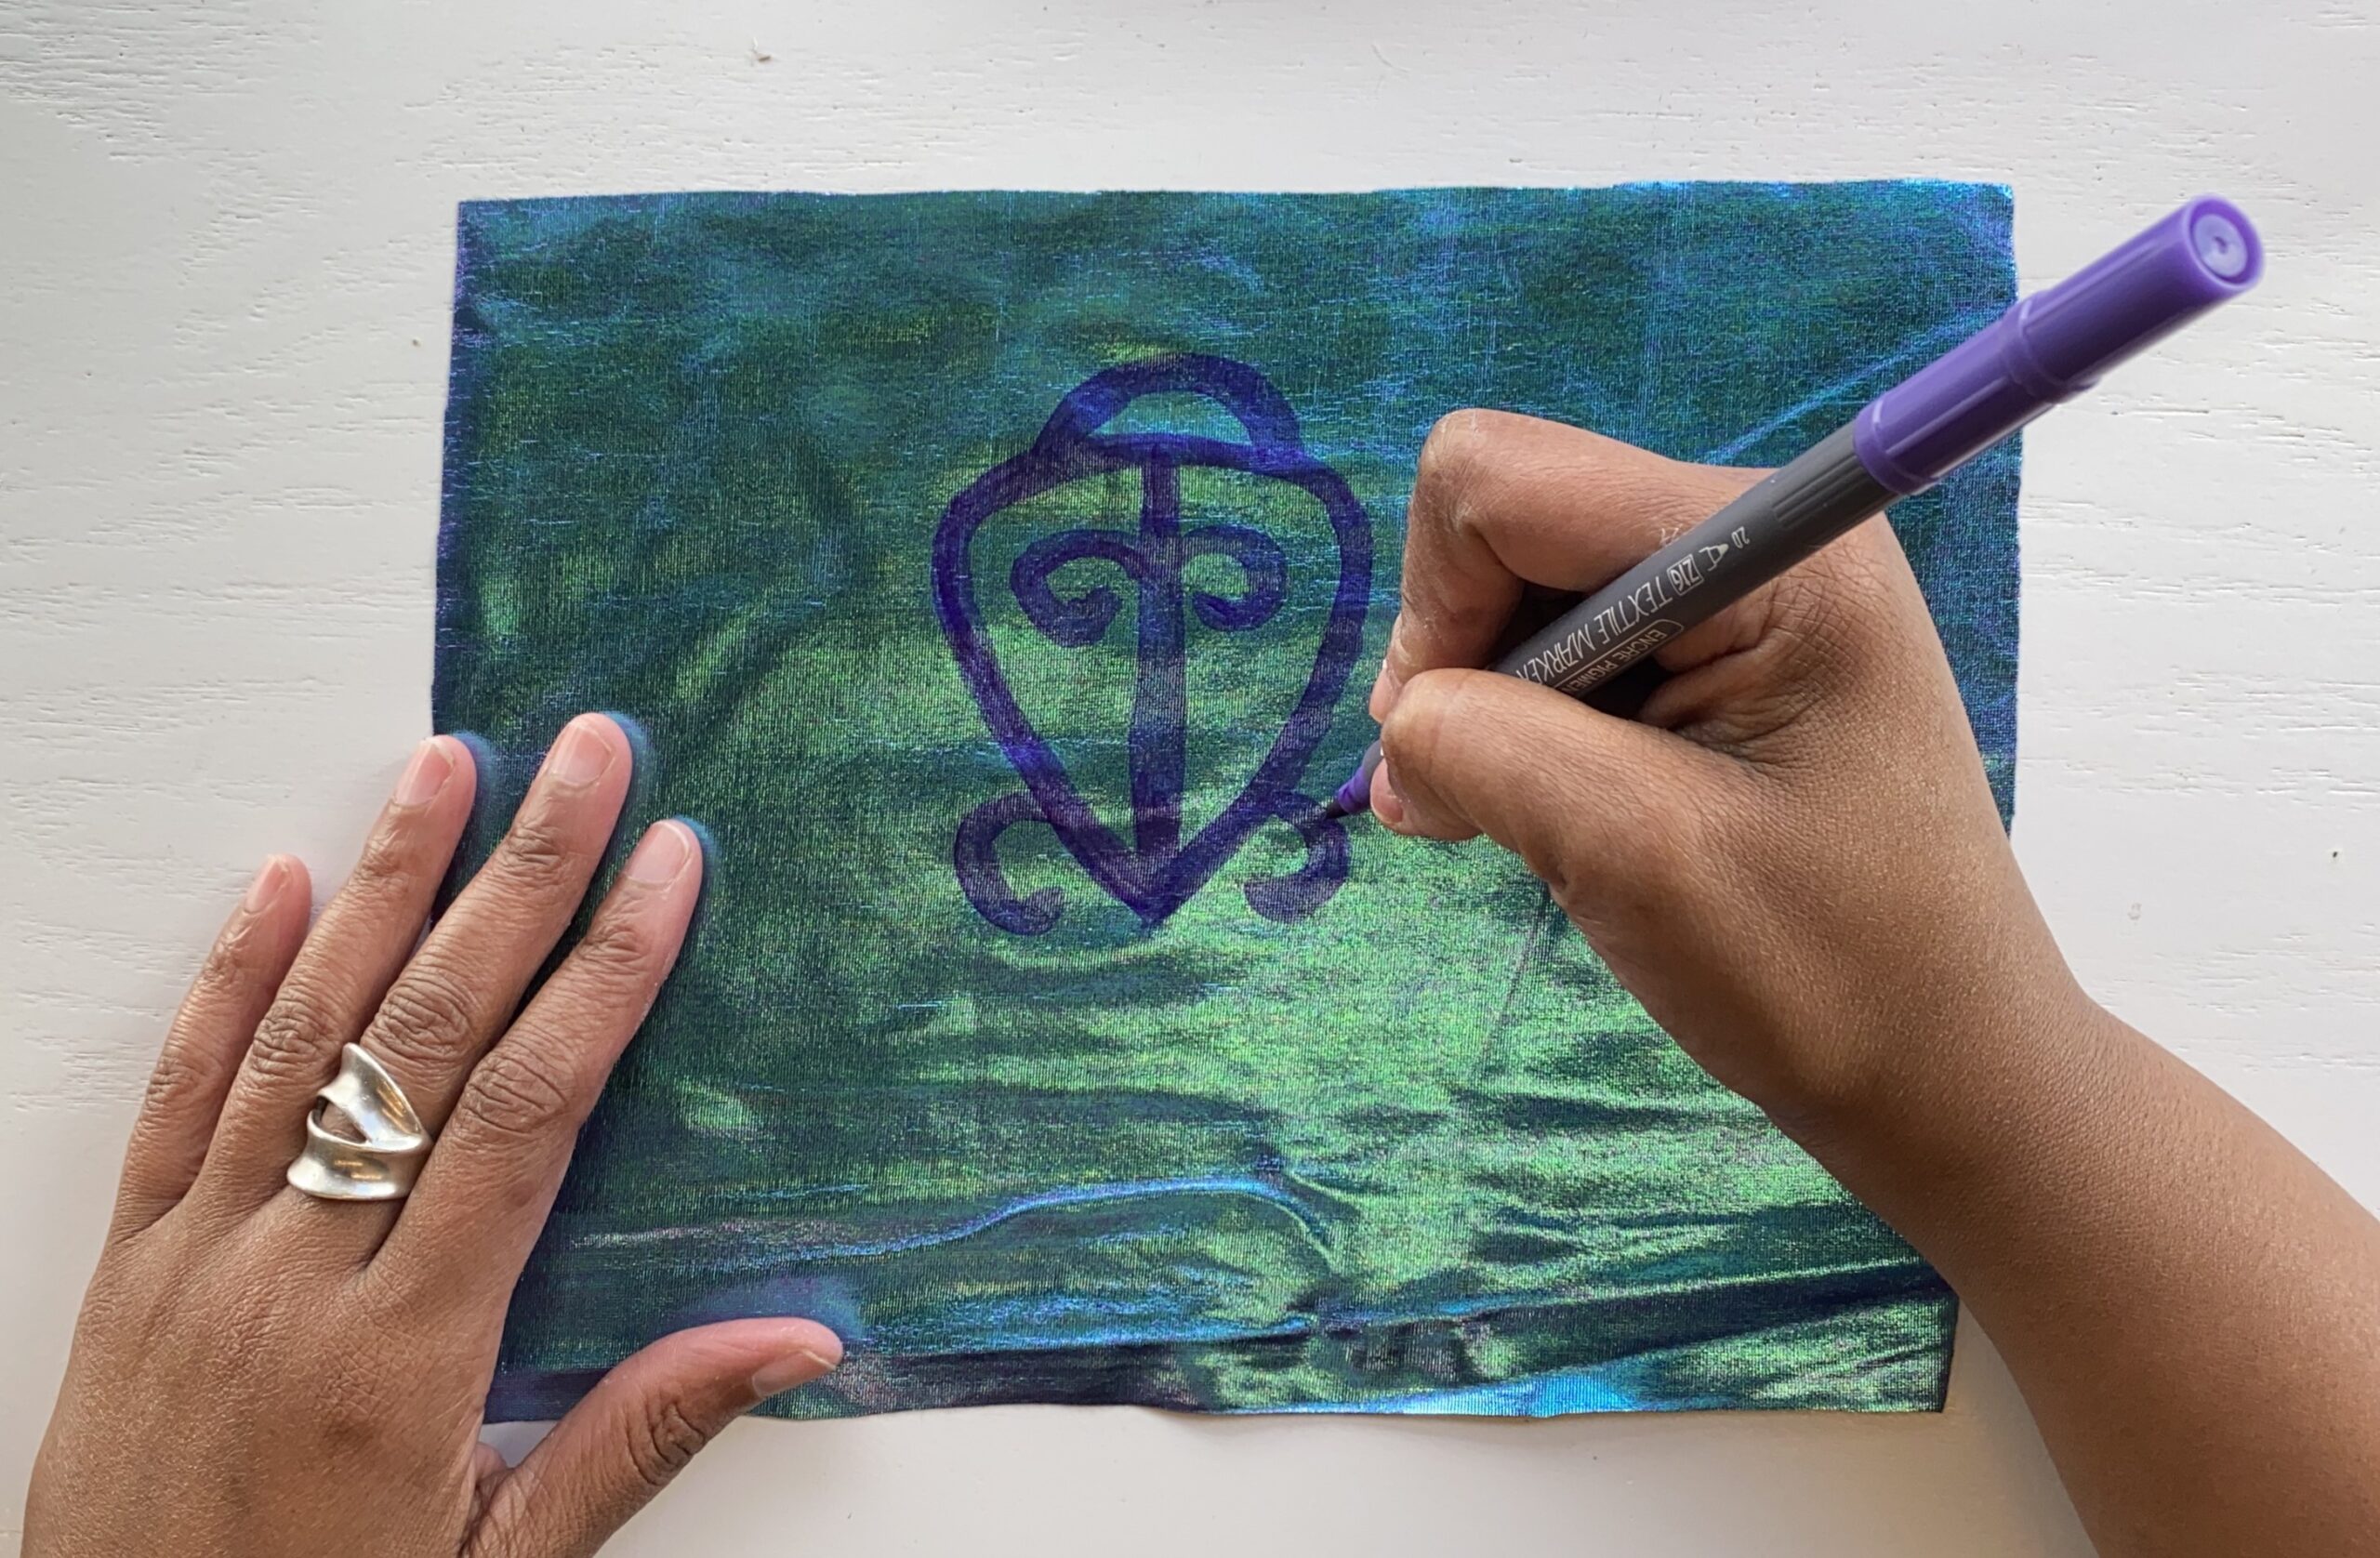
18. As an alternative to using adhesive and two pieces of fabric, fabric pens could be used to draw your symbol onto the fabric. Start with step 1 and design a symbol and then draw that symbol to the fabric and then pick up at step 11 until finished.