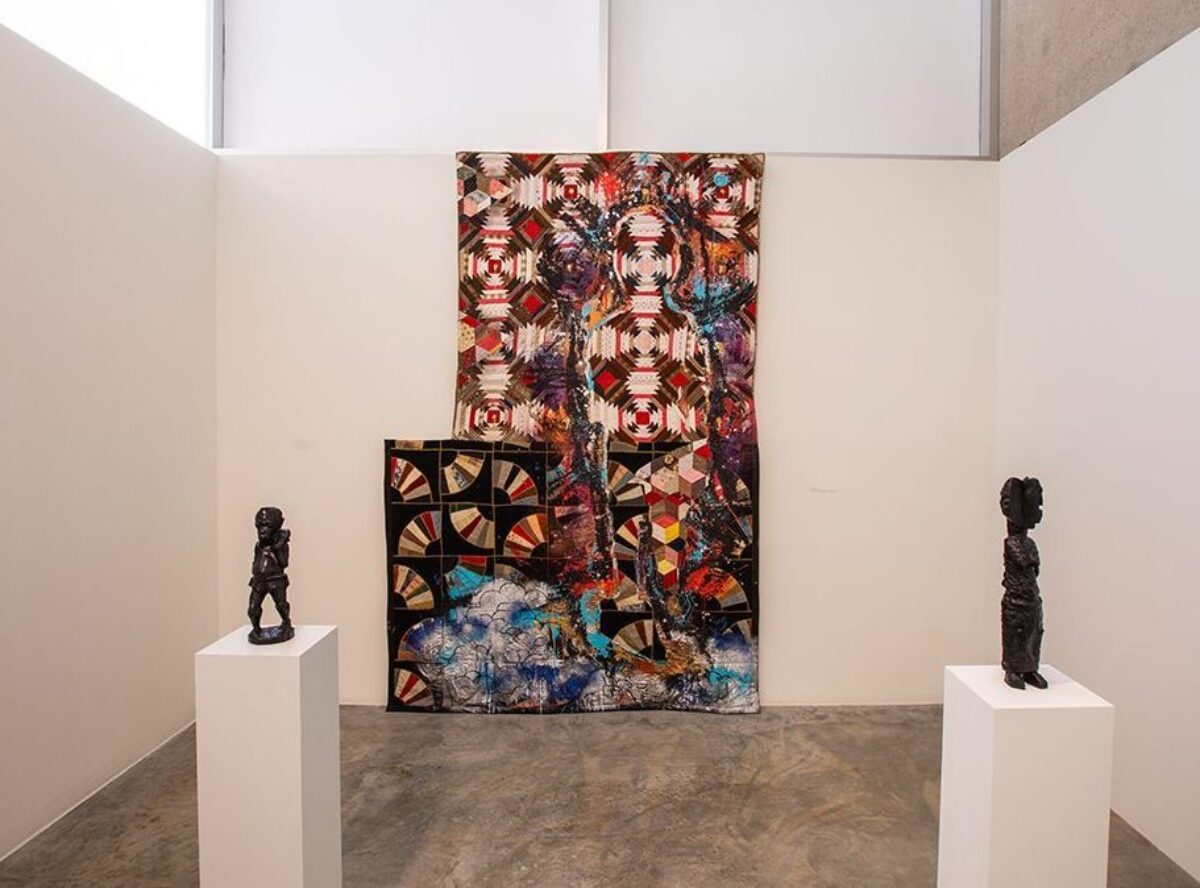
Sanford Biggers’s work has long focused on African and African American material culture and history. Biggers’s interest in quilting is rooted in the rich tradition of African American quilting, especially those produced by the women of Gee’s Bend—a small, isolated Black community in Alabama. Although each quilter has a unique style, Gee’s Bend quilts are usually characterized by their bright colors and bold geometric patterns. Biggers points out that these aesthetic characteristics were praised when produced in paintings by the largely white, male abstract expressionists, but largely overlooked when made by black, female quilters. As a result, Biggers calls his Gee’s Bend-inspired works “paintings.”
In Biggers’s paintings, the quilt is the canvas as well as the medium, in addition to paint, scraps of fabric, and even charcoal. Silhouettes of people and figures emerge from among clashing geometric patterns as Biggers overlays personal symbols and historical narratives upon the quilt samples. Follow along with the instructions below, and you can make your own quilt painting by creating interesting patterns from fabric, and then adding your own meaningful, personal symbols.
Download the PDF instructions here.
Materials:
- felt squares or other thick fabric (for background)
- sharp scissors
- additional scraps of fabric or old clothes for shapes and designs
- fabric glue OR needles (plastic or regular) and thread
- (optional) fabric markers and paint
- (optional) appliques such as foam shapes, knitted flowers, felt shapes and letters etc.
Instructions:
Step 1: Plan out an idea for a quilt square. Sketch out an idea on paper if it helps.
Step 2: Trace and cut shapes needed from fabric, foam shapes, felt, etc.
Step 3: Pin fabric into place on background with straight pins or glue
Step 4: Sew or glue fabric and shapes onto background
Step 5: Cut out photocopy images that you are using. Then glue them to the poster board. Think about placement and composition.
Step 6: Draw designs, patterns, and personal symbols and images with fabric markers or paint